
Effective stain removal tips are the unsung heroes of any household, aren’t they? I mean, let’s be honest, life is messy! From accidental coffee spills during those early morning Zoom meetings to rogue splatters of spaghetti sauce during family dinners, stains are practically inevitable. But fear not, fellow home enthusiasts! This isn’t just another article listing generic solutions; we’re diving deep into the world of DIY stain removal, uncovering the secrets to banishing blemishes from your favorite fabrics and surfaces with items you probably already have in your pantry.
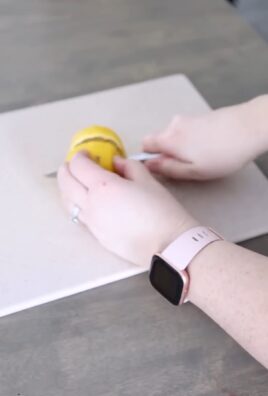
For centuries, people have been devising clever methods to combat stains. Think about it – ancient civilizations used natural remedies like lemon juice and vinegar to keep their garments looking pristine. While the methods have evolved, the need for effective stain removal tips remains constant. In today’s fast-paced world, who has time to run to the store for a specialized cleaner every time a stain appears? I know I don’t! That’s why I’m so excited to share these simple, yet powerful, DIY tricks that will save you time, money, and a whole lot of frustration.
This article will equip you with the knowledge to tackle even the most stubborn stains, empowering you to keep your home looking its best without breaking the bank. Get ready to say goodbye to unsightly blemishes and hello to a cleaner, brighter, and happier home!
DIY Waterless Tomato Growing: A Guide to Self-Sufficient Gardening
Hey there, fellow gardening enthusiasts! Are you tired of constantly watering your tomato plants, especially during those scorching summer months? Do you dream of a garden that practically takes care of itself? Well, you’ve come to the right place! I’m going to share a fantastic method for growing delicious, juicy tomatoes with minimal watering – almost none, in fact! This technique relies on a clever combination of wicking beds and deep mulching, creating a self-sustaining ecosystem for your tomato plants. Get ready to ditch the hose and embrace a more sustainable way to grow!
What is Waterless Tomato Growing?
Essentially, we’re creating a mini-reservoir beneath the soil that slowly releases moisture to the plant roots. This, combined with a thick layer of mulch, drastically reduces evaporation and keeps the soil consistently moist. The plant draws water up as needed, minimizing water waste and maximizing tomato production. It sounds complicated, but trust me, it’s surprisingly simple!
Benefits of Waterless Tomato Growing
Before we dive into the how-to, let’s quickly recap why this method is so awesome:
* Water Conservation: The most obvious benefit! You’ll use significantly less water compared to traditional gardening.
* Reduced Weeding: The thick mulch layer acts as a weed barrier, saving you time and effort.
* Healthier Plants: Consistent moisture levels promote strong root growth and healthier, more resilient plants.
* Increased Yields: Happy plants produce more tomatoes!
* Less Maintenance: Once established, your tomato plants will require minimal attention.
* Environmentally Friendly: Conserving water and reducing reliance on fertilizers makes this a sustainable gardening practice.
Materials You’ll Need
Okay, let’s gather our supplies. Here’s what you’ll need to get started:
* Large Container or Raised Bed: This can be anything from a large plastic storage bin (with drainage holes) to a custom-built raised bed. The bigger, the better, as it will hold more water. I recommend at least 2 feet deep.
* Gravel or Rocks: For creating the reservoir at the bottom of the container.
* Landscape Fabric or Weed Barrier: To separate the gravel layer from the soil.
* PVC Pipe (with holes): For filling the reservoir with water.
* Soil Mix: A well-draining mix is crucial. I recommend a blend of compost, peat moss (or coco coir), and perlite or vermiculite.
* Tomato Seedlings: Choose your favorite varieties!
* Mulch: Straw, wood chips, shredded leaves, or even grass clippings will work.
* Fertilizer (Optional): A slow-release organic fertilizer can give your plants a boost.
* Watering Can or Hose: For the initial watering.
Step-by-Step Instructions: Building Your Waterless Tomato Garden
Alright, let’s get our hands dirty! Here’s how to build your waterless tomato garden:
Section 1: Preparing the Container
1. Drill Drainage Holes (if needed): If you’re using a container that doesn’t have drainage holes, drill several holes in the bottom. This is essential to prevent waterlogging.
2. Add the Gravel Layer: Pour a layer of gravel or rocks into the bottom of the container, about 6-8 inches deep. This will create the water reservoir.
3. Install the PVC Pipe: Cut a length of PVC pipe that reaches from the bottom of the gravel layer to a few inches above the soil surface. Drill holes along the bottom portion of the pipe that will be submerged in the gravel. This pipe will be used to fill the reservoir with water. Place the pipe vertically in the container, making sure it’s stable.
4. Cover with Landscape Fabric: Place a layer of landscape fabric or weed barrier over the gravel layer. This will prevent the soil from mixing with the gravel and clogging the reservoir. Make sure to cut a hole in the fabric to accommodate the PVC pipe.
Section 2: Filling with Soil and Planting
1. Add the Soil Mix: Fill the container with your soil mix, leaving a few inches of space at the top.
2. Water the Soil Thoroughly: This is the only time you’ll need to water the entire soil volume. Make sure the soil is evenly moist.
3. Plant Your Tomato Seedlings: Dig holes in the soil and carefully plant your tomato seedlings. Space them according to the recommendations for your chosen varieties.
4. Water the Seedlings: Give the seedlings a gentle watering to help them settle in.
Section 3: Mulching and Maintenance
1. Apply a Thick Layer of Mulch: Spread a thick layer of mulch (4-6 inches) around the base of the tomato plants. Make sure to keep the mulch away from the stems to prevent rot.
2. Fill the Reservoir: Pour water into the PVC pipe until the reservoir is full. You’ll know it’s full when water starts to pool on the surface of the gravel layer (under the landscape fabric).
3. Monitor the Soil Moisture: Check the soil moisture regularly by sticking your finger into the soil. It should feel consistently moist but not soggy.
4. Refill the Reservoir as Needed: The frequency of refilling the reservoir will depend on the weather and the size of your container. Check it every few days, especially during hot, dry periods.
5. Fertilize (Optional): If you choose to fertilize, use a slow-release organic fertilizer and follow the instructions on the package.
6. Provide Support: As your tomato plants grow, they will need support. Use stakes, cages, or trellises to keep them upright.
7. Prune Your Plants: Prune your tomato plants regularly to remove suckers and promote air circulation.
Tips for Success
Here are a few extra tips to help you succeed with waterless tomato growing:
* Choose the Right Location: Tomato plants need at least 6-8 hours of sunlight per day.
* Select Disease-Resistant Varieties: This will help prevent common tomato diseases.
* Use a High-Quality Soil Mix: A well-draining soil mix is essential for healthy root growth.
* Don’t Overwater: While the reservoir provides a constant source of moisture, avoid overwatering the seedlings initially.
* Monitor for Pests and Diseases: Check your plants regularly for pests and diseases and take action promptly.
* Experiment with Different Mulch Materials: See which mulch works best for your climate and soil conditions.
* Be Patient: It may take a few weeks for your tomato plants to establish themselves and start producing fruit.
Troubleshooting
Even with the best planning, you might encounter a few challenges. Here’s how to troubleshoot some common problems:
* Yellowing Leaves: This could be a sign of overwatering, nutrient deficiency, or disease. Check the soil moisture and fertilize if necessary.
* Blossom End Rot: This is caused by a calcium deficiency. Ensure consistent watering and consider adding calcium to the soil.
* Pests: Use organic pest control methods to protect your plants from pests.
* Slow Growth: This could be due to insufficient sunlight, poor soil, or nutrient deficiency. Ensure your plants are getting enough sunlight and fertilize if necessary.
Advanced Techniques
Once you’ve mastered the basics of waterless tomato growing, you can experiment with some advanced techniques:
* Compost Tea: Add compost tea to the reservoir to provide your plants with extra nutrients.
* Worm Castings: Incorporate worm castings into the soil mix to improve soil fertility and drainage.
* Companion Planting: Plant companion plants, such as basil or marigolds, to deter pests and attract beneficial insects.
* Rainwater Harvesting: Collect rainwater to fill the reservoir and further reduce your water consumption.
Enjoy Your Waterless Tomato Harvest!
And there you have it! With a little bit of effort, you can create a thriving waterless tomato garden that will provide you with delicious, homegrown tomatoes all season long. Remember to be patient, experiment, and enjoy the process. Happy gardening! I hope this guide has been helpful, and I can’t wait to hear about your waterless tomato growing success!
Conclusion
So, there you have it! Mastering effective stain removal doesn’t require a cabinet full of harsh chemicals or expensive specialty products. This DIY stain removal trick, using readily available household ingredients, is a game-changer for anyone who wants to keep their clothes and home looking their best. It’s not just about saving money; it’s about having a reliable, gentle, and effective solution at your fingertips whenever a stain emergency strikes.
Why is this a must-try? Because it works! We’ve all been there – a splash of coffee, a smudge of ink, a dab of grease – and the immediate panic that sets in. This method takes the stress out of stain removal. It’s simple to prepare, easy to apply, and yields impressive results on a wide range of common stains. Plus, you’re likely already stocked with the necessary ingredients, making it incredibly convenient.
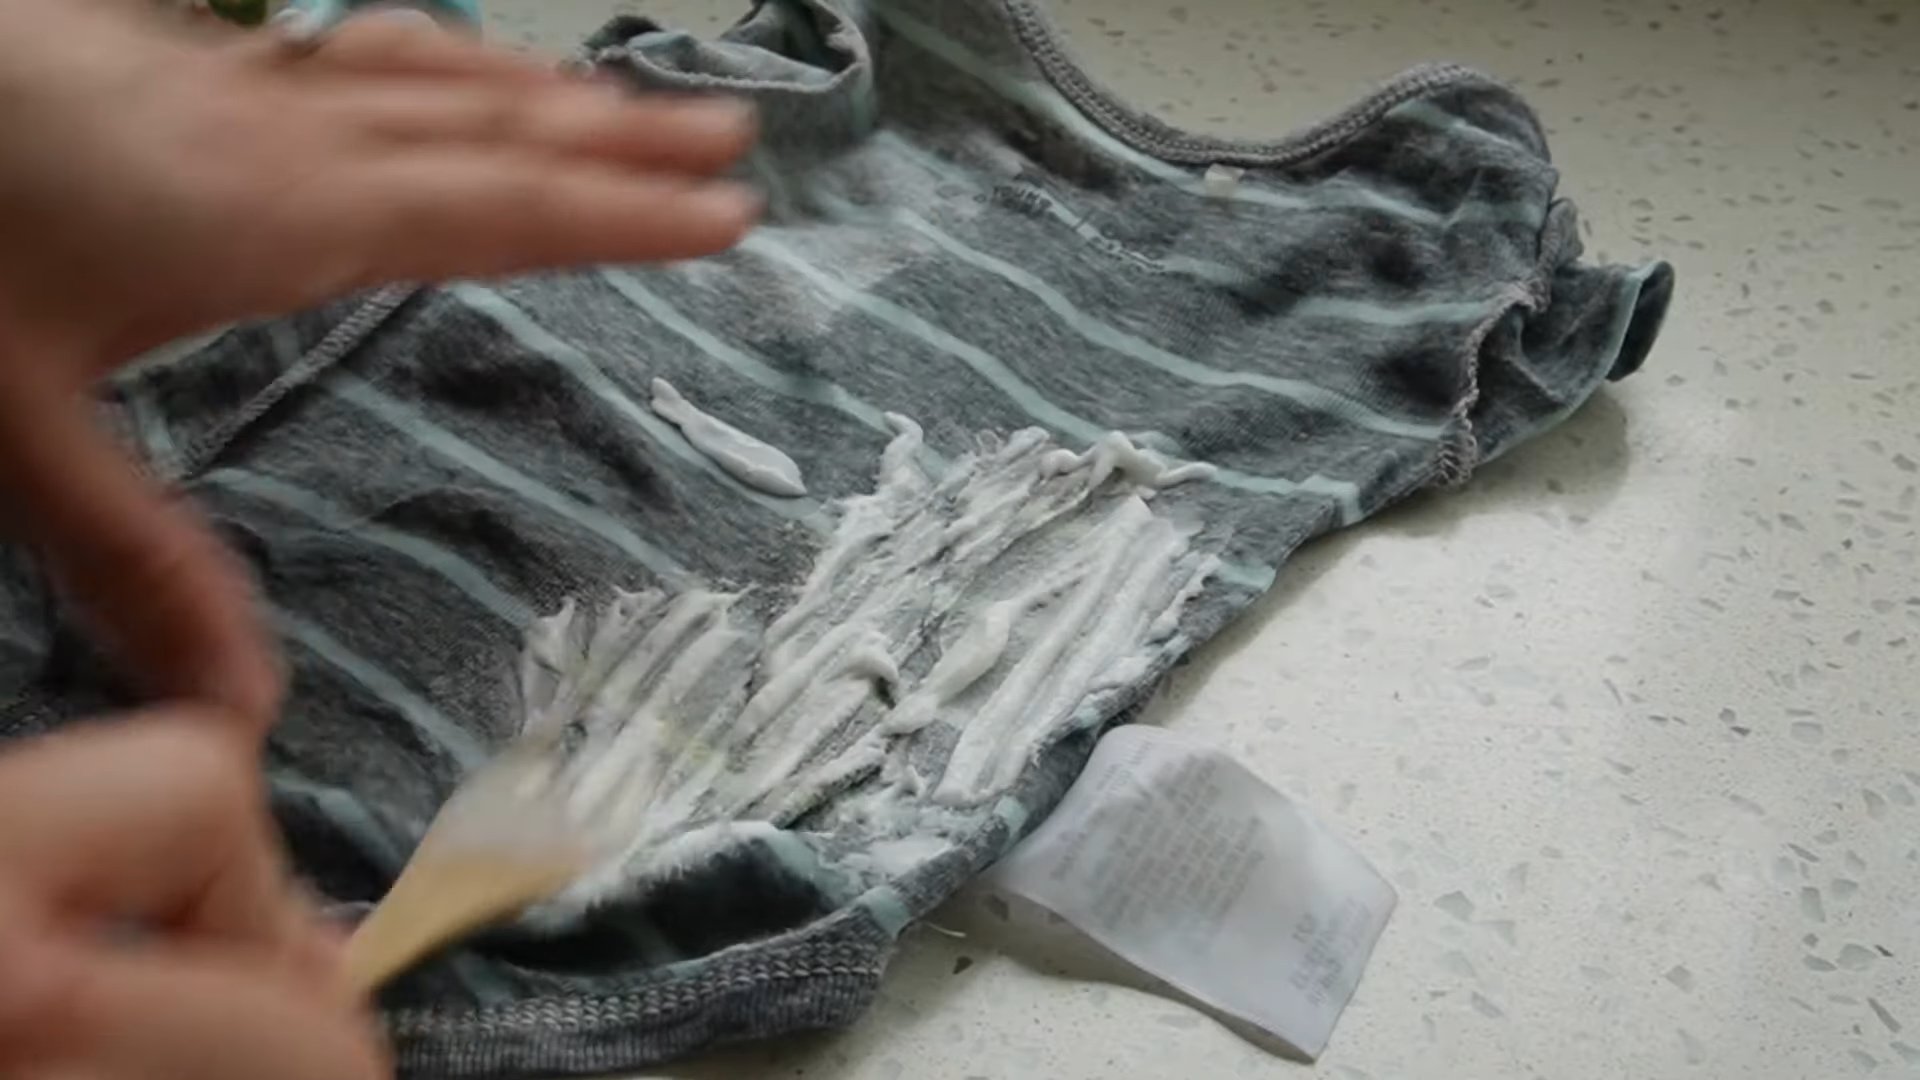
But don’t just take our word for it. Experiment and find what works best for you. For instance, for particularly stubborn stains on white fabrics, you can add a tablespoon of hydrogen peroxide to the mixture for an extra boost. Always test this on an inconspicuous area first to ensure it doesn’t affect the color. For delicate fabrics like silk or wool, consider diluting the solution slightly with water to prevent any damage. You can also tailor the application method to the stain. For small, localized stains, a cotton swab or soft brush works wonders. For larger areas, a gentle sponge or cloth is more efficient.
We encourage you to give this DIY stain removal trick a try. You’ll be amazed at how effective it is. And once you’ve experienced the satisfaction of banishing those pesky stains, we want to hear about it! Share your results, variations, and any tips you discover in the comments below. Let’s build a community of stain-fighting experts and help each other keep our homes and wardrobes looking pristine. Your experiences can help others discover the power of this simple yet effective solution. Don’t let stains ruin your favorite items – take control with this easy and affordable method.
Frequently Asked Questions (FAQs)
What types of stains does this DIY stain remover work best on?
This DIY stain remover is effective on a wide range of common stains, including food stains (coffee, tea, wine, sauces), grease stains, ink stains (ballpoint pen), grass stains, and some types of makeup stains. However, its effectiveness can vary depending on the age and severity of the stain, as well as the type of fabric. For set-in stains, multiple applications or a longer soaking time may be necessary. It’s always a good idea to test the solution on an inconspicuous area of the fabric first to ensure it doesn’t cause any discoloration or damage.
Can I use this stain remover on all types of fabrics?
While this DIY stain remover is generally safe for most fabrics, it’s crucial to exercise caution, especially with delicate materials like silk, wool, or linen. Always test the solution on a hidden area of the fabric before applying it to the stain. If you’re unsure about the fabric’s compatibility, consider diluting the solution with water or consulting a professional dry cleaner. Avoid using this stain remover on fabrics that are labeled “dry clean only” unless you’re willing to risk damaging them.
How long should I leave the stain remover on the stain before washing?
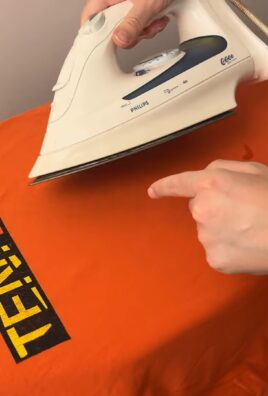
The amount of time you leave the stain remover on the stain depends on the severity and type of stain. For fresh, minor stains, 15-30 minutes may be sufficient. For older, more stubborn stains, you may need to let the solution sit for several hours or even overnight. Keep the treated area moist by covering it with a damp cloth or plastic wrap to prevent the solution from drying out. After the soaking time, rinse the area thoroughly with water and launder as usual.
What if the stain doesn’t come out after the first application?
Don’t be discouraged if the stain doesn’t disappear completely after the first application. Some stains, especially those that are old or deeply embedded, may require multiple treatments. Repeat the application process, allowing the solution to sit for a longer period each time. You can also try gently scrubbing the stain with a soft brush or cloth to help loosen it. If the stain persists after several attempts, consider using a stronger stain remover or consulting a professional dry cleaner.
Can I use this stain remover on colored fabrics? Will it cause fading?
While this DIY stain remover is generally safe for colored fabrics, there’s always a risk of fading, especially with brightly colored or delicate dyes. To minimize this risk, always test the solution on an inconspicuous area of the fabric first, such as an inside seam or hem. If you notice any color change, dilute the solution with water or discontinue use. Avoid using this stain remover on fabrics that are known to bleed easily.
What are some variations of this DIY stain remover?
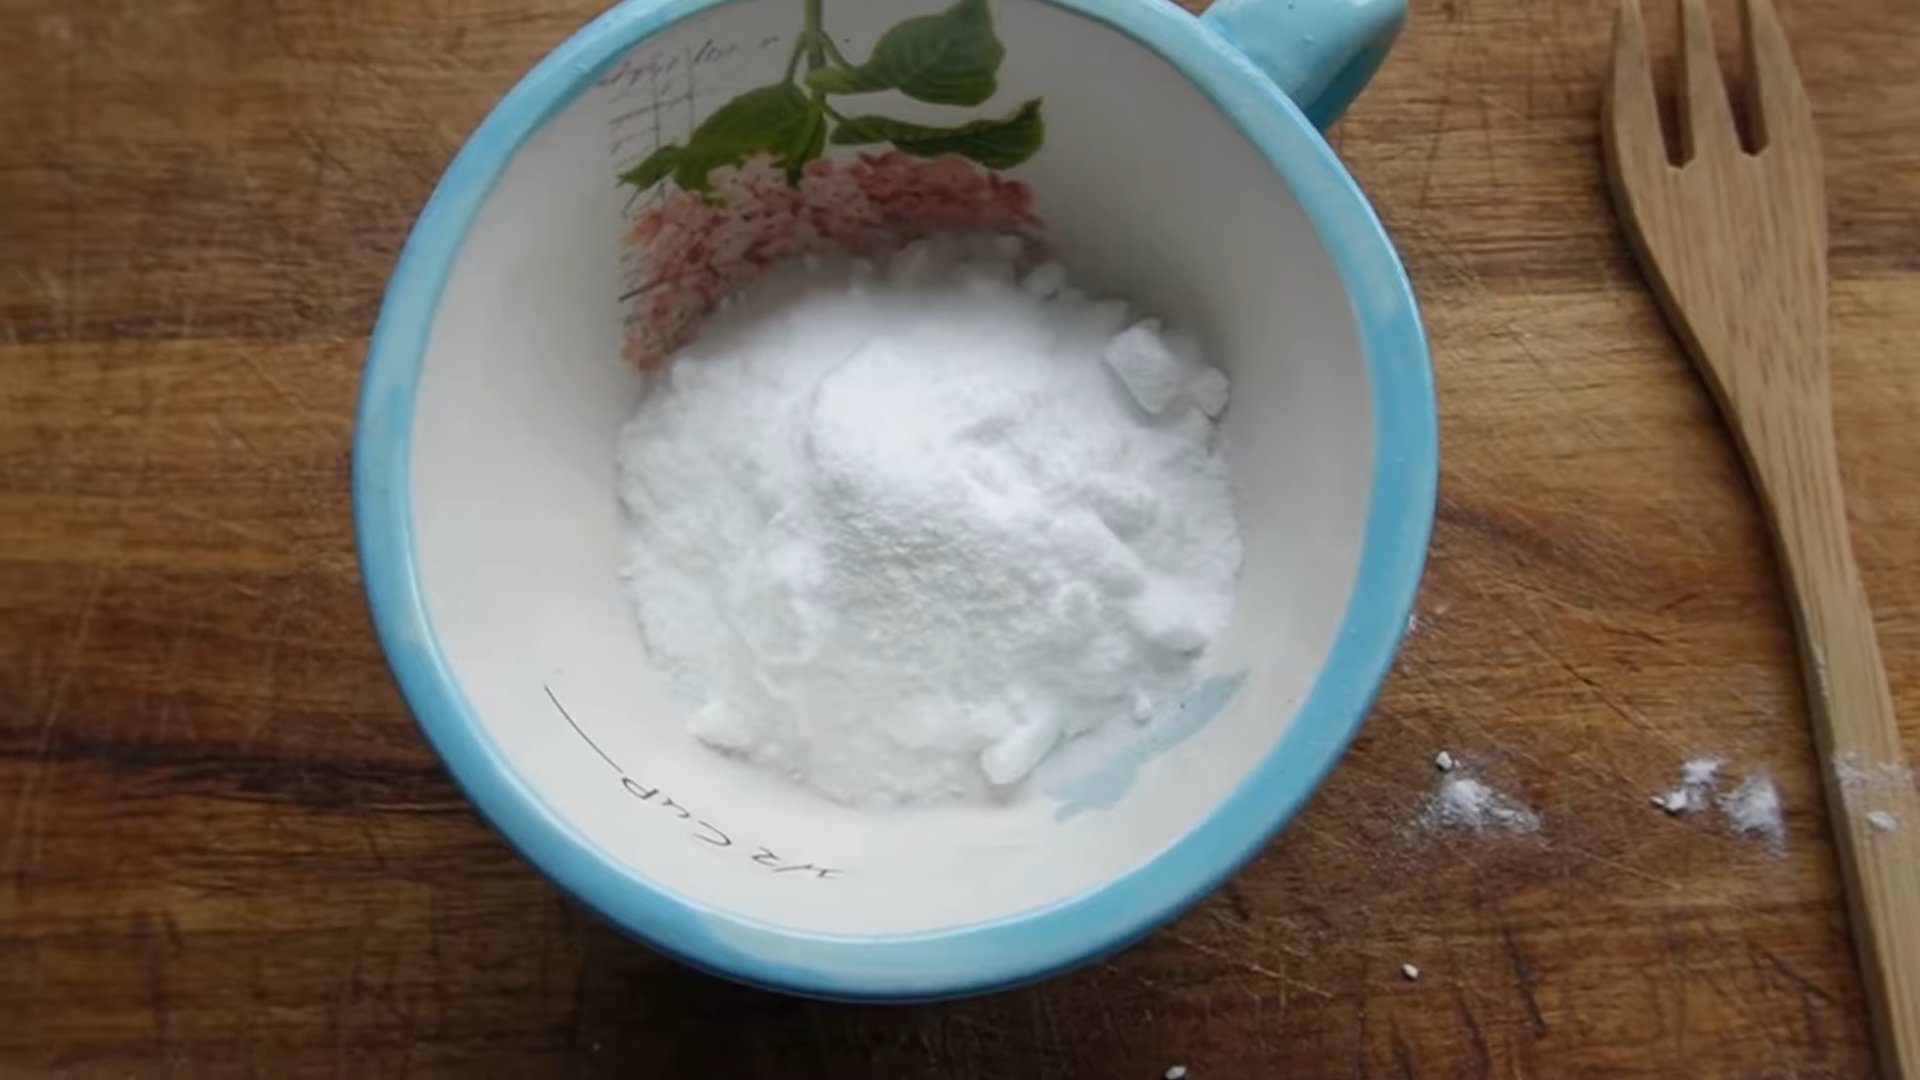
There are several variations of this DIY stain remover that you can try, depending on the type of stain and fabric. For example, you can add a tablespoon of baking soda to the mixture for extra cleaning power. For grease stains, you can try using a mixture of dish soap and water. For ink stains, you can try blotting the stain with rubbing alcohol. Always test any variation on an inconspicuous area of the fabric first to ensure it doesn’t cause any damage or discoloration.
Is this stain remover safe for use around children and pets?
While the ingredients in this DIY stain remover are generally considered safe, it’s still important to exercise caution when using it around children and pets. Keep the solution out of their reach and avoid allowing them to ingest it. If you’re concerned about potential allergic reactions, consider wearing gloves when applying the stain remover. Always rinse the treated area thoroughly with water after the soaking time to remove any residue.
How should I store the leftover stain remover?
Store any leftover stain remover in a tightly sealed container in a cool, dark place. Label the container clearly to avoid accidental ingestion or misuse. The shelf life of the stain remover will depend on the ingredients used, but it’s generally best to use it within a few weeks for optimal effectiveness. If the solution changes color or develops an odor, discard it.

Leave a Comment