
Grow Taro at Home? Absolutely! Imagine harvesting your own creamy, nutty-flavored taro root, right from your backyard. It’s easier than you might think, and this guide is packed with DIY tricks to help you succeed, even if you don’t have a green thumb (yet!).
Taro, also known as “kalo” in Hawaiian culture, has a rich history spanning thousands of years. It’s a staple food in many tropical regions, holding deep cultural significance as a symbol of sustenance and family. In Hawaii, it’s revered as an ancestor and is integral to their traditions. Growing your own taro connects you to this history, allowing you to cultivate a piece of this heritage in your own garden.
But why should you bother learning how to grow taro at home? Well, store-bought taro can be expensive and sometimes hard to find. Plus, growing your own ensures you know exactly what’s going into your food – no nasty pesticides or hidden chemicals! More importantly, it’s incredibly rewarding to nurture a plant from start to finish and enjoy the fruits (or, in this case, roots!) of your labor. This DIY guide will equip you with simple, effective hacks to overcome common challenges and enjoy a bountiful taro harvest. Let’s get started!
Growing Taro at Home: A Beginner’s Guide
Hey there, fellow plant enthusiasts! Ever thought about growing your own taro? It might seem a little exotic, but trust me, it’s totally doable, even if you don’t have a sprawling tropical garden. I’m going to walk you through everything you need to know to cultivate this amazing plant right in your own home or backyard. Let’s get started!
What is Taro, Anyway?
Before we dive in, let’s talk about what taro actually is. Taro (Colocasia esculenta) is a starchy root vegetable, kind of like a potato, but with a slightly nutty flavor. It’s a staple food in many parts of the world, especially in tropical and subtropical regions. The leaves are also edible, but they need to be cooked properly to remove calcium oxalate crystals, which can cause irritation. We’ll mainly focus on growing the root, though!
Choosing Your Taro Variety
There are many different varieties of taro, each with its own unique characteristics. Some are better suited for growing in containers, while others thrive in the ground. Here are a few popular options:
* Bun Long: This is a common variety that produces large, flavorful corms (the edible root). It’s a good all-around choice.
* Elephant Ear (Colocasia gigantea): While technically a taro relative, Elephant Ear is grown more for its impressive foliage. The corms are edible, but not as commonly consumed as other varieties.
* Black Magic: This variety is prized for its stunning dark purple to black leaves. It adds a dramatic touch to any garden. The corms are also edible.
* Illustris: Another visually striking variety with green leaves and dark purple veins. It’s a great choice if you want both beauty and functionality.
I recommend doing a little research to find a variety that suits your climate and growing conditions. Your local nursery should be able to provide some guidance.
Getting Started: Propagation Options
You have a few options for starting your taro plant:
* From Corms: This is the most common method. You can purchase taro corms from a nursery or even some grocery stores (look for ones that haven’t been treated to prevent sprouting).
* From Cuttings: You can also propagate taro from stem cuttings, but this is a bit more challenging.
* From Seed: Growing taro from seed is possible, but it’s a slow process and not typically recommended for beginners.
For this guide, we’ll focus on growing taro from corms, as it’s the easiest and most reliable method.
Preparing Your Corms
Before planting, it’s a good idea to give your corms a little head start. Here’s how:
1. Inspect the Corms: Make sure your corms are firm and healthy, with no signs of rot or mold.
2. Sprout the Corms (Optional): You can encourage sprouting by placing the corms in a warm, humid location for a few days. You can even place them in a shallow dish of water, making sure the bottom of the corm is just touching the water. This will help them develop roots more quickly.
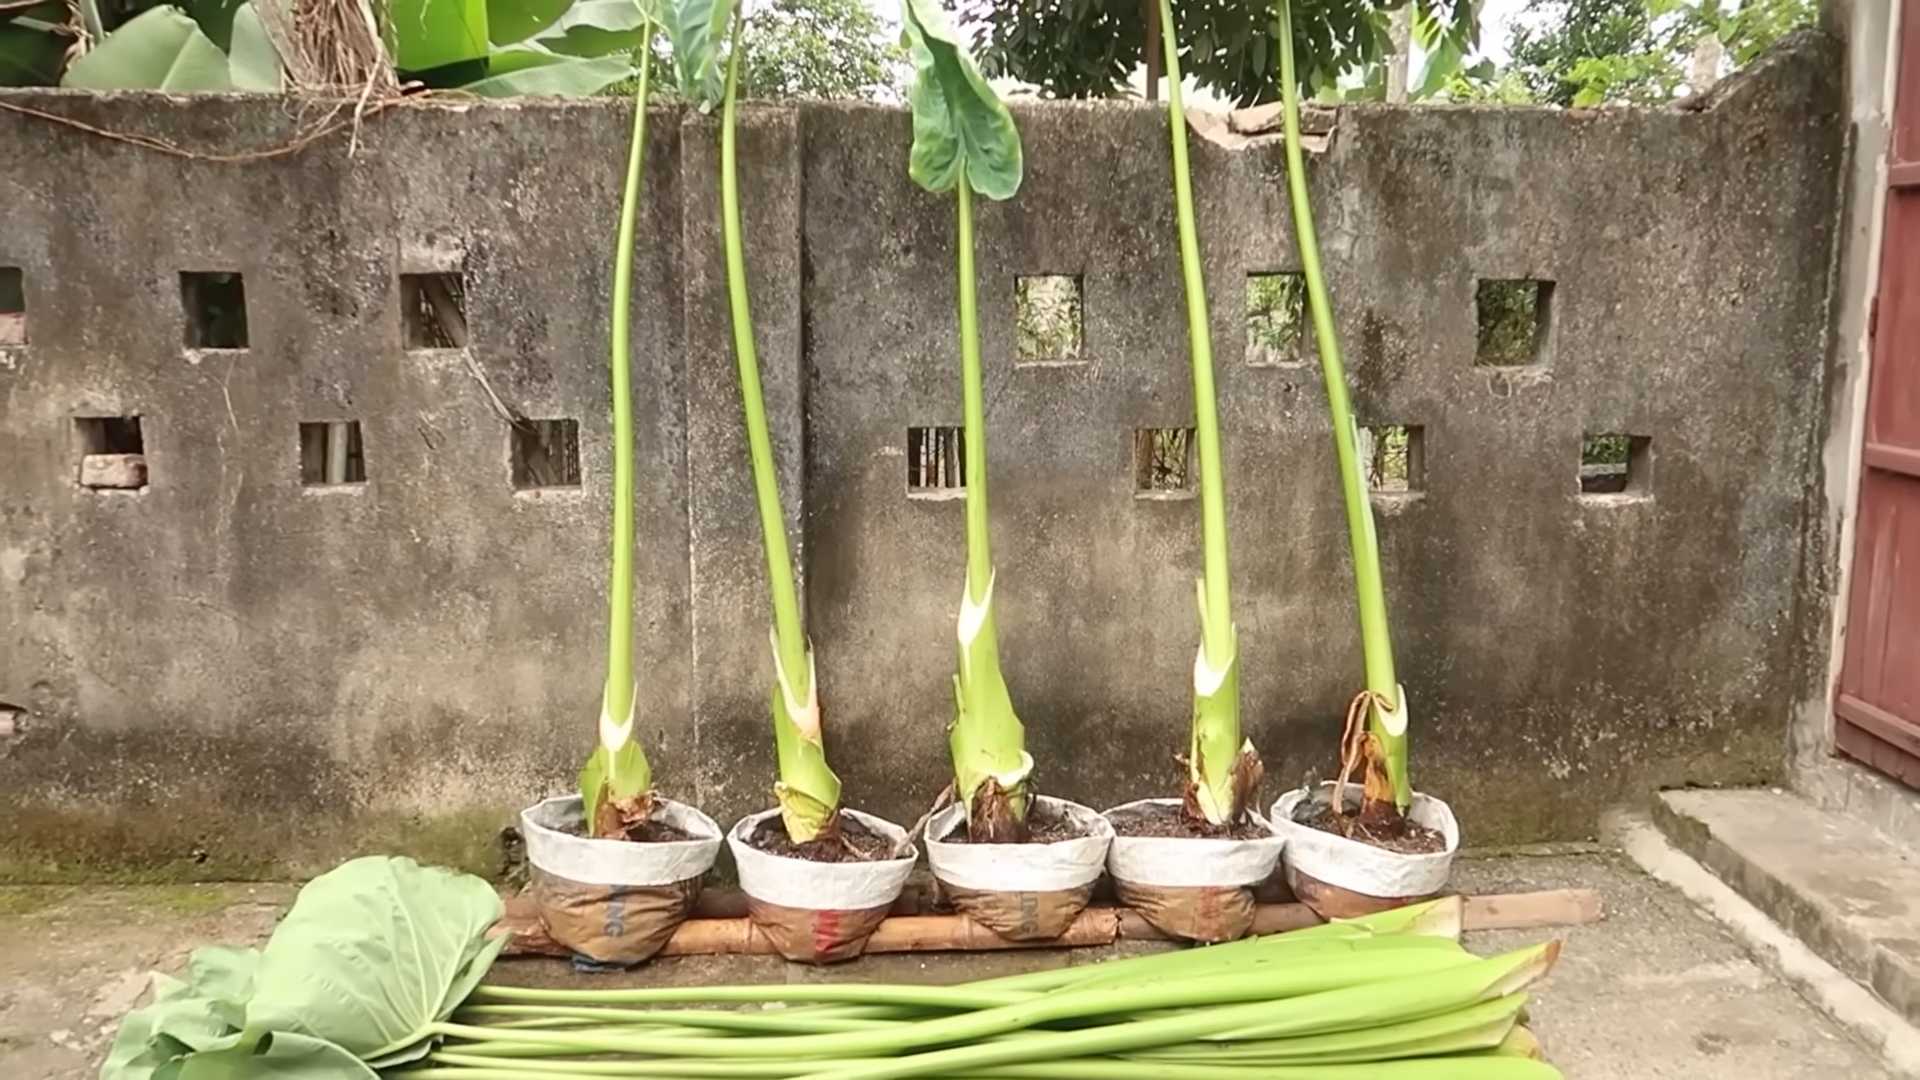
Planting Your Taro
Now comes the fun part: planting! Here’s what you’ll need:
* A Container (if growing in a pot): Choose a pot that’s at least 12 inches in diameter and depth. Taro needs plenty of room for its roots to grow.
* Well-Draining Soil: Taro prefers rich, well-draining soil. You can use a potting mix specifically formulated for vegetables or mix your own using equal parts potting soil, compost, and perlite.
* Water: Taro loves water, so make sure you have a reliable source.
* Sunlight: Taro needs at least 6 hours of sunlight per day.
Planting in a Container:
1. Fill the Pot: Fill your container with the well-draining soil, leaving a few inches of space at the top.
2. Plant the Corm: Dig a hole in the center of the pot that’s about 4-6 inches deep. Place the corm in the hole, with the pointed end facing up (this is where the sprouts will emerge).
3. Cover the Corm: Cover the corm with soil and gently pat it down.
4. Water Thoroughly: Water the soil thoroughly until water drains out of the bottom of the pot.
Planting in the Ground:
1. Choose a Location: Select a spot in your garden that receives at least 6 hours of sunlight per day and has well-draining soil.
2. Prepare the Soil: Dig a hole that’s about 12 inches wide and 12 inches deep. Amend the soil with compost to improve drainage and fertility.
3. Plant the Corm: Place the corm in the hole, with the pointed end facing up.
4. Cover the Corm: Cover the corm with soil and gently pat it down.
5. Water Thoroughly: Water the soil thoroughly.
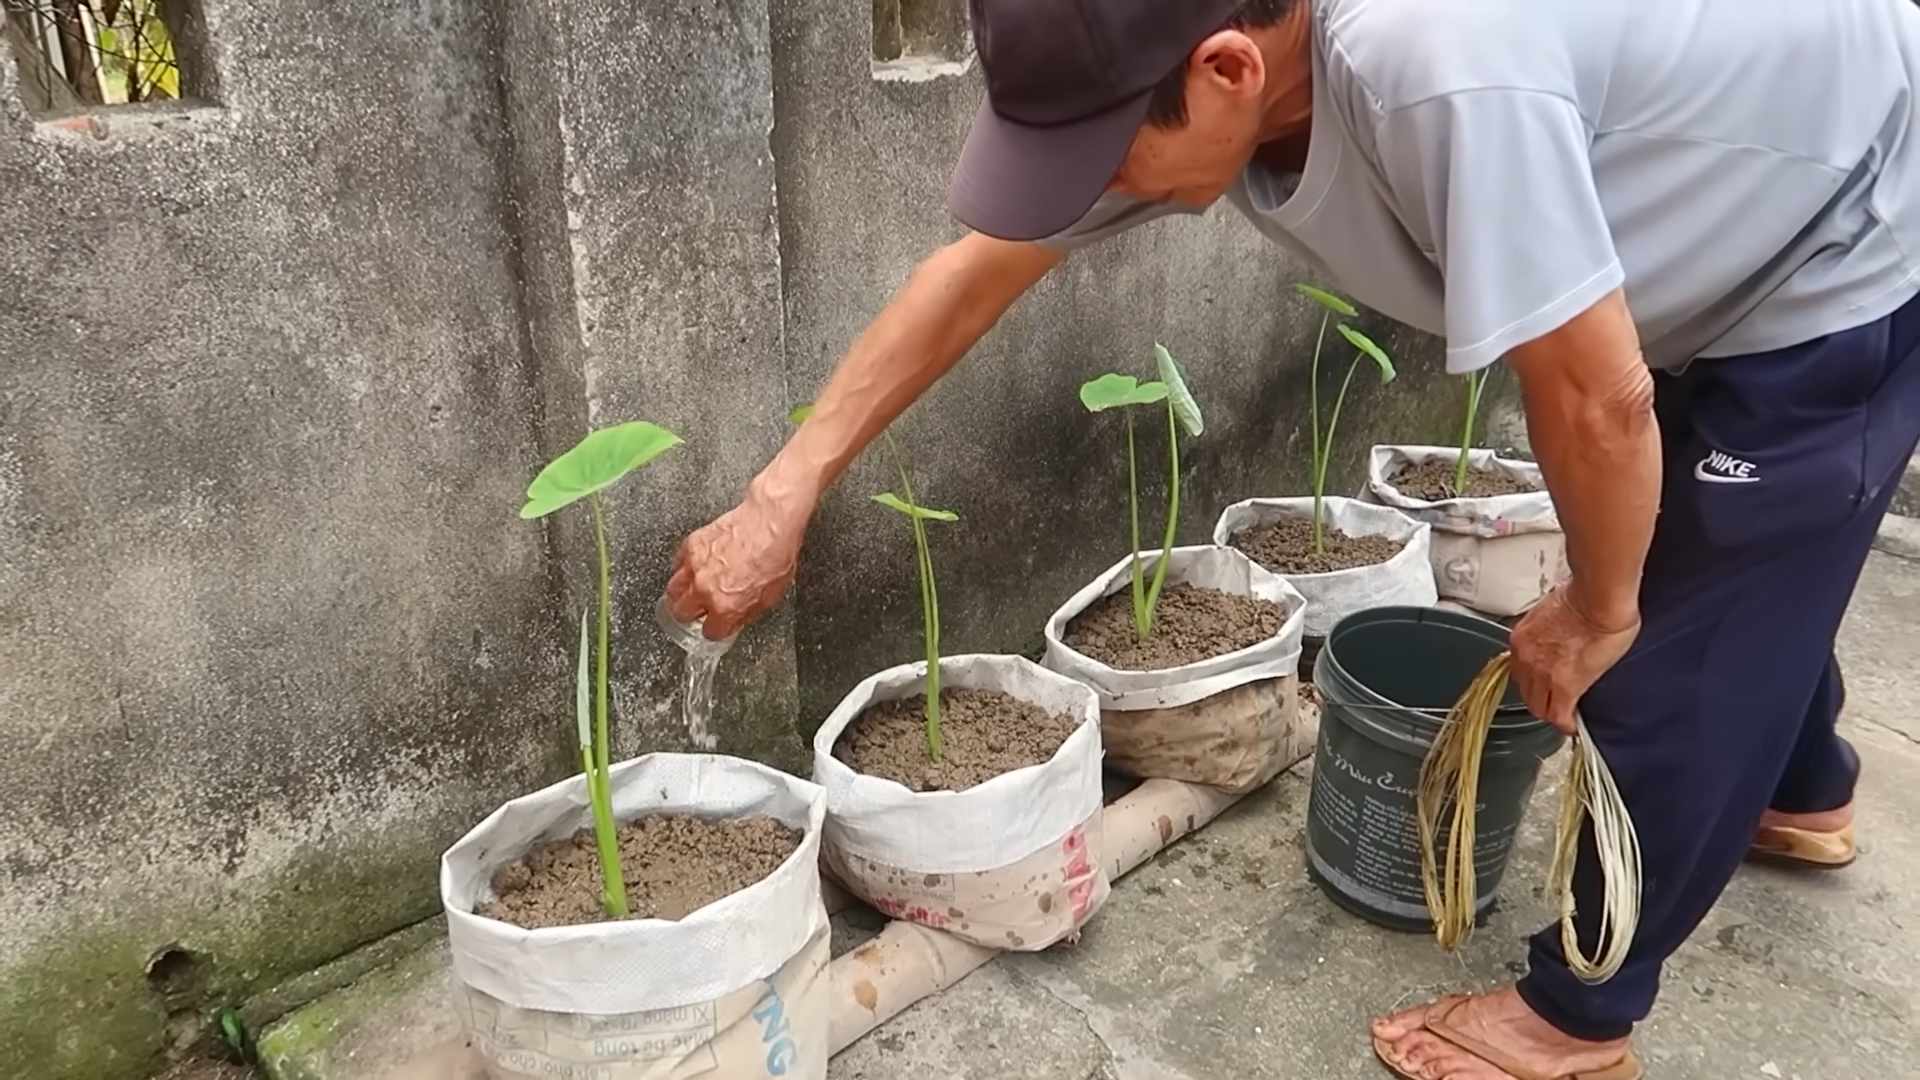
Caring for Your Taro Plant
Once your taro is planted, it’s important to provide it with the right care to ensure healthy growth.
* Watering: Taro loves water, so keep the soil consistently moist. Water deeply whenever the top inch of soil feels dry to the touch. If you’re growing taro in a container, you may need to water it daily, especially during hot weather.
* Fertilizing: Taro is a heavy feeder, so it benefits from regular fertilization. Use a balanced fertilizer (e.g., 10-10-10) every 2-3 weeks during the growing season. You can also amend the soil with compost or other organic matter to provide nutrients.
* Sunlight: Taro needs at least 6 hours of sunlight per day. If you’re growing it indoors, place it near a sunny window.
* Temperature: Taro thrives in warm temperatures (70-85°F). It can tolerate cooler temperatures, but growth will slow down.
* Humidity: Taro prefers high humidity. If you live in a dry climate, you can increase humidity by misting the leaves regularly or placing a tray of water near the plant.
* Pest Control: Taro is generally pest-resistant, but it can be susceptible to aphids, spider mites, and mealybugs. Inspect your plants regularly and treat any infestations promptly with insecticidal soap or neem oil.
* Weed Control: If you’re growing taro in the ground, keep the area around the plant free of weeds. Weeds can compete with taro for nutrients and water.
Harvesting Your Taro
The time it takes to harvest taro depends on the variety and growing conditions. Generally, you can expect to harvest your taro corms in 6-12 months.
Here’s how to tell when your taro is ready to harvest:
* The Leaves Start to Yellow: This is a sign that the plant is starting to mature and the corm is reaching its full size.
* The Plant Starts to Fall Over: This is another sign that the corm is ready to be harvested.
To harvest your taro, carefully dig around the plant and lift the corm out of the ground. Be careful not to damage the corm.
Storing Your Taro
After harvesting, you can store your taro corms in a cool, dry place for several weeks. Don’t wash the corms until you’re ready to use them.
Cooking with Taro
Taro is a versatile ingredient that can be used in a variety of dishes. Here are a few ideas:
* Roasted Taro: Peel and cube the taro, then toss it with olive oil, salt, and pepper. Roast it in the oven at 400°F for 20-30 minutes, or until tender.
* Mashed Taro: Boil the taro until tender, then mash it with butter, milk, and salt.
* Taro Chips: Slice the taro thinly and fry it in oil until crispy.
* Taro Stew: Add taro to your favorite stew recipe.
* Poi: This is a traditional Hawaiian dish made from mashed taro.
Important Note: Always cook taro thoroughly before eating it. Raw taro contains calcium oxalate crystals, which can cause irritation. Cooking breaks down these crystals and makes the taro safe to eat.
Troubleshooting
Even with the best care, you might encounter some challenges when growing taro. Here are a few common problems and how to fix them:
* Yellowing Leaves: This could be a sign of overwatering, underwatering, or nutrient deficiency. Adjust your watering schedule and fertilize the plant if necessary.
* Stunted Growth: This could be caused by insufficient sunlight, poor soil
Conclusion
So, there you have it! Growing taro at home is not only achievable, but it’s also a deeply rewarding experience. Forget the expensive grocery store prices and the uncertainty of where your produce comes from. With a little patience and the right approach, you can cultivate your own supply of this delicious and nutritious root vegetable, right in your own backyard or even indoors.
This DIY method offers a unique opportunity to connect with nature and understand the growing process firsthand. Imagine the satisfaction of harvesting your own taro, knowing you nurtured it from start to finish. Plus, you’ll have the freshest possible ingredient for all your favorite taro recipes, from creamy poi to crispy taro chips.
But the benefits don’t stop there. Growing your own taro is also a sustainable choice. You’re reducing your carbon footprint by eliminating the need for transportation and packaging associated with store-bought produce. You’re also in control of the growing environment, ensuring that your taro is free from harmful pesticides and chemicals.
Don’t be afraid to experiment with different varieties of taro to find your favorite. Some varieties thrive in wetter conditions, while others prefer drier soil. You can also try growing taro in different containers, from traditional pots to raised beds. Consider adding companion plants like basil or marigolds to deter pests and improve the overall health of your taro plants.
For those in colder climates, growing taro indoors is a fantastic option. Provide ample sunlight or use grow lights to mimic natural conditions. Ensure proper drainage to prevent root rot, and mist the leaves regularly to maintain humidity. You might even consider creating a mini-aquaponics system to provide your taro with a constant source of nutrients.
We understand that embarking on a new gardening adventure can be daunting, but we’re confident that with our step-by-step guide, you’ll be well on your way to a successful taro harvest. Remember to be patient, observant, and adaptable. Every growing environment is unique, so don’t be afraid to adjust your approach as needed.
The key takeaway here is that growing taro at home is more than just a gardening project; it’s an investment in your health, your well-being, and the environment. It’s a chance to reconnect with nature, learn new skills, and enjoy the fruits (or rather, roots) of your labor.
So, what are you waiting for? Grab a taro corm or cutting, gather your supplies, and get ready to embark on this exciting journey. We encourage you to share your experiences with us and the wider gardening community. Post photos of your taro plants, share your tips and tricks, and let us know how this DIY method worked for you. Together, we can create a thriving community of home taro growers! We are eager to see your taro growing success stories!
Frequently Asked Questions (FAQ)
What is the best time of year to plant taro?
The best time to plant taro is typically in the spring or early summer, after the last frost. Taro thrives in warm, humid conditions, so planting during this period allows the plants to establish themselves before the cooler months arrive. In tropical and subtropical regions, taro can be planted year-round. If you are growing taro indoors, you can start at any time, as you have more control over the environment.
How much sunlight does taro need?
Taro prefers partial shade, especially in hotter climates. While it needs sunlight to grow, too much direct sunlight can scorch the leaves. Aim for about 4-6 hours of indirect sunlight per day. If you’re growing taro indoors, place it near a bright window or use grow lights to supplement natural light. Observe your plants closely and adjust their position as needed to prevent leaf burn.
What kind of soil is best for growing taro?
Taro thrives in rich, well-draining soil that is high in organic matter. A slightly acidic to neutral pH (around 6.0 to 7.0) is ideal. Amend your soil with compost, aged manure, or other organic materials to improve its fertility and drainage. If you’re growing taro in containers, use a high-quality potting mix specifically formulated for vegetables or root crops.
How often should I water my taro plants?
Taro requires consistent moisture, but it’s important to avoid overwatering, which can lead to root rot. Water your taro plants deeply whenever the top inch of soil feels dry to the touch. In hot, dry weather, you may need to water more frequently. Ensure that your containers have adequate drainage holes to prevent water from pooling around the roots. Mulching around the base of the plants can help retain moisture and suppress weeds.
How long does it take for taro to mature?
Taro typically takes about 7-12 months to mature, depending on the variety and growing conditions. You’ll know your taro is ready to harvest when the leaves start to turn yellow and die back. The corm (the underground stem that is the edible part of the plant) should be firm and well-developed. You can harvest the entire plant at once, or you can harvest individual corms as needed.
Can I eat the leaves of the taro plant?
Yes, the leaves of the taro plant are edible, but they must be cooked thoroughly to remove calcium oxalate crystals, which can cause irritation to the mouth and throat. Boiling the leaves for at least 30 minutes or steaming them until tender is sufficient to neutralize the crystals. Taro leaves are a popular ingredient in many cuisines, particularly in Polynesian and Asian dishes.
What are some common pests and diseases that affect taro?
Common pests that can affect taro include aphids, spider mites, and taro hornworms. These pests can be controlled with insecticidal soap, neem oil, or by handpicking them off the plants. Diseases that can affect taro include root rot, leaf blight, and fungal infections. Preventative measures, such as ensuring proper drainage and avoiding overcrowding, can help minimize the risk of these diseases. If you notice signs of disease, treat your plants with an appropriate fungicide or bactericide.
How do I store harvested taro?
Harvested taro can be stored in a cool, dry, and dark place for several weeks. Avoid storing taro in the refrigerator, as this can cause it to become mushy. You can also freeze taro for longer-term storage. To freeze taro, peel and cut it into pieces, then blanch it in boiling water for a few minutes before freezing.
Can I grow taro in water?
Yes, taro can be grown hydroponically or in water gardens. When growing taro in water, ensure that the roots are submerged but the corm is not. Provide the plants with a nutrient-rich solution to support their growth. Change the water regularly to prevent the buildup of algae and bacteria.
Is growing taro at home difficult for beginners?
While taro requires some specific conditions to thrive, it’s not necessarily difficult for beginners. With careful attention to soil, water, and sunlight, even novice gardeners can successfully grow taro at home. Start with a small number of plants and gradually expand your growing area as you gain experience. Don’t be afraid to experiment and learn from your mistakes. The most important thing is to be patient and persistent.
Leave a Comment