
Drain Starfish for Clogs: Sounds a bit out there, right? But trust me, this simple DIY trick can save you a ton of money and frustration! We’ve all been there – the dreaded slow drain, the gurgling sounds, and the eventual overflowing sink or shower. It’s a plumbing nightmare waiting to happen, and often, the culprit is a tangled mess of hair, soap scum, and who-knows-what lurking just beneath the surface.
For generations, folks have relied on harsh chemical drain cleaners to blast away these clogs. But these chemicals can be corrosive to your pipes and harmful to the environment. Plus, they often only provide a temporary fix. Think of this DIY hack as a modern twist on old-fashioned ingenuity, using readily available materials to tackle a common household problem.
Why do you need this drain starfish for clogs trick in your life? Because it’s effective, eco-friendly, and incredibly easy! I’m going to show you how to create a simple tool that will grab onto those nasty clogs and pull them right out, without damaging your pipes or exposing you to harmful chemicals. Say goodbye to expensive plumbers and hello to a clear, flowing drain! Let’s get started and reclaim your plumbing peace of mind.
DIY Drain Starfish: Banishing Clogs with a Simple Hack
Okay, friends, let’s talk about something we all dread: clogged drains. Hair, soap scum, mysterious gunk – it all adds up to a slow-draining, sometimes overflowing, nightmare. I’ve tried everything from chemical drain cleaners (which I *really* don’t like using) to snaking the drain (which can be messy and, frankly, a pain). But I’ve finally found a solution that’s cheap, effective, and surprisingly satisfying: the DIY drain starfish!
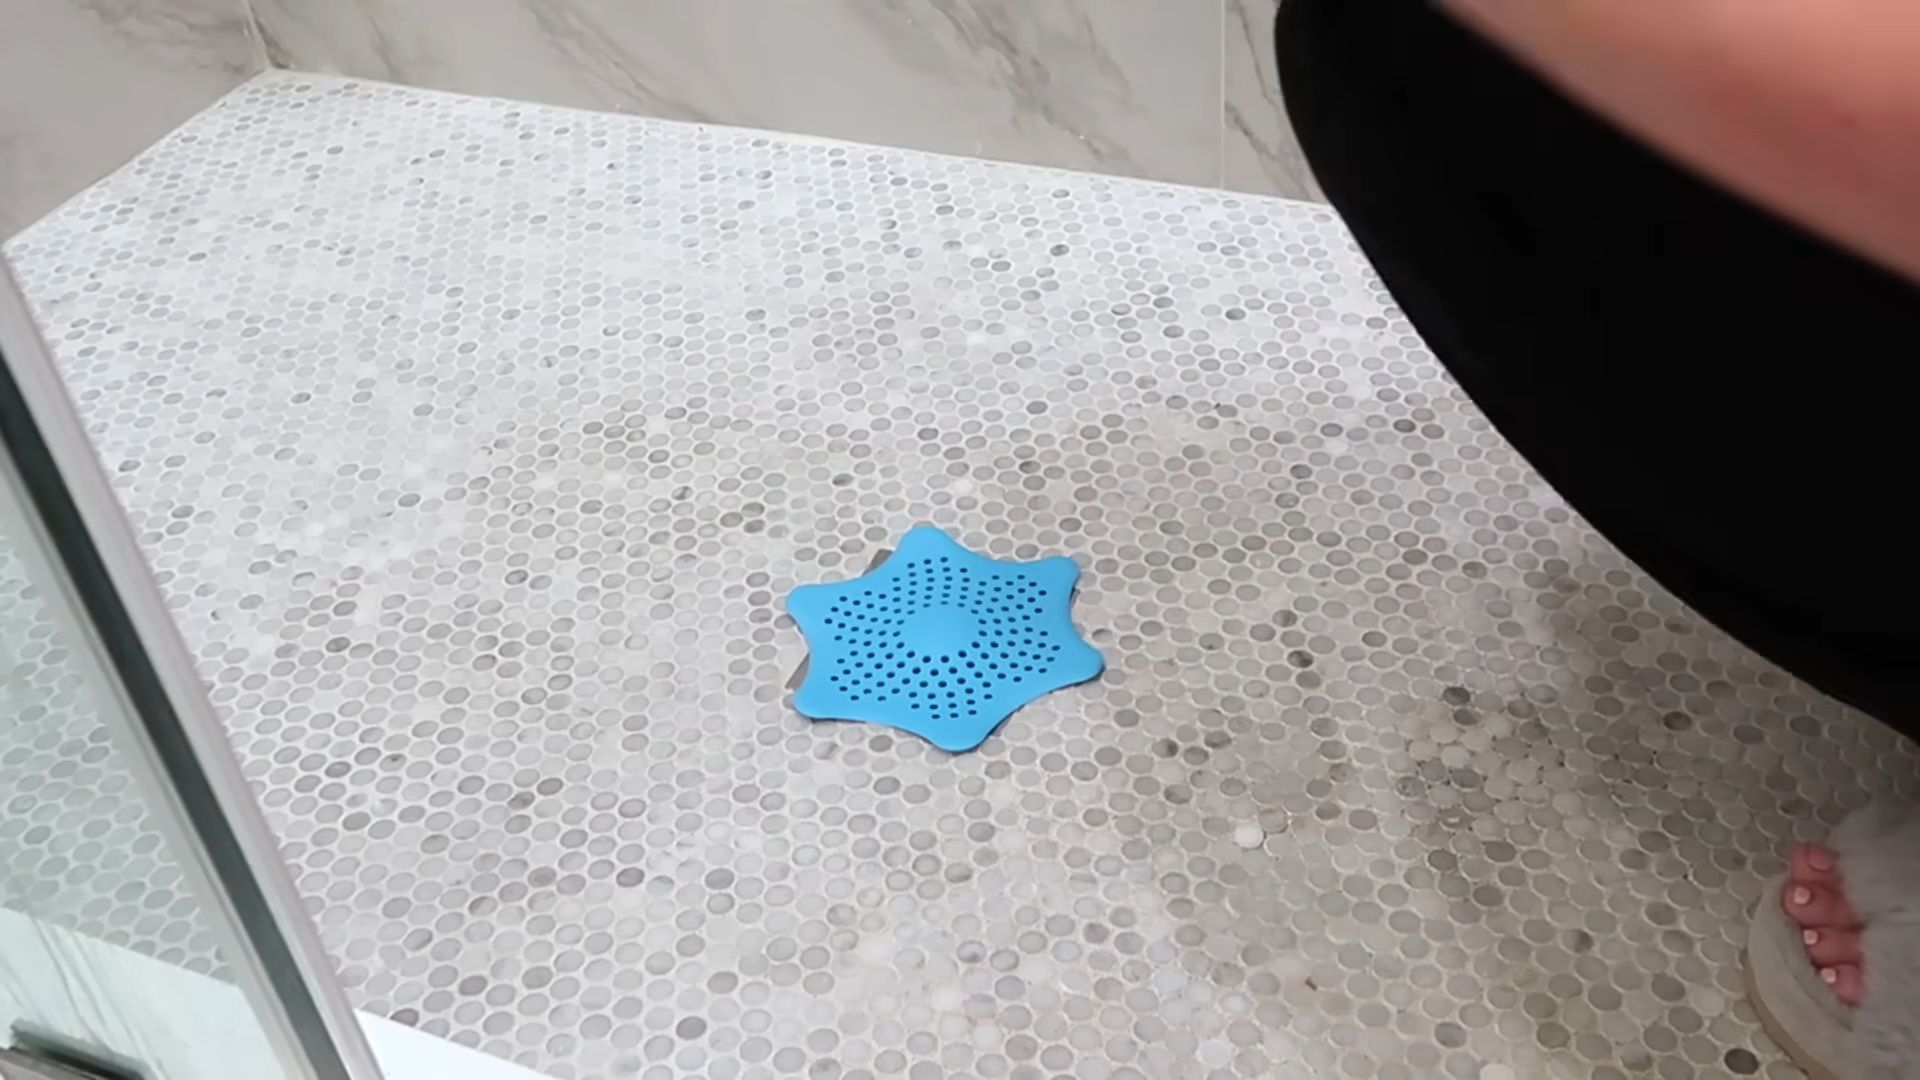
This little gadget, which you can easily make yourself, sits in your drain and catches all the hair and debris *before* it has a chance to form a clog. Think of it as a pre-emptive strike against plumbing problems. Ready to learn how to make your own? Let’s dive in!
Materials You’ll Need
Before we get started, gather these supplies. Don’t worry, most of them are probably already lying around your house!
* **Plastic Soda Bottle (or similar):** The sturdier the plastic, the better. A 2-liter bottle works great, but even a smaller bottle will do in a pinch.
* **Scissors or Utility Knife:** Be careful! A sharp blade is essential for clean cuts.
* **Permanent Marker:** For marking your cutting lines.
* **Ruler or Measuring Tape:** To ensure your starfish arms are even.
* **Lighter or Candle (Optional):** To smooth out any sharp edges (adult supervision required, of course!).
* **Gloves (Optional):** To protect your hands from sharp edges.
Creating Your Drain Starfish: Step-by-Step
Now for the fun part! Follow these steps carefully, and you’ll have your own drain starfish in no time.
1. **Prepare the Bottle:** First, rinse out your plastic bottle thoroughly and let it dry completely. This will make it easier to handle and cut. Remove any labels or stickers.
2. **Mark the Cutting Lines:** This is where the ruler and marker come in handy. We’re going to create the “arms” of the starfish.
* **Base:** Start by marking a circle around the bottle’s circumference, about 2-3 inches from the bottom. This will be the base of your starfish. The height depends on the depth of your drain. You want the base to sit comfortably inside without being too tall.
* **Arms:** Now, divide the area *above* the base circle into equal sections. I usually go for 6-8 arms, but you can adjust this based on the size of your bottle and drain. Use your ruler to measure and mark the lines for each arm. Make sure the lines extend from the base circle to the top of the bottle’s cylindrical section. The longer the arms, the more hair they’ll catch.
3. **Cut the Arms:** Carefully use your scissors or utility knife to cut along the marked lines, creating the arms of your starfish. Start at the top of each line and cut down to the base circle. Be precise and try to make clean, even cuts. This will help your starfish function properly and look its best.
4. **Shape the Arms (Optional):** You can leave the arms straight, or you can shape them slightly for better hair-catching ability. I like to round the tips of the arms and curve them outwards a little. This helps them snag hair more effectively. Use your scissors to trim and shape the arms to your liking.
5. **Smooth the Edges (Optional but Recommended):** Plastic edges can be sharp, so it’s a good idea to smooth them out. This is where the lighter or candle comes in.
* **Important Safety Note:** This step requires extreme caution and adult supervision. Work in a well-ventilated area and keep a bowl of water nearby in case of accidents.
* **The Process:** Briefly pass the cut edges of the plastic over the flame. The heat will melt the plastic slightly, smoothing out the sharp edges. Don’t hold the plastic in the flame for too long, or it will melt too much. Just a quick pass is all you need.
6. **Test and Adjust:** Now it’s time to test your drain starfish! Place it in your drain and see how it fits. If it’s too tall, trim the base. If the arms are too long, shorten them. You want it to sit comfortably in the drain without obstructing the water flow too much.
Using and Maintaining Your Drain Starfish
Okay, you’ve got your drain starfish! Now what? Here’s how to use it and keep it working effectively.
* **Placement:** Simply place the starfish in your drain, ensuring it sits securely.
* **Regular Cleaning:** This is the most important part! You need to clean your drain starfish regularly to prevent it from becoming clogged itself. I recommend cleaning it every few days, or at least once a week, depending on how much hair and debris it collects.
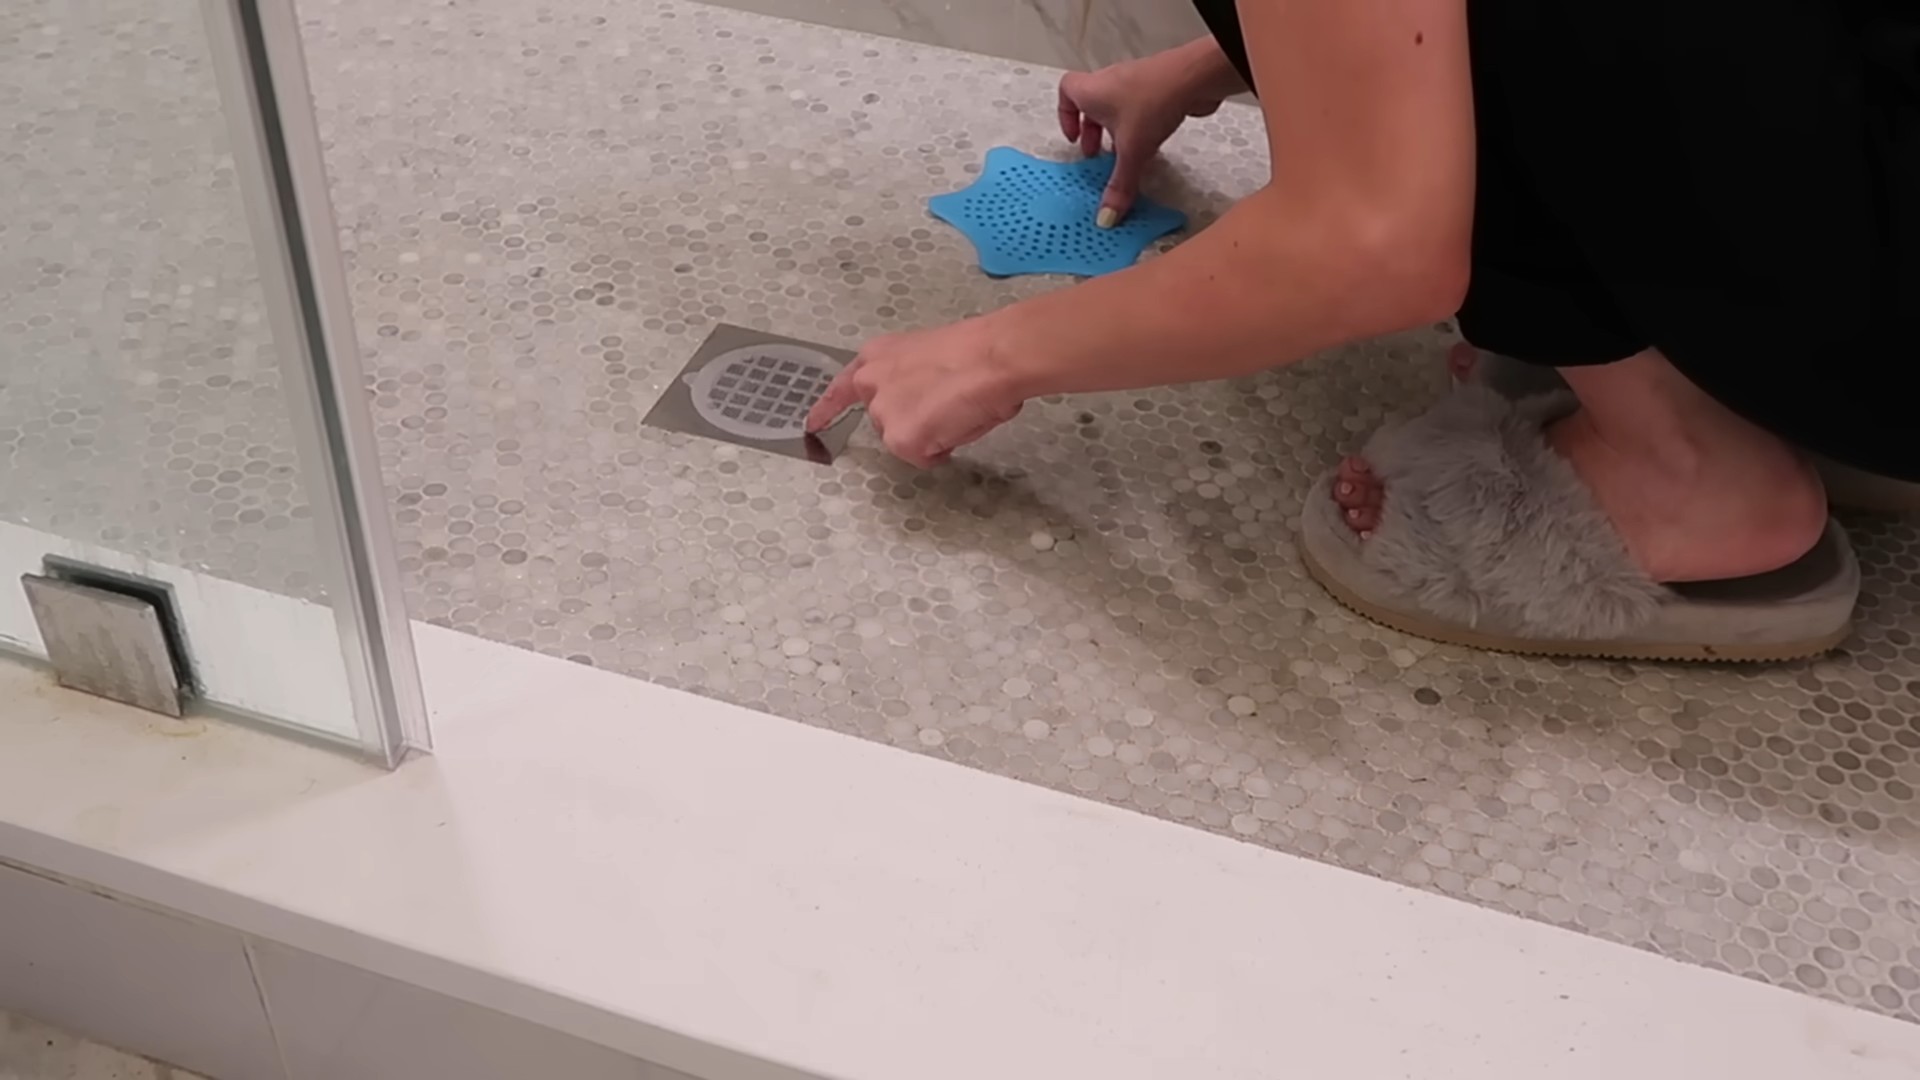
* **Cleaning Process:** Remove the starfish from the drain. You’ll likely see a collection of hair and gunk clinging to the arms. Use your fingers (or wear gloves!) to remove the debris. Rinse the starfish thoroughly with water. You can also use a mild soap to clean it if needed.
* **Replacement:** Over time, the plastic may become brittle or damaged. If your drain starfish starts to crack or break, it’s time to make a new one. Luckily, it’s so easy and cheap to make, you can whip up a replacement in minutes!
Troubleshooting and Tips
Here are a few tips and tricks to help you get the most out of your DIY drain starfish:
* **Drain Size:** Make sure your starfish is the right size for your drain. If it’s too small, it won’t catch enough debris. If it’s too big, it will obstruct the water flow.
* **Arm Length:** Experiment with different arm lengths to find what works best for your drain. Longer arms will catch more hair, but they may also slow down the water flow.
* **Material:** While plastic bottles are a great starting point, you can also experiment with other materials, such as plastic containers or even sturdy plastic mesh.
* **Multiple Starfish:** For drains that are particularly prone to clogging, you can use multiple starfish. Place one in the drain and another in the overflow drain.
* **Deep Cleaning:** Even with a drain starfish, it’s still a good idea to occasionally deep clean your drains. You can use a mixture of baking soda and vinegar, or a drain snake, to remove any buildup that gets past the starfish.
Why This Works (The Science Behind the Starfish)
You might be wondering why this simple little gadget is so effective. It all comes down to physics and a bit of clever design.
The starfish’s arms act as a physical barrier, trapping hair and other debris before they can enter the drainpipe. The shape of the arms, especially if you curve them outwards, helps to snag and hold onto the debris. By catching the debris at the source, you prevent it from accumulating and forming a clog further down the drain.
Think of it like a filter for your drain. It’s a simple, low-tech solution that can save you a lot of time, money, and frustration in the long run.
Beyond the Bathroom: Other Uses for Your DIY Starfish
While I primarily use my drain starfish in the bathroom sink and shower, it can also be useful in other areas of your home.
* **Kitchen Sink:** Place a starfish in your kitchen sink drain to catch food scraps and grease. This can help prevent clogs in your garbage disposal and drainpipe.
* **Laundry Room Sink:** If you have a sink in your laundry room, a starfish can help catch lint and other debris from your washing machine.
* **Outdoor Drains:** You can even use a larger version of the starfish in outdoor drains to catch leaves and other debris.
Final Thoughts
So there you have it! A simple, effective, and affordable way to banish clogged drains. I hope you found this DIY guide helpful. Give it a try, and let me know how it works for you! Happy unclogging!
Conclusion
So, there you have it! The Drain Starfish for Clogs isn’t just a clever name; it’s a genuinely effective and surprisingly simple solution to a problem that plagues every household. We’ve all been there – staring down a slowly draining sink or shower, dreading the messy, often chemical-laden process of unclogging it. But with this DIY trick, you can say goodbye to those days of frustration and hello to free-flowing drains.
Why is this a must-try? Because it’s cost-effective, environmentally friendly, and incredibly easy to implement. You’re likely already throwing away the very thing you need to prevent clogs in the first place – hair! The Drain Starfish method repurposes this waste into a proactive solution, saving you money on expensive drain cleaners and reducing your reliance on harsh chemicals that can damage your pipes and harm the environment. Plus, it takes mere seconds to install and maintain.
But the beauty of this DIY trick lies in its adaptability. Feel free to experiment with different materials to create your Drain Starfish. While hair is the primary component, you can incorporate other natural fibers like cotton threads or even small pieces of yarn for added strength and texture. If you’re concerned about the starfish dissolving too quickly, consider using a slightly thicker gauge of hair or reinforcing it with a thin layer of natural glue.
For those with particularly stubborn drains, consider combining the Drain Starfish with other preventative measures. Regularly flush your drains with hot water after each use to help dissolve any grease or soap buildup. You can also occasionally pour a mixture of baking soda and vinegar down the drain, followed by hot water, to further break down any lingering debris.
The Drain Starfish is more than just a quick fix; it’s a sustainable solution that empowers you to take control of your home maintenance. It’s a testament to the fact that sometimes, the simplest solutions are the most effective.
We wholeheartedly encourage you to try this DIY trick and experience the satisfaction of a clog-free drain. Don’t just take our word for it – put it to the test in your own home and see the results for yourself. And most importantly, we want to hear about your experience! Share your tips, variations, and success stories in the comments below. Let’s build a community of clog-free homes, one Drain Starfish at a time! Your feedback will help others discover the magic of this simple yet powerful solution. Let us know if you found this method for creating a Drain Starfish for Clogs helpful!
Frequently Asked Questions (FAQ)
What exactly is a Drain Starfish and how does it prevent clogs?
A Drain Starfish is a DIY drain protector made primarily from human hair (or other natural fibers) that’s strategically placed over your drain opening. Its purpose is to catch hair, soap scum, and other debris before they can enter the drainpipe and accumulate, forming stubborn clogs. By acting as a physical barrier, the Drain Starfish significantly reduces the amount of material that reaches the drain, preventing the gradual buildup that leads to blockages. It’s a simple, proactive solution that addresses the root cause of many drain problems.
How do I make a Drain Starfish?
Making a Drain Starfish is incredibly easy! Gather a small clump of hair (preferably from your hairbrush or shower drain – cleaned, of course!). Form the hair into a small, flat, starfish-like shape. You can use a few strands of hair to tie the “arms” of the starfish together to help it hold its shape. The size will depend on the size of your drain opening. It should be large enough to cover the drain but not so large that it obstructs water flow.
How often should I replace the Drain Starfish?
The lifespan of a Drain Starfish depends on several factors, including the amount of hair and debris it collects, the frequency of drain use, and the type of water (hard or soft). As a general guideline, you should replace your Drain Starfish every 1-2 weeks. You’ll know it’s time for a replacement when it becomes heavily laden with debris or starts to disintegrate. Regularly checking and replacing the Drain Starfish is crucial for maintaining its effectiveness.
Is the Drain Starfish safe for all types of drains?
Yes, the Drain Starfish is generally safe for all types of drains, including those made of PVC, copper, and cast iron. Because it’s made from natural materials, it won’t corrode or damage your pipes. However, it’s always a good idea to exercise caution when introducing any foreign object into your drain system. Ensure that the Drain Starfish is properly sized for your drain opening and that it doesn’t obstruct water flow excessively. If you have any concerns about the compatibility of the Drain Starfish with your specific drain type, consult a plumber.
Can I use materials other than hair to make a Drain Starfish?
Absolutely! While hair is the most common and readily available material, you can experiment with other natural fibers. Cotton threads, yarn scraps, and even small pieces of natural sponge can be used to create a Drain Starfish. The key is to choose materials that are absorbent, durable, and biodegradable. Avoid using synthetic materials, as they may not break down easily and could potentially contribute to drain clogs.
Will the Drain Starfish completely eliminate drain clogs?
While the Drain Starfish is highly effective at preventing clogs, it’s not a foolproof solution. It primarily targets hair and other solid debris. Grease, soap scum, and mineral buildup can still contribute to drain blockages over time. To maintain clog-free drains, it’s essential to combine the Drain Starfish with other preventative measures, such as regularly flushing your drains with hot water and occasionally using a baking soda and vinegar solution.
What if the Drain Starfish gets sucked down the drain?
While it’s unlikely, it’s possible for the Drain Starfish to get sucked down the drain, especially if it’s too small or if the water pressure is very high. If this happens, don’t panic! In most cases, the Drain Starfish will eventually dissolve or break down naturally. However, if you’re concerned about it causing a blockage further down the line, you can try using a drain snake or auger to retrieve it. To prevent this from happening in the future, make sure your Drain Starfish is appropriately sized and securely positioned over the drain opening.
Is the Drain Starfish environmentally friendly?
Yes, the Drain Starfish is a very environmentally friendly solution for preventing drain clogs. It repurposes waste materials (hair) that would otherwise be discarded, reducing the need for harsh chemical drain cleaners that can pollute waterways. By using natural, biodegradable materials, the Drain Starfish minimizes its environmental impact and promotes sustainable home maintenance practices.
Does the Drain Starfish work for shower drains as well as sink drains?
Yes, the Drain Starfish works equally well for both shower drains and sink drains. In fact, it’s particularly effective in shower drains, where hair is a major contributor to clogs. Simply create a Drain Starfish that’s appropriately sized for your shower drain opening and place it securely over the drain.
Where can I find more information about preventing drain clogs?
There are many resources available online and in your local library that provide information about preventing drain clogs. You can search for articles, videos, and guides on topics such as drain cleaning, pipe maintenance, and water conservation. You can also consult with a plumber or home improvement expert for personalized advice and recommendations. Remember, proactive maintenance is the key to keeping your drains flowing freely and avoiding costly repairs.
Leave a Comment