
Sponge Cleaning Hacks: Are you tired of your kitchen sponge resembling a science experiment gone wrong? Let’s be honest, we’ve all been there! That little rectangular wonder, meant to keep our homes sparkling, can quickly become a breeding ground for bacteria and a source of unpleasant odors. But before you resign yourself to a life of perpetually grimy sponges, I’m here to tell you there’s hope! This article is packed with simple, effective, and downright genius DIY sponge cleaning hacks that will transform your cleaning routine.
Throughout history, people have sought ways to maintain cleanliness, and while the modern sponge is a relatively recent invention, the need to keep our homes and tools sanitary is timeless. From ancient civilizations using natural sea sponges to our modern-day synthetic versions, the quest for effective cleaning solutions has always been a priority. But even the best sponge needs a little TLC to stay fresh and effective.
Why do you need these sponge cleaning hacks? Because a clean sponge equals a cleaner home! A dirty sponge can spread bacteria, leading to potential health risks and a less-than-pleasant cleaning experience. These DIY tricks will not only extend the life of your sponges, saving you money in the long run, but also ensure that you’re actually cleaning, not just spreading germs around. So, grab your sponges, and let’s dive into the world of easy and effective cleaning!
DIY Sponge Cleaning Hacks: Extend the Life of Your Kitchen Companion
Hey there, fellow DIY enthusiasts! Let’s face it, sponges are the unsung heroes of our kitchens. They tackle everything from greasy pans to sticky countertops. But, because they work so hard, they can quickly become breeding grounds for bacteria and start to smell less than fresh. Instead of constantly tossing them out (which isn’t great for the environment or your wallet), I’m going to share some super effective DIY cleaning hacks that will extend the life of your sponges and keep your kitchen sparkling.
Hack 1: The Microwave Sanitization Method
This is probably the quickest and easiest way to give your sponge a good clean. Microwaving kills a significant amount of bacteria, making it a great option for regular maintenance.
What you’ll need:
* Your dirty sponge
* Water
* Microwave-safe bowl or plate
Step-by-step instructions:
1. Rinse the sponge thoroughly: Start by rinsing your sponge under running water to remove any loose food particles or debris. Squeeze it out well.
2. Soak the sponge: Place the sponge in a microwave-safe bowl or on a plate. Add enough water to completely saturate the sponge. You want it to be dripping wet.
3. Microwave it: Microwave the sponge on high for 2 minutes. Be careful when removing the bowl or plate from the microwave, as it will be very hot!
4. Cool and squeeze: Let the sponge cool down for a few minutes before handling it. Once it’s cool enough to touch, squeeze out the excess water.
5. Air dry: Allow the sponge to air dry completely. This will help prevent the growth of bacteria.
Important Notes:
* Make sure your sponge doesn’t have any metal parts, as these can cause sparks in the microwave.
* The microwave method is best for sponges that are generally clean but need a refresh. If your sponge is heavily soiled or has a strong odor, try one of the other methods below.
* I recommend doing this at least once a week, or more often if you use your sponge frequently.
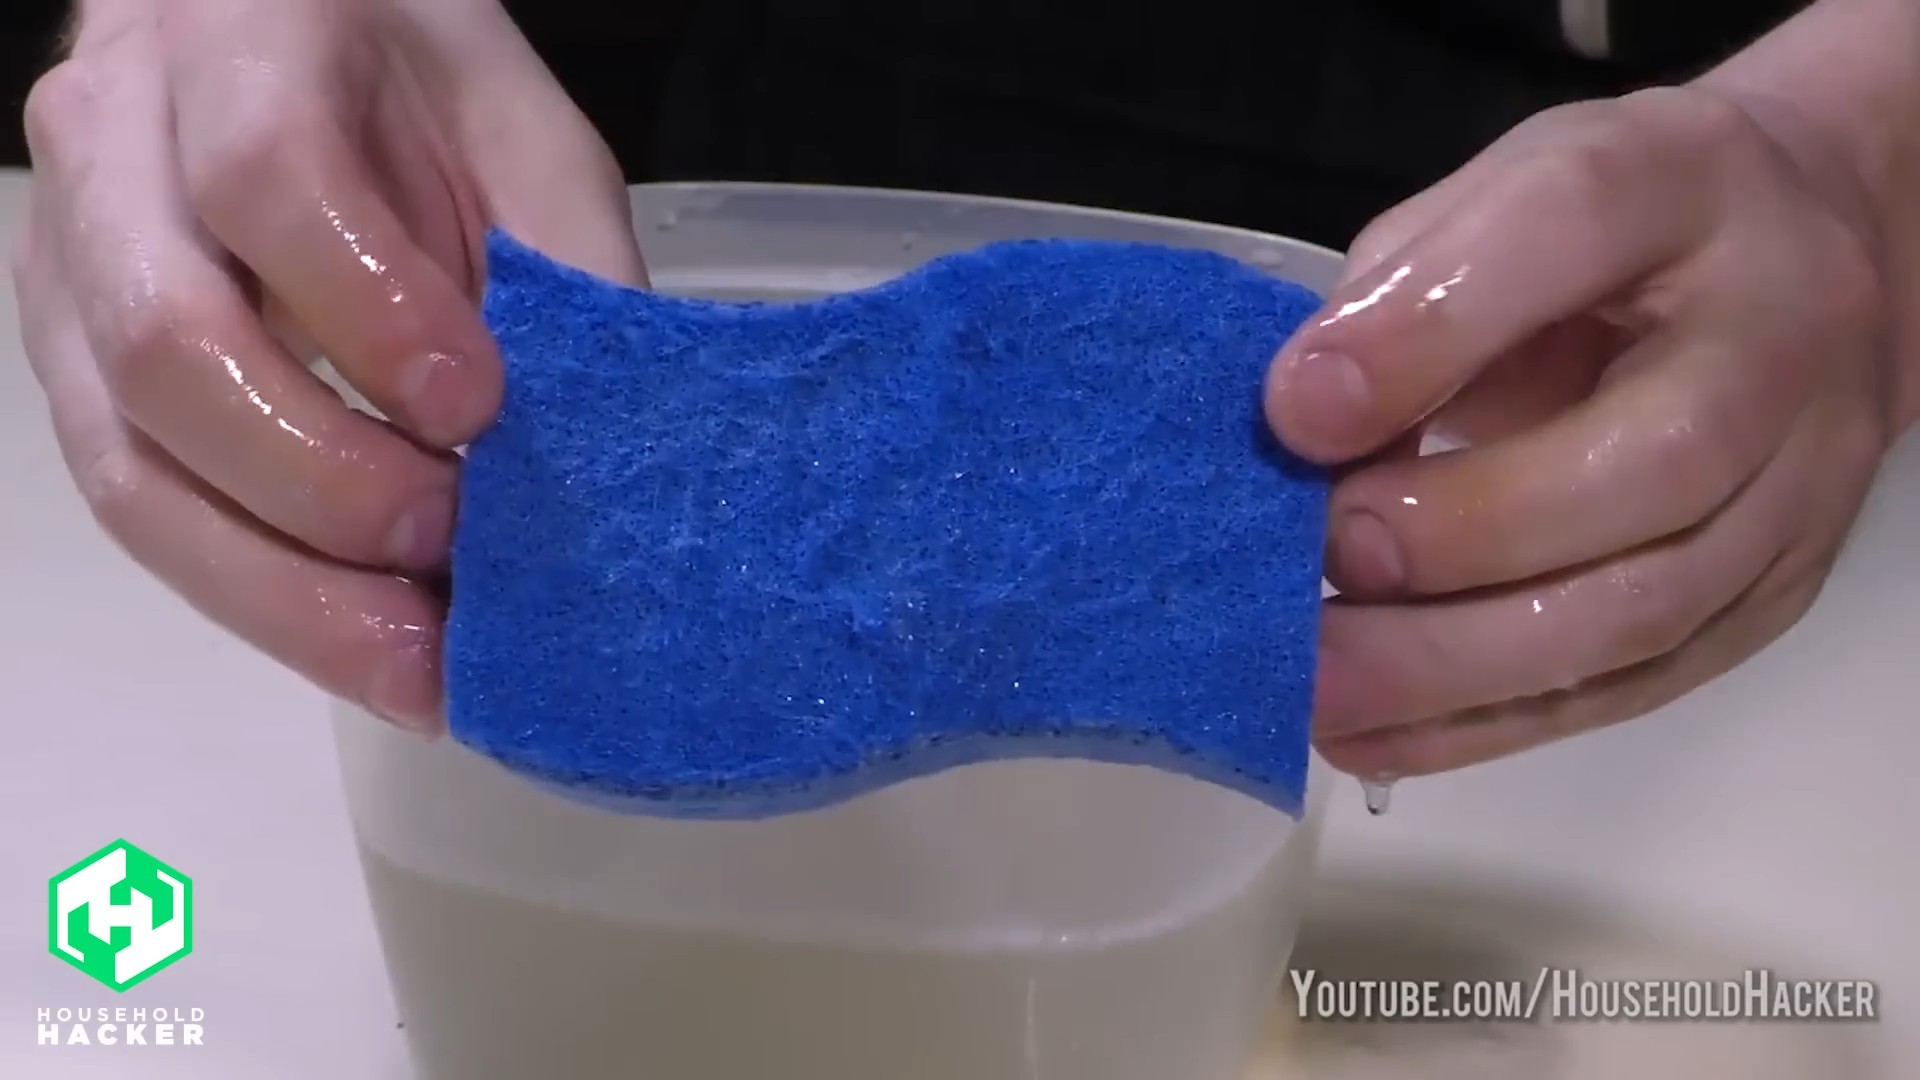
Hack 2: The Bleach Solution Soak
Bleach is a powerful disinfectant, making it an excellent choice for killing bacteria and removing stubborn stains. However, it’s important to use bleach safely and responsibly.
What you’ll need:
* Your dirty sponge
* Bleach (unscented)
* Water
* A bowl or container
Step-by-step instructions:
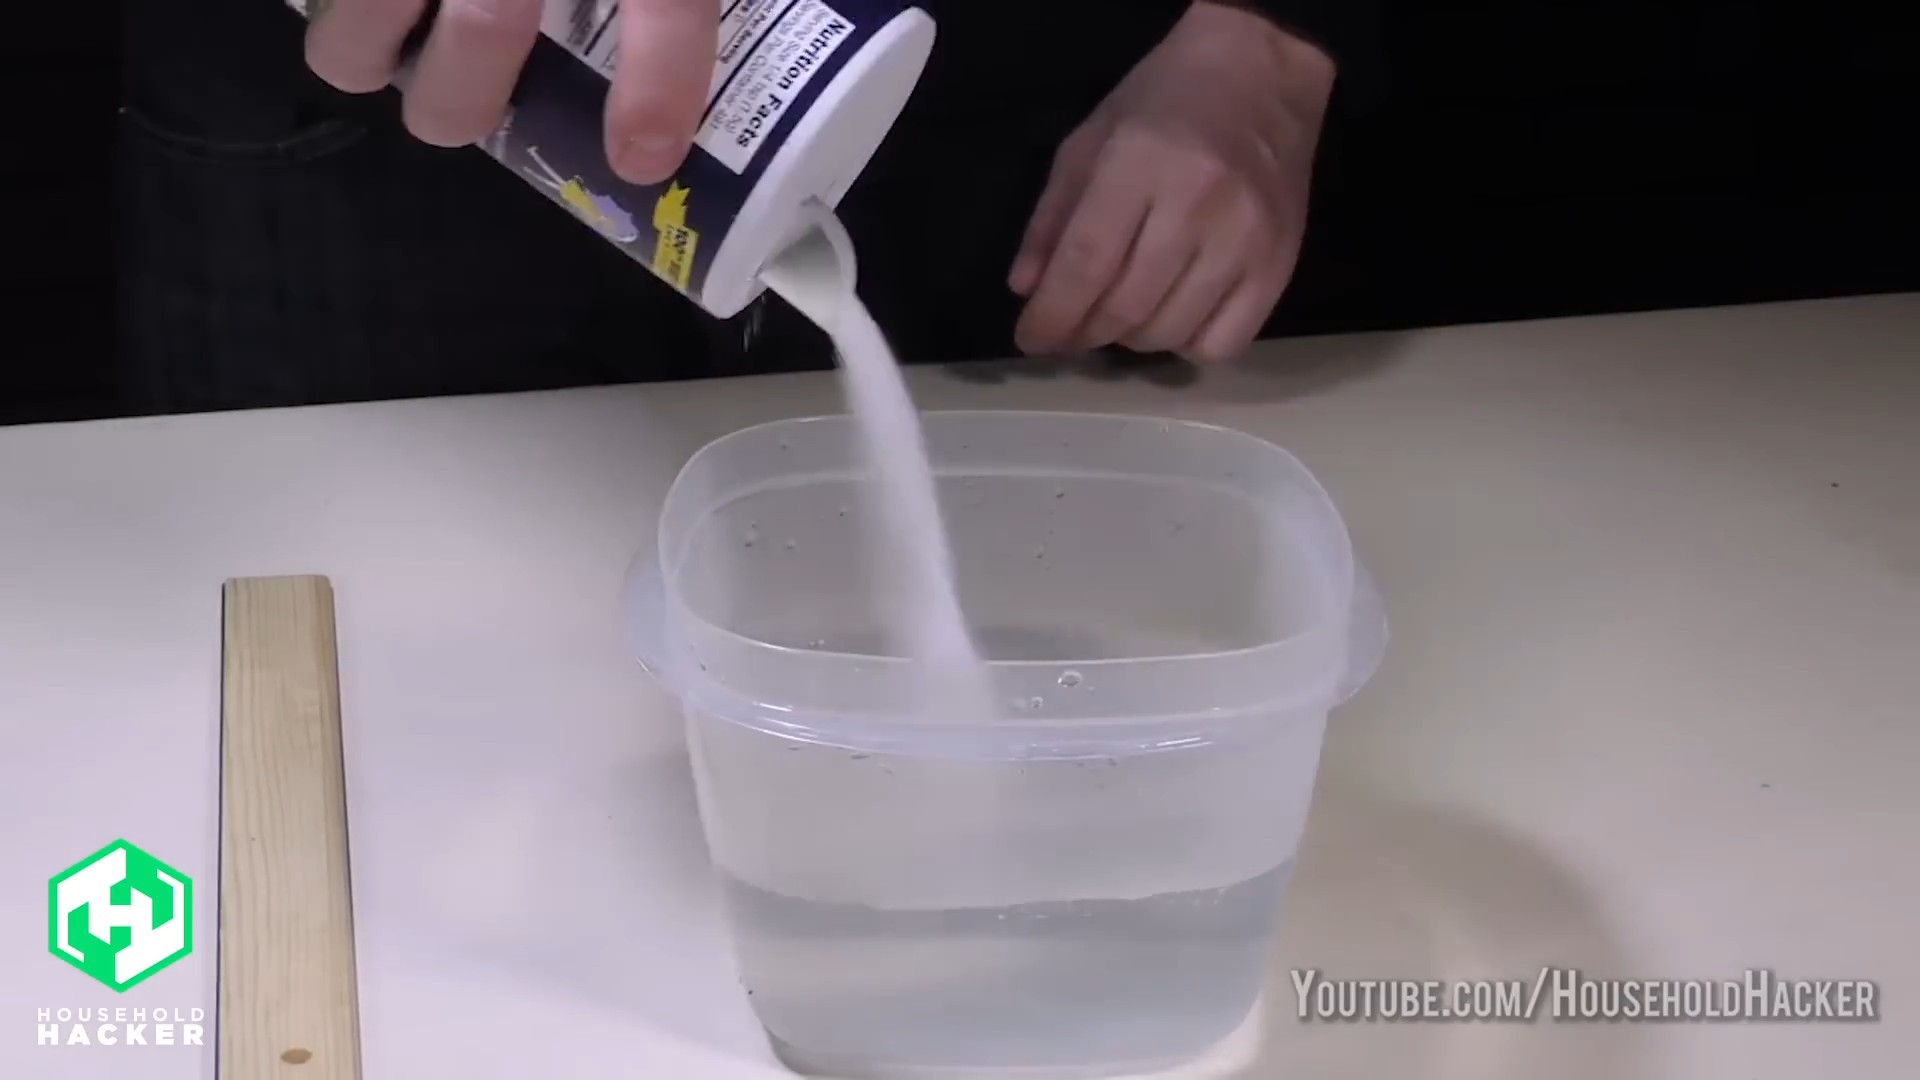
1. Prepare the bleach solution: In a bowl or container, mix 3/4 cup of bleach with one gallon of cold water. Always add bleach to water, never water to bleach, to avoid dangerous fumes.
2. Soak the sponge: Submerge the sponge completely in the bleach solution. Make sure it’s fully saturated.
3. Let it soak: Allow the sponge to soak in the bleach solution for 5 minutes. Don’t soak it for longer than 10 minutes, as this can damage the sponge.
4. Rinse thoroughly: After soaking, rinse the sponge thoroughly under running water until all traces of bleach are gone. It’s crucial to remove all bleach residue to prevent it from contaminating food or surfaces.
5. Squeeze and air dry: Squeeze out the excess water and allow the sponge to air dry completely.
Important Notes:
* Always wear gloves when working with bleach to protect your skin.
* Work in a well-ventilated area to avoid inhaling bleach fumes.
* Never mix bleach with ammonia or other cleaning products, as this can create toxic gases.
* This method is best for sponges that are heavily soiled or have a strong odor.
* I recommend using this method sparingly, as bleach can be harsh on sponges and shorten their lifespan. Once a month is usually sufficient.
Hack 3: The Vinegar Soak for Odor Removal
Vinegar is a natural disinfectant and deodorizer, making it a great option for removing unpleasant smells from your sponge. It’s also a gentler alternative to bleach.
What you’ll need:
* Your dirty sponge
* White vinegar
* Water
* A bowl or container
Step-by-step instructions:
1. Prepare the vinegar solution: In a bowl or container, mix equal parts white vinegar and water.
2. Soak the sponge: Submerge the sponge completely in the vinegar solution.
3. Let it soak: Allow the sponge to soak in the vinegar solution for at least one hour, or even overnight for stubborn odors.
4. Rinse thoroughly: After soaking, rinse the sponge thoroughly under running water.
5. Squeeze and air dry: Squeeze out the excess water and allow the sponge to air dry completely.
Important Notes:
* Vinegar has a strong smell, but it will dissipate as the sponge dries.
* This method is particularly effective for removing musty or mildewy odors.
* You can use this method as often as needed to keep your sponge smelling fresh.
* For extra cleaning power, you can add a few drops of essential oil to the vinegar solution. Lemon, tea tree, and eucalyptus oils are all good choices for their antibacterial properties.
Hack 4: The Dishwasher Cleaning Cycle
Did you know your dishwasher can also clean your sponges? It’s a convenient way to sanitize them while you’re already running a load of dishes.
What you’ll need:
* Your dirty sponge
* Dishwasher
Step-by-step instructions:
1. Rinse the sponge: Rinse the sponge under running water to remove any loose food particles.
2. Place the sponge in the dishwasher: Place the sponge in the top rack of your dishwasher. Make sure it’s secured so it doesn’t fall through during the wash cycle.
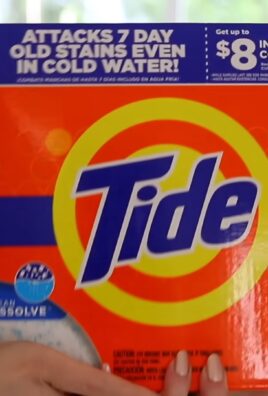
3. Run a normal cycle: Run your dishwasher on a normal cycle with your regular dishwashing detergent.
4. Dry the sponge: Once the cycle is complete, remove the sponge and allow it to air dry completely.
Important Notes:
* Make sure your sponge doesn’t have any metal parts before putting it in the dishwasher.
* Avoid using the heated drying cycle, as this can damage the sponge.
* This method is best for sponges that are generally clean but need a thorough sanitization.
* I recommend doing this once a week.
Hack 5: The Baking Soda Paste Scrub
Baking soda is a natural abrasive and deodorizer, making it a great option for scrubbing away stubborn stains and grime.
What you’ll need:
* Your dirty sponge
* Baking soda
* Water
Step-by-step instructions:
1. Make a baking soda paste: In a small bowl, mix baking soda with enough water to form a thick paste.
2. Apply the paste to the sponge: Spread the baking soda paste all over the sponge, focusing on areas with stains or grime.
3. Scrub the sponge: Use your fingers or a brush to scrub the baking soda paste into the sponge.
4. Rinse thoroughly: Rinse the sponge thoroughly under running water until all traces of baking soda are gone.
5. Squeeze and air dry: Squeeze out the excess water and allow the sponge to air dry completely.
Important Notes:
* Baking soda is a gentle abrasive, so it won’t damage your sponge.
* This method is particularly effective for removing grease and grime.
* You can use this method as often as needed to keep your sponge clean.
* For extra cleaning power, you can add a few drops of dish soap to the baking soda paste.
Bonus Tip: Proper Sponge Storage
How you store your sponge can also impact its lifespan and cleanliness. Here are a few tips:
* Squeeze out excess water: After each use, squeeze out as much water as possible from your sponge. This will help prevent the growth of bacteria.
* Store it in a well-ventilated area: Don’t leave your sponge sitting in a damp sink or on a wet countertop. Store it in a well-ventilated area where it can dry quickly. A sponge holder with good airflow is ideal.
* Consider a sponge caddy: A sponge caddy with drainage holes will help keep your sponge dry and prevent the buildup of bacteria.
* Replace regularly: Even with regular cleaning, sponges will eventually wear out and need to be replaced. I recommend replacing your sponge every 2-4 weeks, or sooner if it starts to smell bad or show signs of wear and tear.
By following these simple DIY sponge cleaning hacks, you can extend the life of your sponges, save money, and keep your kitchen clean and healthy. Happy cleaning!
Conclusion
So, there you have it! These sponge cleaning hacks aren’t just about saving a few bucks; they’re about extending the life of your hardest-working kitchen tool and keeping your home a cleaner, healthier place. We’ve explored methods from the simple microwave zap to the more thorough vinegar soak, each designed to tackle the bacteria and grime that inevitably accumulate in your sponges.
Why is this a must-try? Because a clean sponge translates directly to a cleaner kitchen. Think about it: you’re using that sponge to wipe down counters, wash dishes, and clean up spills. If your sponge is harboring bacteria, you’re essentially spreading that bacteria around your kitchen. These hacks offer a simple, effective way to break that cycle and ensure you’re truly cleaning, not just relocating, the mess.
But the benefits extend beyond hygiene. Regularly cleaning your sponges also saves you money. Instead of tossing them out every week, you can significantly extend their lifespan, reducing waste and saving you from constantly buying replacements. It’s a small change that can make a big difference, both for your wallet and the environment.
Now, let’s talk variations. While the microwave and vinegar methods are incredibly popular, don’t be afraid to experiment. For a more intense clean, try soaking your sponges in a diluted bleach solution (always use caution and proper ventilation when working with bleach). You can also add a few drops of essential oils, like tea tree or lemon, to your cleaning solution for an extra boost of antibacterial power and a fresh, clean scent. Just be sure the essential oils are safe for use on surfaces that come into contact with food.
Another variation involves the dishwasher. Many dishwashers have a utensil basket that’s perfect for holding sponges during a wash cycle. Just be sure to use a hot water setting and a sanitizing rinse for optimal cleaning.
Ultimately, the best method is the one that works best for you and your lifestyle. The key is to make sponge cleaning a regular part of your cleaning routine. Whether you choose to microwave them daily, soak them in vinegar weekly, or run them through the dishwasher every few days, consistency is key to keeping your sponges clean and your kitchen germ-free.
We’re confident that these **sponge cleaning hacks** will revolutionize your cleaning routine. They’re easy, effective, and affordable, making them a win-win for everyone.
So, what are you waiting for? Give these hacks a try and see the difference they can make. We’d love to hear about your experiences! Share your results, tips, and variations in the comments below. Let’s create a community of clean sponge enthusiasts! Tell us which method worked best for you, if you tried any variations, and any other tips you have for keeping sponges clean. Your insights could help others discover the best way to keep their kitchens sparkling. We can’t wait to hear from you!
Frequently Asked Questions (FAQ)
How often should I clean my sponges?
This depends on how frequently you use your sponges. If you use them multiple times a day, cleaning them daily is ideal. At a minimum, aim to clean them every other day. For sponges used less frequently, a weekly cleaning should suffice. Remember, the more often you clean them, the less likely bacteria are to build up.
What’s the best method for cleaning sponges?
There’s no single “best” method, as it depends on your preferences and resources. The microwave method is quick and easy for daily cleaning. The vinegar soak is more thorough and effective for removing stubborn grime. The dishwasher is a convenient option for those who run their dishwasher frequently. Experiment with different methods to find what works best for you.
Is it safe to microwave sponges?
Yes, microwaving sponges is generally safe, but there are a few precautions to take. First, make sure the sponge is thoroughly wet before microwaving it. A dry sponge can catch fire. Second, microwave the sponge for no more than two minutes. Third, let the sponge cool down before handling it, as it will be very hot. Finally, be aware that some sponges with metal components may not be microwave-safe.
Can I use bleach to clean my sponges?
Yes, you can use bleach to clean your sponges, but it’s important to use it safely and responsibly. Dilute the bleach in water (typically 1/4 cup of bleach per gallon of water) and soak the sponge for a few minutes. Rinse the sponge thoroughly with clean water before using it. Always wear gloves when working with bleach and avoid getting it on your skin or clothes. Never mix bleach with ammonia or other cleaning products, as this can create dangerous fumes.
How do I know when it’s time to replace my sponge?
Even with regular cleaning, sponges will eventually wear out and need to be replaced. If your sponge starts to smell bad, even after cleaning, or if it becomes discolored or starts to fall apart, it’s time to get a new one. As a general rule, replace your sponges every two to four weeks, depending on how frequently you use them.
Can I clean cellulose sponges and synthetic sponges the same way?
Yes, both cellulose and synthetic sponges can be cleaned using the same methods, such as microwaving, soaking in vinegar, or running them through the dishwasher. However, synthetic sponges may be more durable and last longer than cellulose sponges.
Will these cleaning methods remove all bacteria from my sponges?
While these cleaning methods are effective at reducing bacteria levels in your sponges, they may not eliminate all bacteria completely. However, they will significantly reduce the risk of spreading germs around your kitchen. For optimal hygiene, it’s still important to replace your sponges regularly.
Can I use these cleaning methods on other cleaning tools, like dishcloths?
Yes, many of these cleaning methods can also be used on other cleaning tools, such as dishcloths and scrub brushes. Dishcloths can be microwaved, soaked in vinegar, or washed in the washing machine. Scrub brushes can be soaked in vinegar or cleaned with a bleach solution.
What are some signs that my sponge is too dirty to clean and needs to be replaced?
If your sponge has a persistent foul odor that doesn’t go away after cleaning, is heavily stained, or is visibly falling apart, it’s time to replace it. These are signs that the sponge is too far gone and may be harboring harmful bacteria that cannot be effectively removed.
Are there any eco-friendly alternatives to traditional sponges?
Yes, there are several eco-friendly alternatives to traditional sponges, such as cellulose sponges made from wood pulp, natural sea sponges, and reusable dishcloths made from cotton or bamboo. These alternatives are more sustainable and biodegradable than synthetic sponges. You can also find sponges made from walnut shells or loofah plants.
Can I use baking soda to clean my sponges?
Yes, baking soda can be used as a gentle abrasive cleaner for sponges. You can sprinkle baking soda on the sponge and scrub it to remove stubborn grime. You can also add baking soda to your vinegar solution for an extra cleaning boost. Baking soda is a natural deodorizer and can help to remove unpleasant odors from your sponges.

Leave a Comment