
Grow Bok Choy Indoors? Absolutely! Imagine fresh, crisp bok choy, ready to harvest right from your windowsill, even when the weather outside is frightful. Forget those sad, wilted greens at the grocery store – we’re talking vibrant, homegrown goodness, and I’m here to show you how surprisingly easy it is!
Bok choy, also known as pak choi, has been a staple in Asian cuisine for centuries, gracing tables with its delicate flavor and nutritional punch. From stir-fries to soups, this versatile vegetable adds a delightful crunch and a healthy dose of vitamins. But you don’t need a sprawling garden to enjoy its benefits.
In today’s busy world, finding time for a traditional garden can be a challenge. That’s where the magic of indoor gardening comes in! Learning how to grow bok choy indoors not only provides you with fresh, organic produce, but it’s also a fantastic way to connect with nature, reduce your carbon footprint, and add a touch of green to your living space. Plus, who doesn’t love the satisfaction of growing their own food? So, let’s dive into these simple DIY tricks and hacks that will have you harvesting your own bok choy in no time!
Grow Your Own Bok Choy Indoors: A Beginner’s Guide
Hey there, fellow plant enthusiasts! Ever thought about growing your own fresh, crisp bok choy right in your kitchen? It’s easier than you might think, and I’m here to guide you through the whole process. Forget those wilted, overpriced veggies at the store – we’re going to have a thriving bok choy garden indoors!
What You’ll Need
Before we dive in, let’s gather our supplies. Here’s a checklist to make sure you’re all set:
* Bok Choy Seeds: Choose a variety that suits your taste. Baby bok choy is a great option for indoor growing as it matures faster and stays smaller.
* Seed Starting Tray or Small Pots: These will be our nurseries for the baby bok choy.
* Seed Starting Mix: This is a light, airy soil mix specifically designed for seedlings.
* Larger Pots (6-8 inches in diameter): These will be the bok choy’s permanent homes.
* Potting Soil: A good quality potting mix is essential for healthy growth.
* Grow Lights: Bok choy needs plenty of light, especially indoors. LED grow lights are energy-efficient and effective.
* Watering Can or Spray Bottle: For gentle watering.
* Fertilizer: A balanced liquid fertilizer will provide the necessary nutrients.
* Spray Bottle (optional): For misting the leaves to increase humidity.
Phase 1: Starting Your Bok Choy Seeds
This is where the magic begins! We’ll start by germinating our bok choy seeds.
1. Prepare Your Seed Starting Tray or Pots: Fill your seed starting tray or small pots with seed starting mix. Gently press down the soil to create a firm surface.
2. Sow the Seeds: Sprinkle 2-3 bok choy seeds in each cell or pot. Don’t bury them too deep – about ¼ inch is perfect.
3. Water Gently: Use a spray bottle or watering can with a gentle nozzle to moisten the soil. You want it damp, not soggy.
4. Provide Warmth and Light: Place the tray or pots in a warm location (around 65-75°F or 18-24°C). If you don’t have a naturally warm spot, you can use a heat mat. Position your grow lights about 2-3 inches above the soil surface. Turn them on for 14-16 hours a day.
5. Keep the Soil Moist: Check the soil moisture daily. Water whenever the top inch feels dry.
6. Wait for Germination: Bok choy seeds usually germinate within 5-10 days. Be patient!
Phase 2: Transplanting Your Seedlings
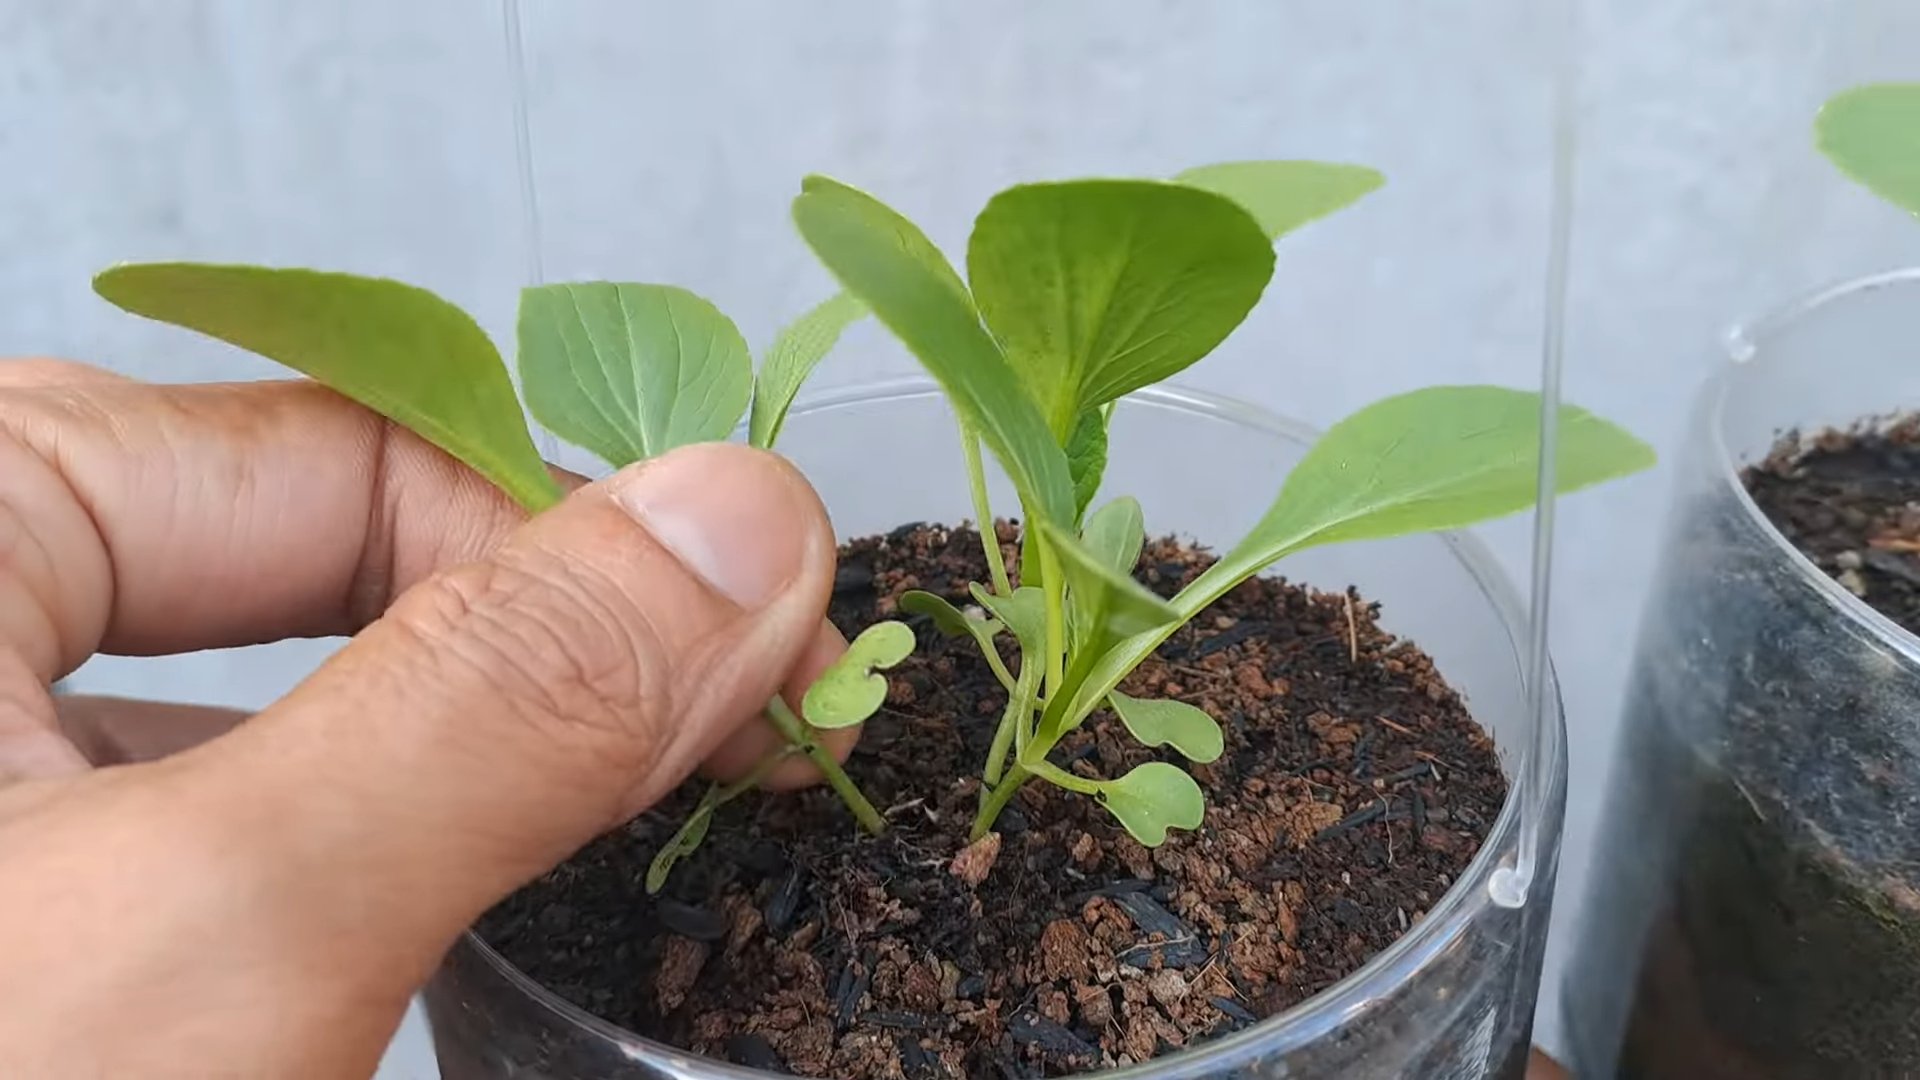
Once your seedlings have developed a few true leaves (the second set of leaves that appear after the initial seed leaves), it’s time to transplant them into larger pots.
1. Prepare Your Larger Pots: Fill your 6-8 inch pots with potting soil. Leave about an inch of space at the top.
2. Gently Remove the Seedlings: Carefully remove the seedlings from the seed starting tray or pots. If they’re crowded, you may need to gently separate them. Try to disturb the roots as little as possible. I like to use a small spoon to help lift them out.
3. Plant the Seedlings: Make a small hole in the center of each pot and place the seedling in the hole. The top of the root ball should be level with the soil surface.
4. Water Thoroughly: Water the newly transplanted seedlings thoroughly. This will help settle the soil and encourage root growth.
5. Provide Light and Warmth: Place the pots under your grow lights, maintaining the same 14-16 hours of light per day. Keep the temperature consistent.
Phase 3: Caring for Your Bok Choy
Now that your bok choy is settled in its new home, it’s time to provide the care it needs to thrive.
1. Watering: Bok choy needs consistent moisture, but avoid overwatering. Water when the top inch of soil feels dry. Check the soil daily, especially during warmer months.
2. Fertilizing: Feed your bok choy with a balanced liquid fertilizer every 2-3 weeks. Follow the instructions on the fertilizer label. I prefer using an organic fertilizer for healthier, tastier greens.
3. Light: Ensure your bok choy receives adequate light. If you’re using grow lights, keep them on for 14-16 hours a day. If you’re relying on natural light, place your plants near a sunny window. However, be mindful of intense direct sunlight, which can scorch the leaves.
4. Temperature: Bok choy prefers cooler temperatures, ideally between 60-70°F (15-21°C). Avoid placing your plants near heat sources.
5. Humidity: Bok choy enjoys moderate humidity. If your indoor environment is dry, you can mist the leaves with a spray bottle or use a humidifier.
6. Pest Control: Keep an eye out for pests like aphids or spider mites. If you spot any, you can try washing them off with a strong stream of water or using an insecticidal soap. I always prefer natural pest control methods whenever possible.
7. Air Circulation: Good air circulation helps prevent fungal diseases. Make sure your plants have enough space between them and consider using a small fan to circulate the air.
Phase 4: Harvesting Your Bok Choy
The best part! You’ve nurtured your bok choy, and now it’s time to reap the rewards.
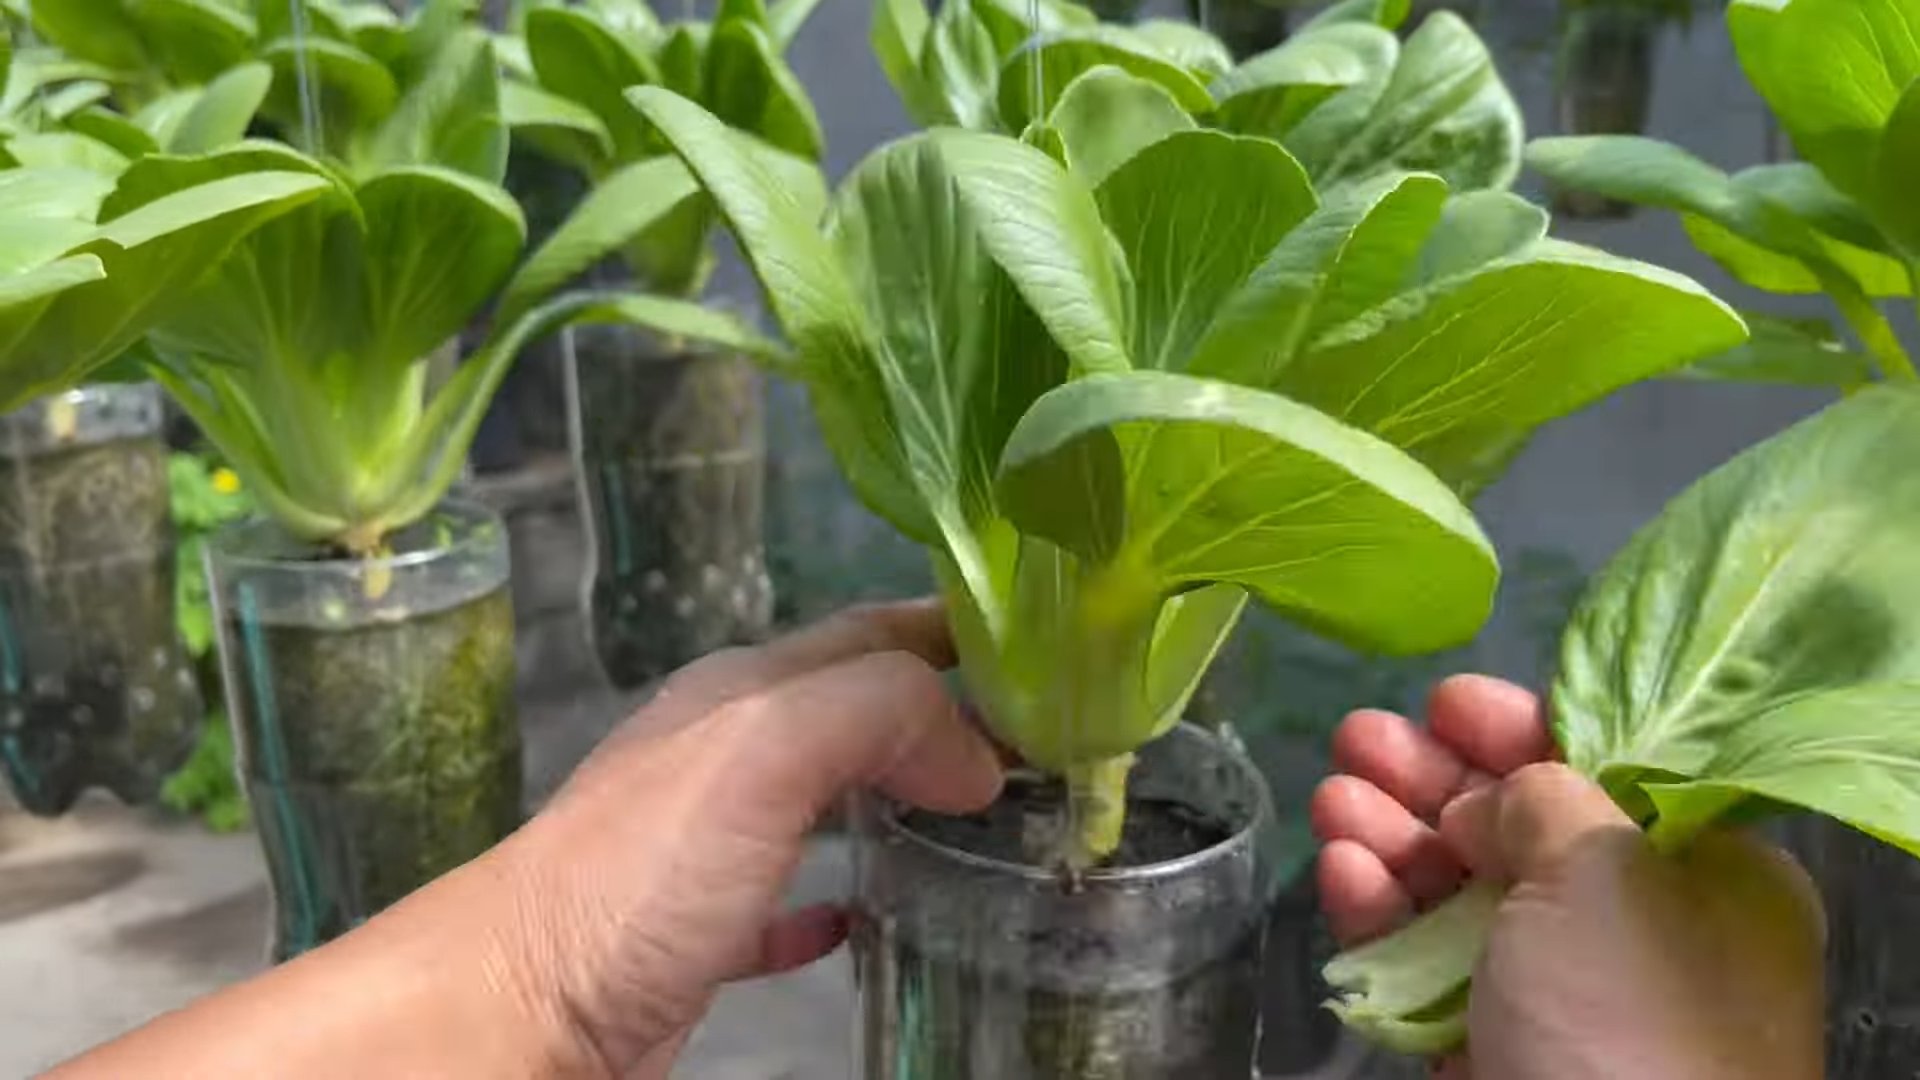
1. When to Harvest: You can harvest your bok choy when it reaches the desired size. Baby bok choy can be harvested when it’s about 4-6 inches tall, while larger varieties can be harvested when they’re 8-12 inches tall.
2. How to Harvest: You can harvest the entire plant by cutting it off at the base, or you can harvest individual leaves as needed. If you harvest individual leaves, the plant will continue to produce more. I usually prefer harvesting the outer leaves first, allowing the inner leaves to continue growing.
3. Enjoy Your Harvest: Wash your freshly harvested bok choy and enjoy it in salads, stir-fries, soups, or any other dish you like.
Troubleshooting Tips
Even with the best care, you might encounter some challenges along the way. Here are a few common problems and how to address them:
* Yellowing Leaves: This could be a sign of overwatering, underwatering, or nutrient deficiency. Check the soil moisture and adjust your watering accordingly. If the soil is consistently moist, reduce watering. If it’s dry, water more frequently. You may also need to fertilize your plants.
* Leggy Growth: This usually indicates insufficient light. Make sure your plants are receiving enough light, either from grow lights or a sunny window. Adjust the position of your grow lights or move your plants to a brighter location.
* Slow Growth: This could be due to a variety of factors, including insufficient light, nutrient deficiency, or temperature stress. Review your care routine and make sure you’re providing the right conditions.
* Pests: Regularly inspect your plants for pests. If you find any, take action immediately to prevent them from spreading.
Choosing the Right Bok Choy Variety
While any bok choy can be grown indoors, some varieties are better suited for container gardening than others. Here are a few of my favorites:
* Baby Bok Choy: As mentioned earlier, baby bok choy is a great choice for indoor growing because it matures quickly and stays relatively small. It’s also very tender and flavorful.
* Joi Choi: This variety is known for its upright growth habit and dark green leaves. It’s relatively easy to grow and produces a good yield.
* Mei Qing Choi: This is another popular baby bok choy variety that’s perfect for small spaces. It has a mild flavor and crisp texture.
Extra Tips for Success
Here are a few extra tips to help you grow the best bok choy possible:
* Rotate Your Plants: If you’re using natural light, rotate your plants regularly to ensure they receive even exposure.
* Clean Your Pots: Before planting, make sure your pots are clean to prevent the spread of diseases.
* Use Well-Draining Soil: Bok choy doesn’t like to sit in soggy soil, so make sure your potting mix is well-draining.
* Don’t Overcrowd Your Plants: Give your bok choy enough space to grow. If you’re growing multiple plants in the same pot, make sure they’re not too close together.
* Have Fun! Growing your own food should be enjoyable
Conclusion
So, there you have it! Growing bok choy indoors is not only achievable, but it’s also a deeply rewarding experience that brings a touch of freshness and vibrancy to your home, regardless of the season. We’ve walked through the process, from selecting the right seeds and containers to providing optimal light and care. The beauty of this DIY project lies in its simplicity and the incredible satisfaction of harvesting your own crisp, nutritious greens right from your windowsill.
Why is this a must-try? Because it empowers you to take control of your food source, reduces your reliance on store-bought produce (which can often be laden with pesticides or travel long distances), and adds a delightful green element to your living space. Imagine the joy of snipping fresh bok choy leaves for your stir-fries, salads, or soups, knowing exactly where they came from and how they were grown. It’s a connection to nature that’s both grounding and incredibly fulfilling.
But the fun doesn’t stop there! Feel free to experiment with different varieties of bok choy. Baby bok choy, with its tender leaves and mild flavor, is a fantastic option for quick salads. Or, try growing Shanghai bok choy, known for its spoon-shaped leaves and slightly sweeter taste. You can also explore different growing mediums. While we recommended a well-draining potting mix, you could also try hydroponics for a soilless approach. Just remember to adjust your nutrient solution accordingly.
Another variation to consider is companion planting. While your bok choy is thriving indoors, consider planting herbs like basil or chives nearby. These herbs can help deter pests and even enhance the flavor of your bok choy. Plus, having a mini indoor herb garden alongside your bok choy adds another layer of freshness to your home cooking.
Ultimately, the success of your indoor bok choy garden hinges on your dedication and willingness to learn. Pay close attention to your plants, observe their growth patterns, and adjust your care routine as needed. Don’t be afraid to experiment and try new things. Gardening is a journey of discovery, and every mistake is an opportunity to learn and grow (pun intended!).
We wholeheartedly encourage you to embark on this exciting adventure of growing bok choy indoors. It’s a simple, sustainable, and incredibly rewarding way to bring fresh, healthy greens into your life. And most importantly, we want to hear about your experiences! Share your photos, tips, and challenges with us in the comments below. Let’s create a community of indoor bok choy enthusiasts and learn from each other. What are you waiting for? Grab some seeds, get your hands dirty, and start growing your own delicious bok choy today! This **bok choy** growing adventure is waiting for you!
Frequently Asked Questions (FAQ)
1. What kind of bok choy seeds should I use for indoor growing?
The best bok choy seeds for indoor growing are typically those labeled as “dwarf” or “baby” varieties. These varieties tend to be more compact and better suited for container gardening. Some popular choices include Baby Bok Choy, Shanghai Bok Choy, and Mei Qing Choi. These varieties mature quickly and don’t require as much space as larger bok choy types. Always choose seeds from a reputable source to ensure good germination rates and healthy plants.
2. How much light does indoor bok choy need?
Bok choy requires at least 6 hours of direct sunlight per day to thrive. If you don’t have a sunny windowsill, you’ll need to supplement with artificial lighting. Fluorescent grow lights or LED grow lights are excellent options. Position the lights about 6-12 inches above the plants and keep them on for 12-14 hours per day. Monitor your plants closely and adjust the lighting as needed. If the leaves start to look pale or leggy, it’s a sign that they’re not getting enough light.
3. What type of container is best for growing bok choy indoors?
Choose a container that is at least 6 inches deep and wide to allow enough room for the roots to grow. Make sure the container has drainage holes to prevent waterlogging, which can lead to root rot. Terracotta pots are a good option because they allow the soil to breathe, but plastic pots are also fine as long as they have adequate drainage. You can grow multiple bok choy plants in a larger container, spacing them about 4-6 inches apart.
4. What kind of soil should I use for growing bok choy indoors?
Use a well-draining potting mix that is rich in organic matter. Avoid using garden soil, as it can be too heavy and may contain pests or diseases. A good potting mix will retain moisture while still allowing for good drainage. You can also amend the potting mix with compost or other organic materials to provide additional nutrients.
5. How often should I water my indoor bok choy plants?
Water your bok choy plants regularly, keeping the soil consistently moist but not waterlogged. Check the soil moisture by sticking your finger about an inch into the soil. If it feels dry, it’s time to water. Water deeply, until water drains out of the drainage holes. Avoid overwatering, as this can lead to root rot. The frequency of watering will depend on the temperature, humidity, and the type of container you’re using.
6. How often should I fertilize my indoor bok choy plants?
Bok choy is a heavy feeder, so it’s important to fertilize regularly. Start fertilizing about two weeks after the seedlings emerge. Use a balanced liquid fertilizer, diluted to half strength, every two weeks. You can also use a slow-release fertilizer at planting time. Avoid over-fertilizing, as this can burn the roots.
7. What are some common pests and diseases that affect indoor bok choy?
Common pests that can affect indoor bok choy include aphids, spider mites, and whiteflies. Inspect your plants regularly for signs of infestation. If you find pests, you can try washing them off with a strong stream of water or using insecticidal soap. Diseases that can affect bok choy include downy mildew and root rot. To prevent these diseases, make sure your plants have good air circulation and avoid overwatering.
8. How long does it take to grow bok choy indoors?
Bok choy typically matures in about 30-50 days, depending on the variety and growing conditions. You can start harvesting the outer leaves when they are about 4-6 inches long. Continue harvesting leaves as needed, allowing the plant to continue growing. You can also harvest the entire plant at once.
9. Can I grow bok choy indoors year-round?
Yes, you can grow bok choy indoors year-round, as long as you provide adequate light, water, and nutrients. Indoor growing allows you to control the environment and avoid the challenges of outdoor gardening, such as extreme temperatures and pests.
10. How do I harvest bok choy that I’ve grown indoors?
You can harvest bok choy by either cutting off the outer leaves as needed or harvesting the entire head at once. To harvest individual leaves, use a sharp knife or scissors to cut the leaves near the base of the plant. To harvest the entire head, cut the plant at the base, just above the soil line. After harvesting, wash the bok choy thoroughly and store it in the refrigerator.
Leave a Comment