
Grow Broccoli From Seed and unlock the joy of fresh, homegrown goodness right in your backyard! Imagine biting into crisp, flavorful broccoli florets you nurtured from tiny seeds – a taste far superior to anything you’ll find at the grocery store. For centuries, broccoli has been a staple in Mediterranean diets, revered for its nutritional power and versatility. From ancient Roman feasts to modern-day healthy eating plans, this cruciferous vegetable has stood the test of time.
But let’s be honest, the thought of starting from scratch can be a little daunting. That’s where this DIY guide comes in! I’m here to show you that growing your own broccoli from seed is not only achievable but also incredibly rewarding. We’ll break down the process into simple, easy-to-follow steps, ensuring even beginners can experience the satisfaction of a bountiful harvest.
Why should you bother with this DIY trick? Because fresh broccoli is expensive, and the store-bought variety often lacks the vibrant flavor of homegrown. Plus, you’ll know exactly what went into your broccoli – no mystery pesticides or questionable practices. So, grab your gardening gloves, and let’s embark on this exciting journey to grow broccoli from seed and transform your garden into a thriving source of delicious, healthy food!
Growing Broccoli From Seed: A Complete DIY Guide
Hey there, fellow gardening enthusiasts! I’m so excited to share my tried-and-true method for growing broccoli from seed. It’s surprisingly easy, incredibly rewarding, and way cheaper than buying those pre-grown plants from the nursery. Plus, you get to choose from a wider variety of broccoli types! Let’s get started!
Why Grow Broccoli From Seed?
Before we dive in, let’s quickly touch on why starting from seed is a fantastic option:
* Cost-Effective: Seeds are significantly cheaper than starter plants.
* Variety: You’ll have access to a much broader range of broccoli varieties, including heirloom and unique types.
* Control: You have complete control over the growing environment from the very beginning, leading to healthier, stronger plants.
* Satisfaction: There’s nothing quite like the feeling of nurturing a plant from a tiny seed to a bountiful harvest!
Materials You’ll Need
Okay, let’s gather our supplies. Here’s what you’ll need to successfully grow broccoli from seed:
* Broccoli Seeds: Choose a variety that suits your climate and preferences. I personally love ‘Waltham 29’ for its reliability and flavor.
* Seed Starting Trays or Pots: These should have drainage holes. I prefer trays with individual cells for easy transplanting.
* Seed Starting Mix: This is a lightweight, sterile mix specifically designed for seed germination. Don’t use garden soil!
* Watering Can or Spray Bottle: For gentle watering.
* Heat Mat (Optional): Broccoli seeds germinate best with slightly warmer soil temperatures.
* Grow Lights (Optional): If you’re starting seeds indoors, grow lights will provide the necessary light for healthy growth.
* Labels and a Permanent Marker: To keep track of your varieties.
* Small Trowel or Spoon: For transplanting seedlings.
* Fertilizer: A balanced, water-soluble fertilizer for feeding your seedlings.
* Garden Gloves: To keep your hands clean.
* Well-draining garden soil: For transplanting your seedlings into the garden.
* Compost or aged manure: To enrich your garden soil.
* Mulch: To help retain moisture and suppress weeds.
Timing is Everything: When to Start Your Seeds
Broccoli is a cool-season crop, meaning it thrives in cooler temperatures. The timing of your seed starting will depend on your local climate and the last expected frost date.
* For a Spring Crop: Start seeds indoors 6-8 weeks before the last expected frost.
* For a Fall Crop: Start seeds indoors 10-12 weeks before the first expected frost.
I always recommend checking your local extension office’s website for specific planting dates in your area. They’ll have the most accurate information for your region.
Phase 1: Sowing Your Broccoli Seeds Indoors
This is where the magic begins! We’ll be starting our seeds indoors to give them a head start before transplanting them into the garden.
1. Prepare Your Seed Starting Trays: Fill each cell of your seed starting tray with seed starting mix. Gently tap the tray to settle the mix.
2. Moisten the Soil: Water the seed starting mix thoroughly until it’s evenly moist but not soggy. You can use a spray bottle or a watering can with a gentle rose head.
3. Sow the Seeds: Make a small indentation (about 1/4 inch deep) in the center of each cell. Place 2-3 broccoli seeds in each indentation. This increases the chances of at least one seed germinating.
4. Cover the Seeds: Gently cover the seeds with a thin layer of seed starting mix.
5. Water Again: Lightly water the surface of the soil to ensure good seed-to-soil contact.
6. Label Your Trays: Use labels and a permanent marker to clearly identify the broccoli variety you’ve planted in each tray. This will save you a lot of confusion later!
7. Provide Warmth: Place the seed starting trays on a heat mat, if using. Broccoli seeds germinate best at soil temperatures between 65-75°F (18-24°C).
8. Provide Light: If you’re using grow lights, position them a few inches above the seed starting trays. If you’re relying on natural light, place the trays in a south-facing window that receives plenty of sunlight.
9. Maintain Moisture: Keep the seed starting mix consistently moist but not waterlogged. Check the moisture level daily and water as needed.
10. Wait for Germination: Broccoli seeds typically germinate within 5-10 days.
Phase 2: Nurturing Your Seedlings
Once your seeds have germinated, it’s time to focus on nurturing your seedlings and helping them grow strong and healthy.
1. Remove from Heat Mat: Once the seedlings emerge, remove the seed starting trays from the heat mat.
2. Provide Adequate Light: Ensure your seedlings are receiving plenty of light. If you’re using grow lights, adjust their height as the seedlings grow to keep them a few inches above the plants. If you’re using natural light, rotate the trays regularly to prevent the seedlings from leaning towards the light source.
3. Thin the Seedlings: Once the seedlings have developed their first true leaves (the second set of leaves after the initial seed leaves), thin them to one seedling per cell. Choose the strongest, healthiest-looking seedling and carefully snip off the others at the soil line with small scissors. Don’t pull them out, as this can disturb the roots of the remaining seedling.
4. Water Regularly: Continue to water the seedlings regularly, keeping the soil consistently moist but not soggy.
5. Fertilize: Start fertilizing your seedlings with a diluted solution of a balanced, water-soluble fertilizer about once a week. Follow the instructions on the fertilizer package for the correct dilution rate.
6. Harden Off the Seedlings: About a week before you plan to transplant your seedlings into the garden, you’ll need to “harden them off.” This process gradually acclimates the seedlings to outdoor conditions, making them less susceptible to shock when transplanted.
* Start by placing the seed starting trays outdoors in a sheltered location for a few hours each day.
* Gradually increase the amount of time the seedlings spend outdoors each day, exposing them to more sunlight and wind.
* After a week, the seedlings should be able to tolerate full sun and be ready for transplanting.
Phase 3: Transplanting Your Broccoli Seedlings into the Garden
Now for the exciting part – getting those little broccoli plants into their permanent home in the garden!
1. Prepare the Garden Bed: Choose a location in your garden that receives at least 6 hours of sunlight per day. Broccoli prefers well-draining soil that is rich in organic matter. Amend the soil with compost or aged manure before planting.
2. Space the Seedlings: Space the broccoli seedlings 18-24 inches apart in rows that are 24-36 inches apart. This will give them enough room to grow and mature.
3. Dig the Holes: Dig holes that are slightly larger than the root balls of the seedlings.
4. Transplant the Seedlings: Gently remove the seedlings from their cells in the seed starting trays. Be careful not to damage the roots. Place each seedling in a hole and backfill with soil.
5. Water Thoroughly: Water the transplanted seedlings thoroughly to help them settle in.
6. Mulch: Apply a layer of mulch around the base of the plants to help retain moisture, suppress weeds, and regulate soil temperature.
7. Protect from Pests: Broccoli is susceptible to several pests, including cabbage worms, aphids, and flea beetles. Consider using row covers to protect your plants from these pests. You can also use organic pest control methods, such as insecticidal soap or neem oil.
Phase 4: Caring for Your Broccoli Plants
Once your broccoli plants are in the garden, it’s important to provide them with the care they need to thrive.
1. Water Regularly: Broccoli plants need consistent moisture, especially during hot, dry weather. Water deeply and regularly, aiming to keep the soil evenly moist.
2. Fertilize: Continue to fertilize your broccoli plants every few weeks with a balanced fertilizer.
3. Weed Regularly: Keep the garden bed free of weeds, as they can compete with the broccoli plants for nutrients and water.
4. Monitor for Pests and Diseases: Regularly inspect your broccoli plants for signs of pests or diseases. Take action promptly to control any problems that arise.
5. Support the Plants (Optional): If your broccoli plants are growing tall and heavy, you may need to
Conclusion
So, there you have it! Growing broccoli from seed isn’t just a gardening project; it’s a gateway to fresher, tastier, and more rewarding meals. We’ve walked through the entire process, from selecting the right seeds and preparing your soil to nurturing those tiny sprouts into robust, head-producing plants. The satisfaction of harvesting your own broccoli, knowing exactly where it came from and how it was grown, is truly unparalleled.
Why is this DIY trick a must-try? Because it empowers you to take control of your food source. Store-bought broccoli, while convenient, often lacks the vibrant flavor and nutritional punch of homegrown varieties. Plus, growing your own allows you to choose heirloom varieties that you simply won’t find in supermarkets, expanding your culinary horizons. You’ll also be reducing your carbon footprint by cutting down on transportation and packaging.
But the benefits extend beyond just the practical. Gardening is a therapeutic activity, a chance to connect with nature and de-stress. Watching your broccoli plants thrive is incredibly rewarding, and the sense of accomplishment you’ll feel when you harvest your first head is something special.
Looking for variations? Consider succession planting to ensure a continuous harvest throughout the growing season. Sow new seeds every few weeks to stagger your broccoli production. Experiment with different varieties of broccoli, such as Romanesco or purple sprouting broccoli, to add variety to your garden and your plate. You can also try companion planting, pairing your broccoli with herbs like rosemary or thyme to deter pests and enhance flavor. Another great variation is to try growing broccoli microgreens indoors during the off-season for a nutrient-packed addition to salads and sandwiches.
Don’t be intimidated if you’re a beginner. Growing broccoli from seed is a relatively straightforward process, and even if you encounter a few bumps along the way, the learning experience is invaluable. Remember to pay close attention to watering, fertilizing, and pest control, and you’ll be well on your way to a bountiful harvest.
We wholeheartedly encourage you to give this DIY trick a try. Start small, perhaps with just a few plants, and see how it goes. The rewards are well worth the effort. And most importantly, we want to hear about your experience! Share your photos, tips, and challenges in the comments below. Let’s build a community of broccoli growers and learn from each other. What varieties did you try? What challenges did you face, and how did you overcome them? Your insights can help other aspiring gardeners succeed. Let’s get growing! Embrace the journey of growing broccoli from seed and savor the delicious rewards of your labor.
Frequently Asked Questions (FAQ)
What are the best broccoli varieties to grow from seed?
Choosing the right broccoli variety is crucial for success. For beginners, ‘Waltham 29’ is a reliable and easy-to-grow option. It produces large, uniform heads and is relatively resistant to common broccoli diseases. ‘DiCicco’ is another excellent choice, known for its early maturity and production of numerous side shoots after the main head is harvested, extending your harvest period. If you’re looking for something a bit different, consider ‘Romanesco’, with its striking fractal pattern, or ‘Purple Sprouting Broccoli’, which offers a unique flavor and color. Consider your local climate and growing season when making your selection. Check seed catalogs or local nurseries for varieties that are well-suited to your region.
How long does it take to grow broccoli from seed to harvest?
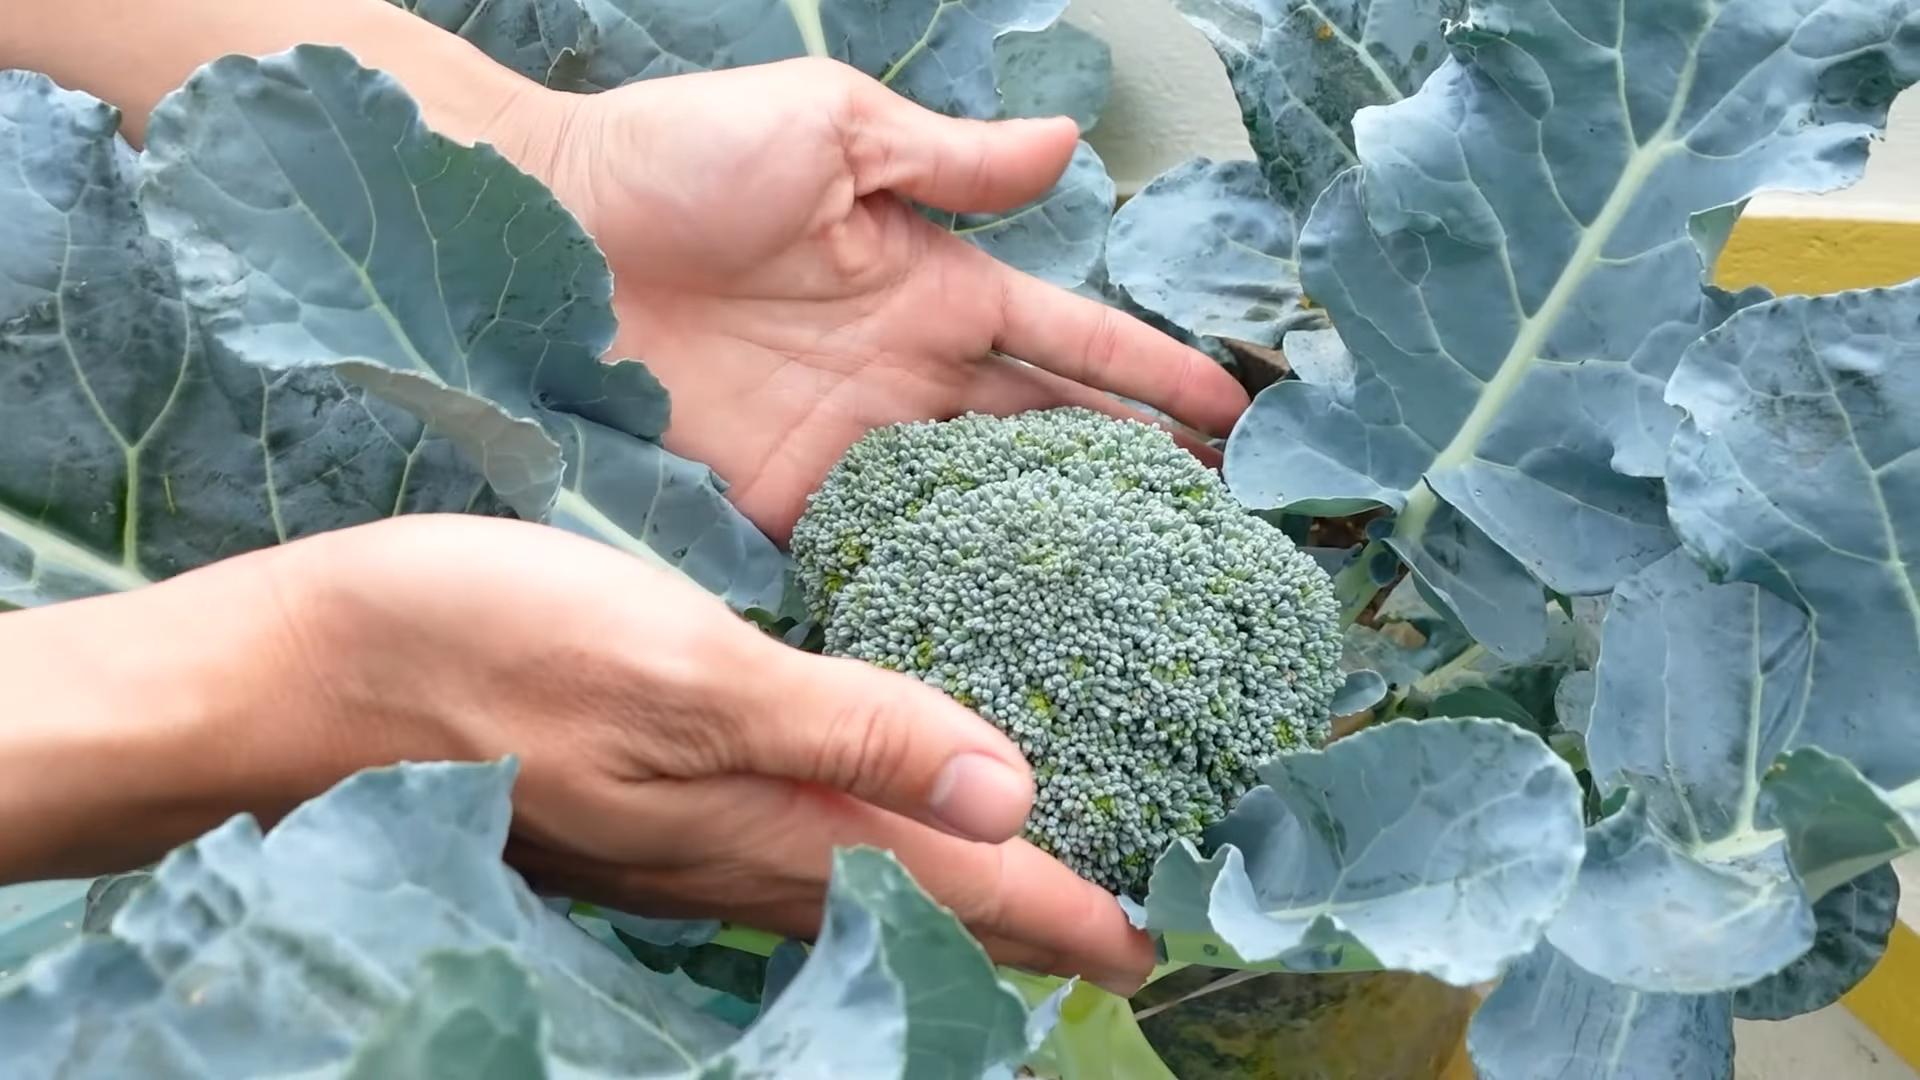
The time it takes to grow broccoli from seed to harvest varies depending on the variety and growing conditions. Generally, you can expect it to take anywhere from 50 to 80 days. Early-maturing varieties like ‘DiCicco’ may be ready to harvest in as little as 50 days, while later-maturing varieties like ‘Waltham 29’ may take closer to 70-80 days. Keep an eye on the size and development of the broccoli head. It’s ready to harvest when the head is firm and the individual florets are tightly closed. If the florets start to open and turn yellow, it’s time to harvest immediately.
What are the most common pests and diseases that affect broccoli, and how can I prevent them?
Broccoli is susceptible to several pests and diseases, including cabbage worms, aphids, flea beetles, and clubroot. Cabbage worms are the larvae of cabbage white butterflies and can quickly decimate your broccoli plants. Handpicking them off the plants is an effective method of control, especially for small infestations. You can also use Bacillus thuringiensis (Bt), a natural bacterium that is toxic to cabbage worms. Aphids are small, sap-sucking insects that can weaken your plants. Blast them off with a strong stream of water or use insecticidal soap. Flea beetles are tiny, jumping insects that create small holes in the leaves. Cover your plants with row covers to prevent them from reaching the plants. Clubroot is a soilborne disease that causes swollen and distorted roots. Prevent clubroot by ensuring good soil drainage, maintaining a soil pH of 6.5-7.0, and practicing crop rotation.
How often should I water and fertilize my broccoli plants?
Broccoli plants need consistent moisture to thrive. Water deeply and regularly, especially during dry periods. Aim to keep the soil consistently moist but not waterlogged. A good rule of thumb is to water when the top inch of soil feels dry to the touch. Fertilize your broccoli plants every 2-3 weeks with a balanced fertilizer, such as a 10-10-10 or 14-14-14. You can also use organic fertilizers like compost tea or fish emulsion. Avoid over-fertilizing, as this can lead to excessive foliage growth at the expense of head development.
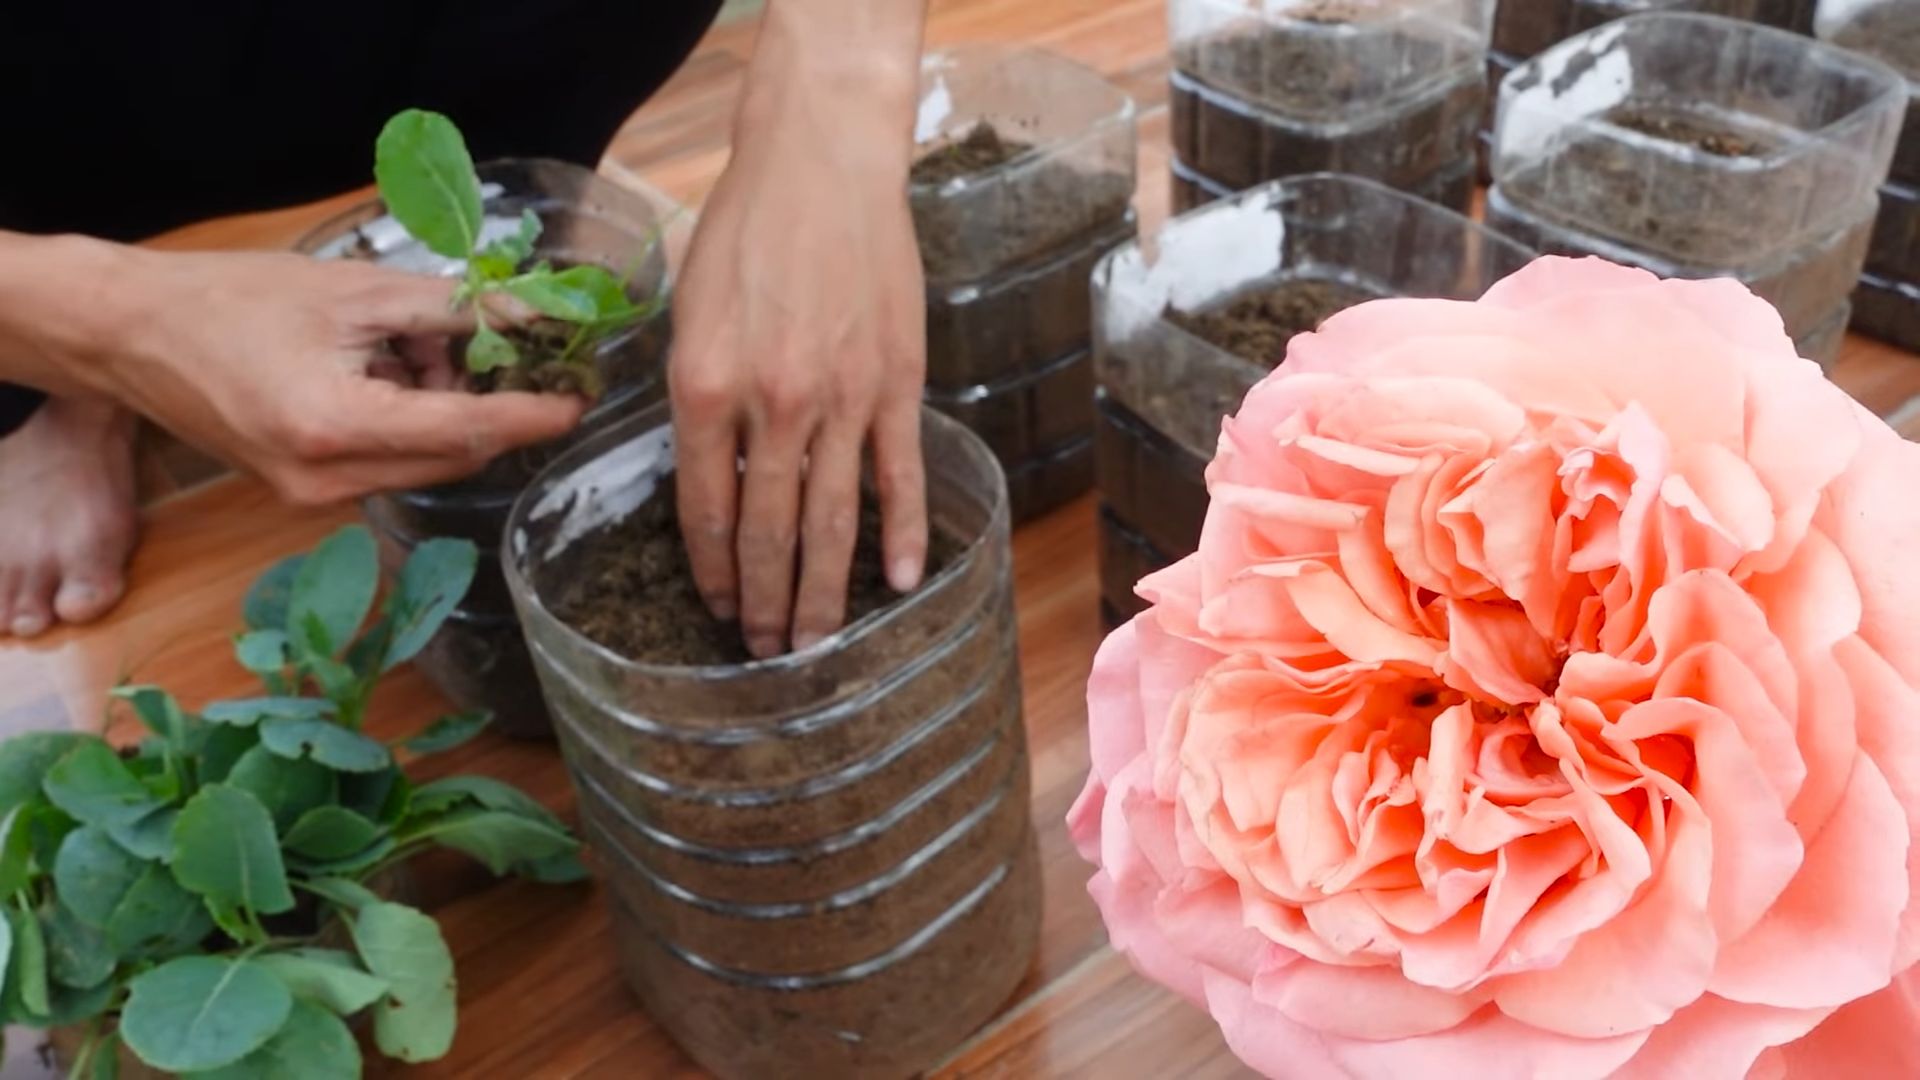
Can I grow broccoli in containers?
Yes, you can absolutely grow broccoli in containers! Choose a large container, at least 12 inches in diameter and 12 inches deep, to provide enough space for the roots to grow. Use a high-quality potting mix that drains well. Container-grown broccoli plants may need more frequent watering and fertilizing than those grown in the ground. Make sure the container receives at least 6 hours of sunlight per day.
What do I do if my broccoli head starts to flower?
If your broccoli head starts to flower, it means it’s past its prime and should be harvested immediately. The florets will start to open and turn yellow, and the flavor will become bitter. Even if the head is not fully developed, it’s better to harvest it before it flowers. You can still eat the flowering broccoli, but it won’t be as tender or flavorful.
How do I store harvested broccoli?
To store harvested broccoli, wrap it loosely in a damp paper towel and place it in a plastic bag in the refrigerator. This will help to keep it fresh and crisp. Broccoli can be stored in the refrigerator for up to 5 days. You can also freeze broccoli for longer storage. Blanch the broccoli florets in boiling water for 3-5 minutes, then plunge them into ice water to stop the cooking process. Drain well and freeze in a single layer on a baking sheet. Once frozen, transfer the florets to a freezer bag or container. Frozen broccoli can be stored for up to 12 months.
What are some creative ways to use homegrown broccoli?
Homegrown broccoli is incredibly versatile and can be used in a variety of dishes. You can steam it, roast it, stir-fry it, or add it to soups and stews. It’s also delicious raw in salads or with dips. Try roasting broccoli with garlic and parmesan cheese for a simple and flavorful side dish. Add broccoli florets to your favorite pasta dishes or omelets. You can even use the broccoli stalks! Peel them and chop them into small pieces, then add them to stir-fries or soups. Don’t forget about broccoli microgreens! They add a burst of flavor and nutrients to salads, sandwiches, and smoothies.


Leave a Comment