
Easy bathroom cleaning routine – sounds like a dream, right? Let’s be honest, nobody *loves* cleaning the bathroom. It’s often the most dreaded chore on the list. But what if I told you that you could transform this dreaded task into a quick and almost enjoyable experience? This article is your guide to achieving just that! We’re diving into simple, effective DIY tricks and hacks that will revolutionize your bathroom cleaning routine.
Historically, cleanliness has been linked to well-being and even spiritual purity across many cultures. While we might not be thinking about spiritual purity while scrubbing the toilet, a clean bathroom definitely contributes to a sense of calm and order in our homes. Think about it: a sparkling clean bathroom can instantly elevate your mood and create a more inviting space.
Why do you need these DIY tricks? Because life is too short to spend hours scrubbing away at stubborn stains and grime! Many of us are juggling work, family, and other commitments, leaving little time for extensive cleaning sessions. This easy bathroom cleaning routine is designed to save you time, money, and effort. We’ll explore natural cleaning solutions, clever organizational tips, and preventative measures that will keep your bathroom looking its best with minimal effort. Get ready to say goodbye to bathroom cleaning dread and hello to a sparkling, fresh space!
DIY Bathroom Cleaning Routine: Sparkling Clean in No Time!
Okay, let’s be honest, cleaning the bathroom is nobody’s favorite chore. But, with a little planning and some clever DIY tricks, we can make it faster, easier, and even (dare I say?) a little bit enjoyable! I’m going to share my go-to routine for keeping my bathroom sparkling clean without spending hours scrubbing.
Gather Your Supplies
Before we dive in, let’s get everything we need organized. This will save you time and frustration later. I like to keep all my cleaning supplies in a caddy for easy access.
* Spray Bottle: You’ll need at least one, maybe two.
* Microfiber Cloths: These are my absolute favorite! They’re super absorbent and leave surfaces streak-free. Get a pack of different colors so you can dedicate specific colors to different areas (toilet, sink, shower).
* Old Toothbrush: Perfect for getting into those hard-to-reach nooks and crannies.
* Squeegee: Essential for keeping your shower doors and walls sparkling.
* Rubber Gloves: Protect your hands from harsh chemicals.
* Toilet Bowl Brush: A must-have for obvious reasons.
* Baking Soda: A natural and effective cleaner and deodorizer.
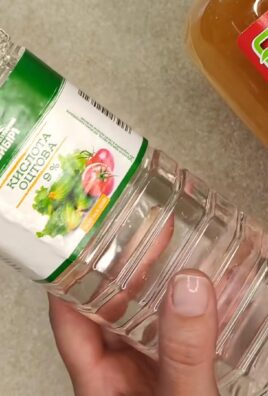
* White Vinegar: Another natural powerhouse! It’s great for removing hard water stains and soap scum.
* Dish Soap: A little goes a long way for general cleaning.
* Essential Oils (Optional): For a fresh, natural scent. Lemon, tea tree, and eucalyptus are great choices.
* Glass Cleaner (Optional): If you prefer a commercial glass cleaner, go for it!
* Drain Cleaner (Optional): For tackling slow drains.
DIY Cleaning Solutions
I’m a big fan of using natural cleaning solutions whenever possible. They’re better for the environment, gentler on your skin, and often just as effective as commercial cleaners. Here are a few of my favorite recipes:
* All-Purpose Cleaner: In a spray bottle, mix equal parts white vinegar and water. Add a few drops of your favorite essential oil for a pleasant scent.
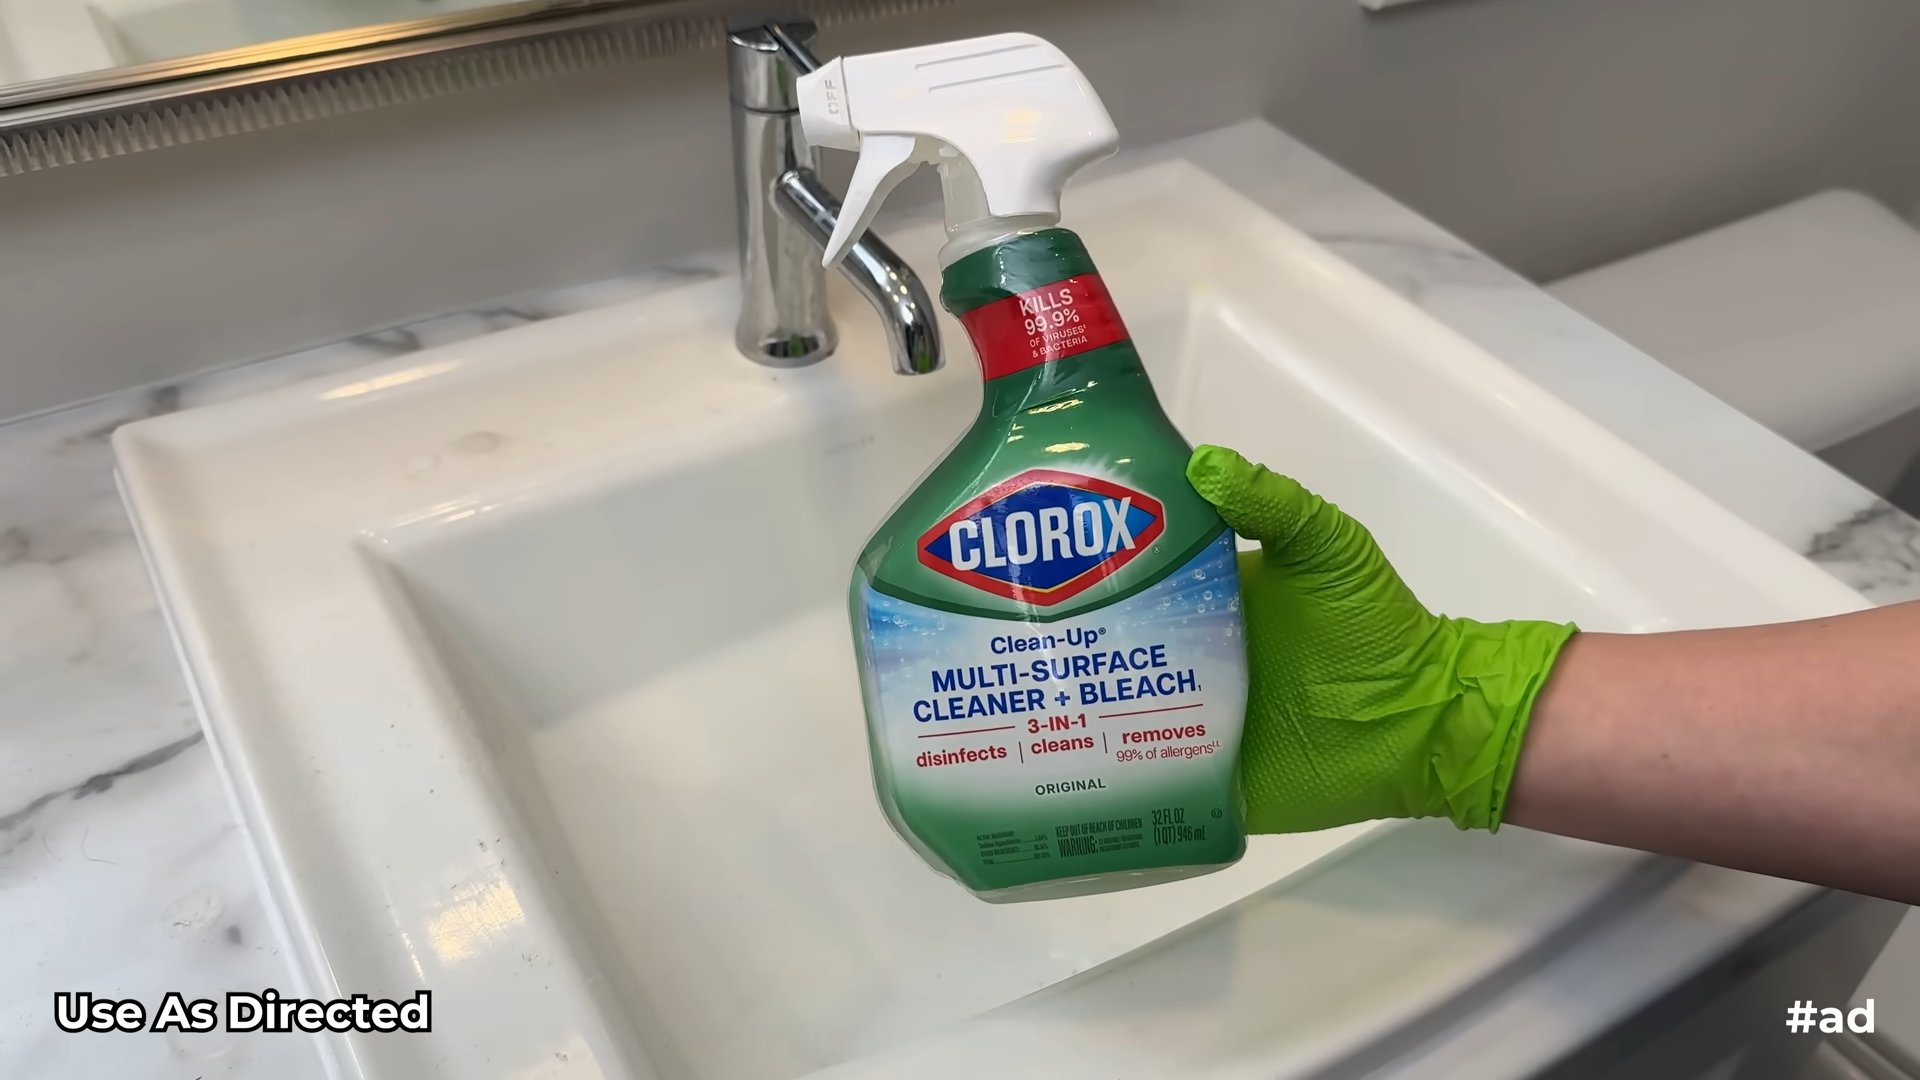
* Shower Cleaner: Mix 1 cup of white vinegar with 1 cup of dish soap in a spray bottle. This stuff is amazing at cutting through soap scum!
* Toilet Bowl Cleaner: Pour 1 cup of white vinegar into the toilet bowl and let it sit for 30 minutes. Then, sprinkle in 1/2 cup of baking soda and flush.
* Glass Cleaner: Mix 1/4 cup of white vinegar with 2 cups of water in a spray bottle.
The Cleaning Routine: Step-by-Step
Alright, let’s get down to business! I like to follow a specific order to make the process as efficient as possible.
1. Clear the Clutter
Before you start cleaning, remove everything from the counters, shelves, and shower. This includes toiletries, makeup, towels, and anything else that’s in the way. This will give you a clear surface to work with and prevent you from accidentally spraying cleaner on your belongings.
2. Dust and Sweep
Use a dry microfiber cloth to dust all surfaces, including the countertops, shelves, mirrors, and light fixtures. Then, sweep or vacuum the floor to remove any loose dirt and debris.
3. Tackle the Toilet
This is usually the least favorite part, but it’s gotta be done!
1. Flush the toilet.
2. Apply toilet bowl cleaner: Squirt your chosen cleaner (DIY vinegar and baking soda or a commercial cleaner) under the rim and let it sit for the recommended time (usually 10-15 minutes).
3. Clean the exterior: Spray the toilet seat, lid, tank, and base with your all-purpose cleaner. Wipe clean with a microfiber cloth. Don’t forget the area behind the toilet!
4. Scrub the bowl: Use your toilet bowl brush to scrub the inside of the bowl thoroughly.
5. Flush again: Flush the toilet to rinse away the cleaner.
4. Clean the Shower and Tub
Soap scum and mildew can build up quickly in the shower and tub, so regular cleaning is key.
1. Spray with shower cleaner: Generously spray the shower walls, door, and tub with your shower cleaner (DIY vinegar and dish soap or a commercial cleaner). Let it sit for at least 15 minutes to allow the cleaner to break down the grime.
2. Scrub: Use a sponge or scrub brush to scrub all surfaces, paying special attention to areas with heavy soap scum or mildew. An old toothbrush is great for cleaning grout lines.
3. Rinse: Rinse thoroughly with hot water.
4. Squeegee: Use a squeegee to remove excess water from the shower walls and door. This will help prevent water spots and mildew growth.
5. Dry: Wipe down any remaining wet spots with a clean microfiber cloth.
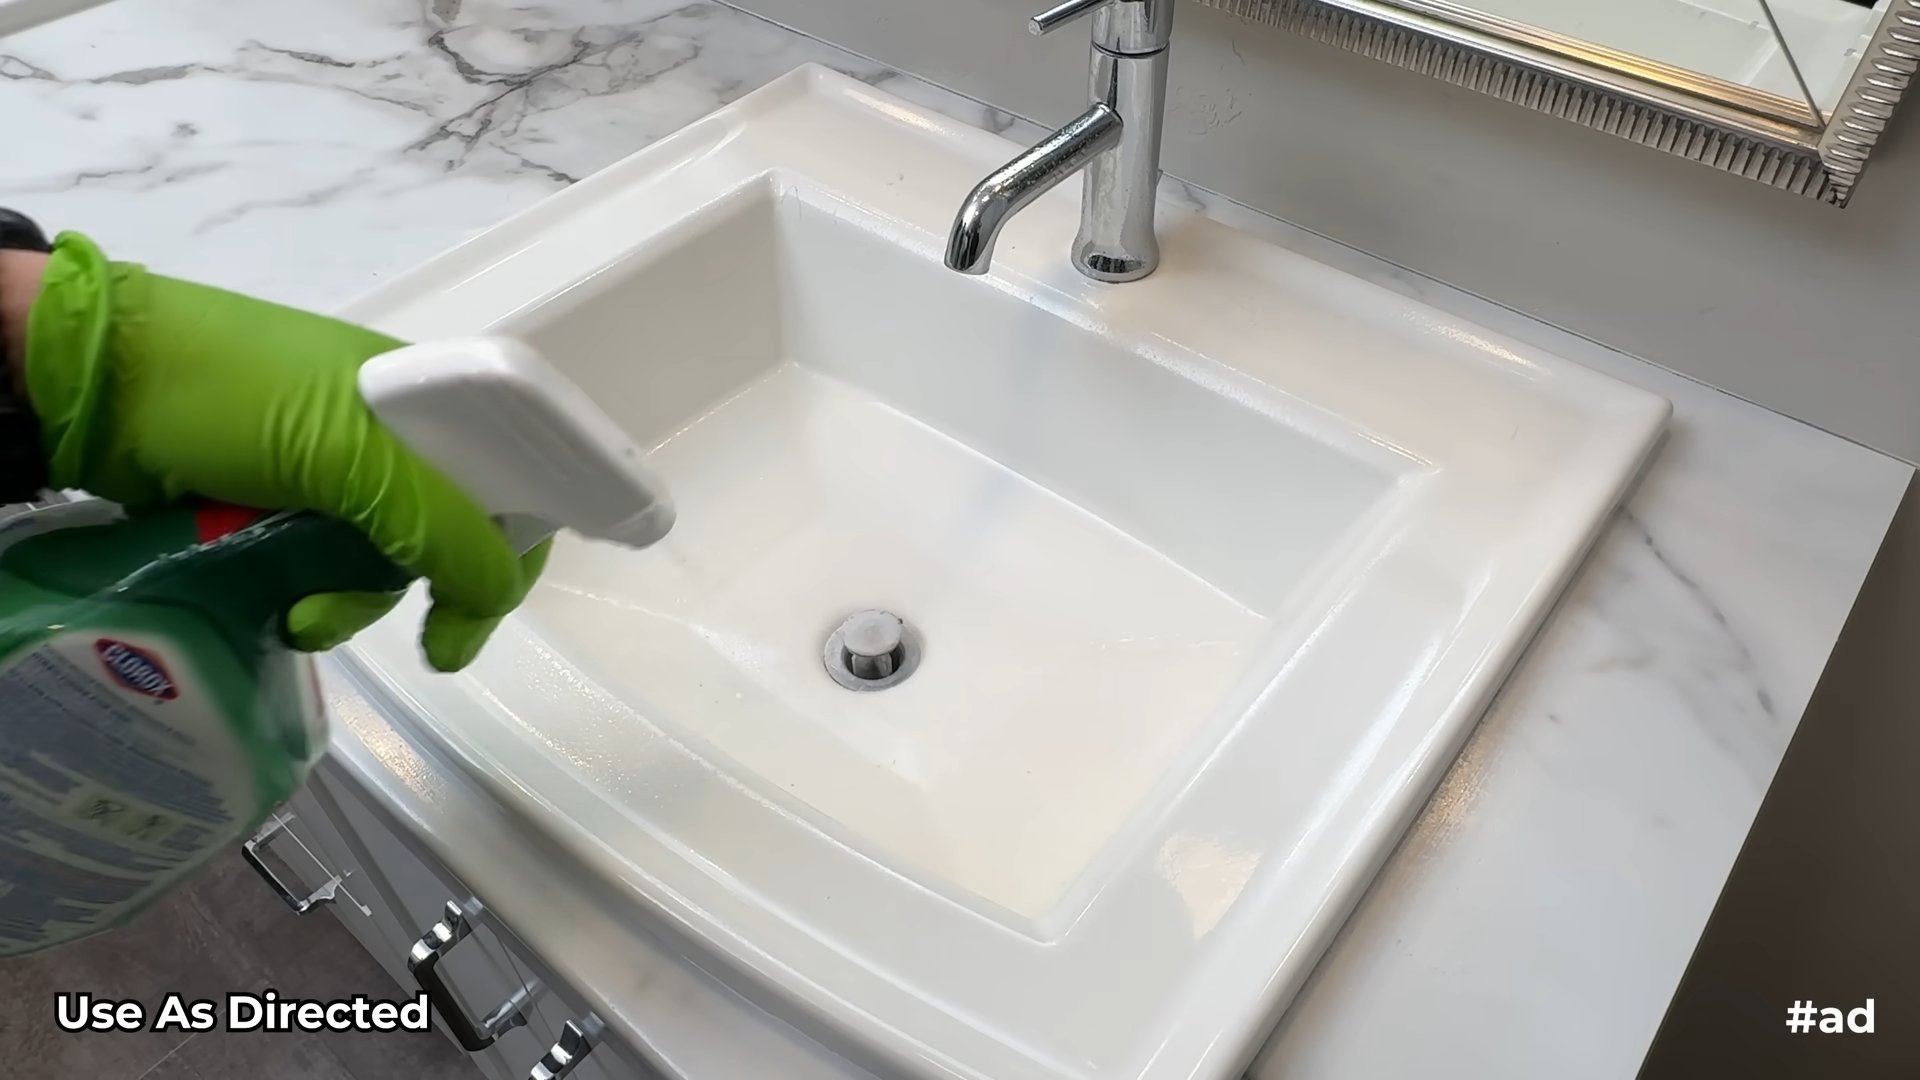
5. Clean the Sink and Countertop
1. Spray with all-purpose cleaner: Spray the sink, countertop, and faucet with your all-purpose cleaner.
2. Scrub: Use a sponge or microfiber cloth to scrub all surfaces. Pay attention to the area around the faucet and drain, where grime tends to accumulate.
3. Rinse: Rinse thoroughly with water.
4. Dry: Wipe dry with a clean microfiber cloth.
5. Polish the faucet: Use a clean, dry microfiber cloth to polish the faucet and make it shine.
6. Clean the Mirror
Streaky mirrors can make the whole bathroom look dirty.
1. Spray with glass cleaner: Spray the mirror with your glass cleaner (DIY vinegar and water or a commercial cleaner).
2. Wipe clean: Wipe clean with a clean microfiber cloth. Use a circular motion to remove any streaks.
7. Clean the Floor
1. Sweep or vacuum: Sweep or vacuum the floor to remove any remaining dirt and debris.
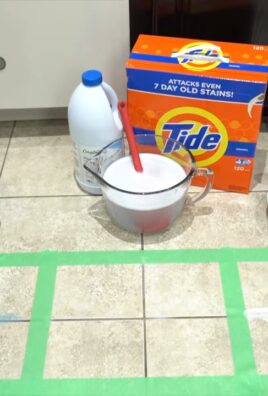
2. Mop: Mop the floor with your favorite floor cleaner. I like to use a mixture of hot water and a few drops of dish soap.
3. Dry: Allow the floor to air dry or wipe it dry with a clean towel.
8. Finishing Touches
Now that the hard work is done, it’s time for the finishing touches!
1. Replace toiletries: Put all your toiletries back in their place.
2. Hang fresh towels: Hang clean, fresh towels.
3. Empty the trash: Empty the trash can.
4. Add a fresh scent: Add a few drops of essential oil to a diffuser or place a bowl of baking soda in the bathroom to absorb odors.
Maintaining a Clean Bathroom
The key to keeping your bathroom clean is to maintain it regularly. Here are a few tips:
* Wipe down the shower after each use: Use a squeegee to remove excess water from the shower walls and door. This will help prevent water spots and mildew growth.
* Wipe down the sink and countertop daily: Wipe up any spills or splatters immediately.
* Clean the toilet weekly: Give the toilet a quick clean once a week to prevent buildup.
* Deep clean monthly: Follow the steps outlined above for a thorough cleaning once a month.
Dealing with Stubborn Stains
Sometimes, you’ll encounter stubborn stains that require a little extra effort. Here are a few tips for dealing with common bathroom stains:
* Hard water stains: Soak a cloth in white vinegar and apply it to the stain. Let it sit for 30 minutes, then scrub and rinse.
* Mildew: Mix equal parts bleach and water in a spray bottle. Spray the mildewed area and let it sit for 10 minutes, then scrub and rinse. (Be careful when using bleach and always wear gloves and eye protection.)
* Rust stains: Make a paste of baking soda and water and apply it to the stain. Let it sit for 30 minutes, then scrub and rinse.
Extra Tips and Tricks
* Use a magic eraser: Magic erasers are great for removing scuff marks and other stubborn stains.
* Clean your showerhead: Soak your showerhead in white vinegar overnight to remove mineral deposits.
* Unclog drains: Pour 1/2 cup of baking soda down the drain, followed by 1 cup of white vinegar. Let it fizz for 30 minutes, then flush with hot water.
* Keep a cleaning caddy in the bathroom: This will make it easy to grab your supplies and do a quick clean whenever you have a few minutes.
I hope this guide helps you create a bathroom cleaning routine that works for you! Remember, consistency is key. Even a few minutes of cleaning each
Conclusion
So, there you have it! This easy bathroom cleaning routine isn’t just about scrubbing; it’s about reclaiming your time and creating a sparkling, healthy space with minimal effort. We’ve walked you through a simple, effective process that transforms a dreaded chore into a manageable task. The beauty of this routine lies in its adaptability. Feel free to tweak it to suit your specific needs and preferences.
Think about incorporating your favorite essential oils into your cleaning solutions for an added aromatherapy boost. Lavender, tea tree, and eucalyptus are all excellent choices for their antibacterial and mood-lifting properties. You could also experiment with different cleaning cloths and tools. Microfiber cloths are fantastic for streak-free surfaces, while a good grout brush can work wonders on stubborn grime.
For those with hard water stains, consider adding a bit more vinegar to your cleaning solution or using a specialized hard water stain remover. If you have delicate surfaces like marble, be sure to use a pH-neutral cleaner to avoid damage. Remember, the key is to find what works best for your bathroom and your lifestyle.
This easy bathroom cleaning routine is more than just a set of instructions; it’s a pathway to a cleaner, healthier, and more enjoyable home. It’s about taking control of your cleaning schedule and making it work for you, not the other way around. By incorporating these simple steps into your weekly or even bi-weekly routine, you’ll be amazed at how much easier it is to maintain a sparkling clean bathroom.
Don’t let bathroom cleaning be a daunting task any longer. Embrace this easy bathroom cleaning routine and experience the difference it can make. We’re confident that you’ll find it to be a game-changer in your home cleaning arsenal.
Now, we want to hear from you! Give this routine a try and let us know how it works for you. Share your tips, tricks, and variations in the comments below. We’re all in this together, and your experiences can help others discover the joy of a clean and inviting bathroom. What are you waiting for? Grab your supplies and get ready to transform your bathroom into a sparkling oasis!
Frequently Asked Questions (FAQ)
Q: How often should I perform this easy bathroom cleaning routine?
A: The frequency depends on how heavily your bathroom is used. For a single-person household, a bi-weekly cleaning might suffice. For families or bathrooms with high traffic, a weekly cleaning is recommended. The key is to stay consistent. A quick 15-20 minute cleaning session each week is much easier than tackling a month’s worth of grime. You can also do spot cleaning as needed throughout the week to maintain cleanliness.
Q: What if I have stubborn stains or mildew in my bathroom?
A: For stubborn stains, try making a paste of baking soda and water. Apply it to the stain, let it sit for 15-20 minutes, and then scrub gently with a non-abrasive sponge. For mildew, a solution of bleach and water (always diluted and used with proper ventilation) can be effective. Spray the affected area, let it sit for a few minutes, and then scrub and rinse thoroughly. Always test any cleaning solution in an inconspicuous area first to ensure it doesn’t damage the surface.
Q: Can I use this routine on all types of bathroom surfaces?
A: While this routine is generally safe for most bathroom surfaces, it’s essential to be cautious with delicate materials like marble, granite, or natural stone. Avoid using acidic cleaners like vinegar on these surfaces, as they can etch or damage them. Instead, opt for pH-neutral cleaners specifically designed for natural stone. Always read the labels of your cleaning products and test them in an inconspicuous area before applying them to the entire surface.
Q: What are some eco-friendly alternatives to the cleaning products mentioned?
A: There are many eco-friendly alternatives available for bathroom cleaning. Instead of commercial cleaners, you can use a mixture of vinegar and water for general cleaning. Baking soda is a great natural abrasive for scrubbing. Lemon juice can be used to remove hard water stains. For disinfecting, consider using hydrogen peroxide. You can also find eco-friendly cleaning products at most grocery stores or online retailers. Look for products that are biodegradable, plant-based, and free of harsh chemicals.
Q: I don’t have time for a full cleaning routine every week. What are the most important tasks to focus on?
A: If you’re short on time, prioritize the tasks that have the biggest impact on cleanliness and hygiene. These include cleaning the toilet, wiping down the sink and countertops, and cleaning the shower or tub. These areas tend to accumulate the most germs and grime. You can also quickly sweep or mop the floor to remove any loose dirt or debris. Even a quick 10-minute cleaning session focusing on these key areas can make a big difference.
Q: How can I prevent my bathroom from getting dirty so quickly?
A: Prevention is key to maintaining a clean bathroom. Encourage family members to wipe down surfaces after each use, especially after showering or brushing their teeth. Keep a squeegee in the shower to remove water from the walls and door after each use, which helps prevent mildew growth. Regularly ventilate the bathroom by opening a window or using the exhaust fan to reduce moisture. Place a small trash can in the bathroom for disposing of tissues and other waste. By implementing these simple habits, you can significantly reduce the amount of cleaning required.
Q: What tools do I need for this easy bathroom cleaning routine?
A: You’ll need a few basic tools to get started. These include:
* Spray bottles for your cleaning solutions
* Microfiber cloths for wiping surfaces
* A toilet bowl brush
* A scrub brush or sponge for cleaning the shower and tub
* A squeegee for removing water from shower walls and doors
* A mop or broom for cleaning the floor
* Gloves to protect your hands
You may also want to invest in a grout brush for cleaning tile grout and a vacuum cleaner with a hose attachment for removing dust and debris from hard-to-reach areas.
Q: Can I use essential oils in my bathroom cleaning routine?
A: Absolutely! Essential oils can add a pleasant scent and provide additional antibacterial benefits. Some popular choices for bathroom cleaning include lavender, tea tree, eucalyptus, lemon, and peppermint. You can add a few drops of essential oil to your cleaning solutions or diffuse them in the bathroom while you clean. Be sure to use high-quality essential oils and follow safety precautions, such as diluting them properly and avoiding contact with your eyes.
Q: What should I do if my drain is clogged?
A: A clogged drain can be a common bathroom problem. You can try using a plunger to dislodge the clog. If that doesn’t work, you can try pouring a mixture of baking soda and vinegar down the drain, followed by hot water. Let it sit for 30 minutes, then flush with hot water. If the clog persists, you may need to use a drain snake or call a plumber. Avoid using harsh chemical drain cleaners, as they can damage your pipes and are harmful to the environment.
Q: How can I make my bathroom smell fresh and clean?
A: There are several ways to keep your bathroom smelling fresh. You can use an air freshener, but be sure to choose one that is non-toxic and doesn’t contain harsh chemicals. You can also place a bowl of baking soda in the bathroom to absorb odors. Another option is to use essential oil diffusers or potpourri. Regularly cleaning your bathroom and ventilating it properly will also help to keep it smelling fresh.
Leave a Comment