
Easy cleaning tricks – who doesn’t want them? Let’s be honest, cleaning isn’t usually anyone’s favorite pastime. But what if I told you there were simple, almost magical ways to make those chores disappear faster and with less elbow grease? This isn’t just about tidying up; it’s about reclaiming your time and creating a space that truly feels like your sanctuary.
For centuries, people have sought out clever ways to maintain their homes. From ancient Roman bathhouses meticulously cleaned with natural oils and herbs to the Victorian era’s obsession with spotless parlors, the desire for a clean and organized living space is deeply ingrained in our history. But unlike our ancestors, we have access to a wealth of knowledge and innovative products that can make the process so much easier.
That’s where these easy cleaning tricks come in. In today’s fast-paced world, who has hours to dedicate to scrubbing and polishing? We’re all juggling work, family, hobbies, and everything in between. These DIY hacks are designed to fit seamlessly into your busy life, offering practical solutions for tackling common household messes with minimal effort. Imagine spending less time cleaning and more time doing the things you love! So, get ready to discover some game-changing tips and tricks that will transform your cleaning routine from a dreaded chore into a breeze.
DIY Cleaning Hacks That Will Save You Time and Money!
Hey everyone! I’m so excited to share some of my favorite DIY cleaning hacks with you. I’m all about making life easier, and these tricks have seriously cut down on my cleaning time. Plus, they use ingredients you probably already have in your pantry! Let’s get started!
Cleaning Your Microwave Like a Pro
Microwaves can get seriously gross, seriously fast. Splatters, spills, and that weird lingering smell…yuck! But don’t worry, this hack is a game-changer.
What You’ll Need:
* 1 cup water
* 2 tablespoons white vinegar (or lemon juice)
* Microwave-safe bowl
* Clean sponge or cloth
Step-by-Step Instructions:
1. Mix the Solution: In your microwave-safe bowl, combine the water and white vinegar (or lemon juice). I personally love using lemon juice because it leaves a fresh, citrusy scent.
2. Microwave It: Place the bowl in the microwave and heat on high for 5-10 minutes. You want the mixture to boil and create steam. The steam is what loosens all the grime.
3. Let It Sit: This is important! Don’t open the microwave immediately. Let the bowl sit inside for another 5-10 minutes. This allows the steam to really work its magic.
4. Wipe It Down: Carefully remove the bowl (it will be hot!). Use your clean sponge or cloth to wipe down the inside of the microwave. You’ll be amazed at how easily the splatters come off! For stubborn spots, you might need a little extra elbow grease.
5. Dry It Off: Finally, dry the inside of the microwave with a clean cloth. And voila! A sparkling clean microwave with minimal effort.
Unclogging Drains the Natural Way
Clogged drains are a major annoyance. Before you reach for those harsh chemical drain cleaners, try this natural alternative. It’s safer for your pipes and the environment!
What You’ll Need:
* 1 cup baking soda
* 2 cups white vinegar
* Boiling water
Step-by-Step Instructions:
1. Pour in the Baking Soda: Carefully pour the baking soda down the clogged drain. Try to get as much of it down the drain as possible.
2. Add the Vinegar: Now, slowly pour the white vinegar down the drain after the baking soda. You’ll hear a fizzing sound – that’s the chemical reaction working to break down the clog.
3. Let It Fizz: Let the mixture fizz and bubble for about 30 minutes. This gives it time to dissolve the gunk that’s causing the blockage.
4. Flush with Boiling Water: After 30 minutes, carefully pour a pot of boiling water down the drain. The hot water will help flush away the remaining debris.
5. Repeat if Necessary: If the drain is still clogged, repeat the process. For really stubborn clogs, you might need to do this a couple of times.
Cleaning Your Shower Head for Better Water Pressure
Over time, shower heads can get clogged with mineral deposits, which reduces water pressure. This simple cleaning hack will restore your shower head to its former glory.
What You’ll Need:
* Plastic bag (gallon-sized works well)
* White vinegar
* Rubber band or twist tie
* Old toothbrush (optional)
Step-by-Step Instructions:
1. Fill the Bag with Vinegar: Pour enough white vinegar into the plastic bag to completely submerge the shower head.
2. Attach the Bag: Carefully place the bag over the shower head, making sure the shower head is fully immersed in the vinegar. Secure the bag with a rubber band or twist tie.
3. Soak Overnight: Let the shower head soak in the vinegar overnight (or for at least a few hours). This allows the vinegar to dissolve the mineral deposits.
4. Remove and Rinse: Remove the bag and discard the vinegar. Rinse the shower head thoroughly with water.
5. Scrub if Needed: If there are still some stubborn deposits, use an old toothbrush to gently scrub them away.
6. Run the Shower: Run the shower for a few minutes to flush out any remaining vinegar and debris. You should notice a significant improvement in water pressure!
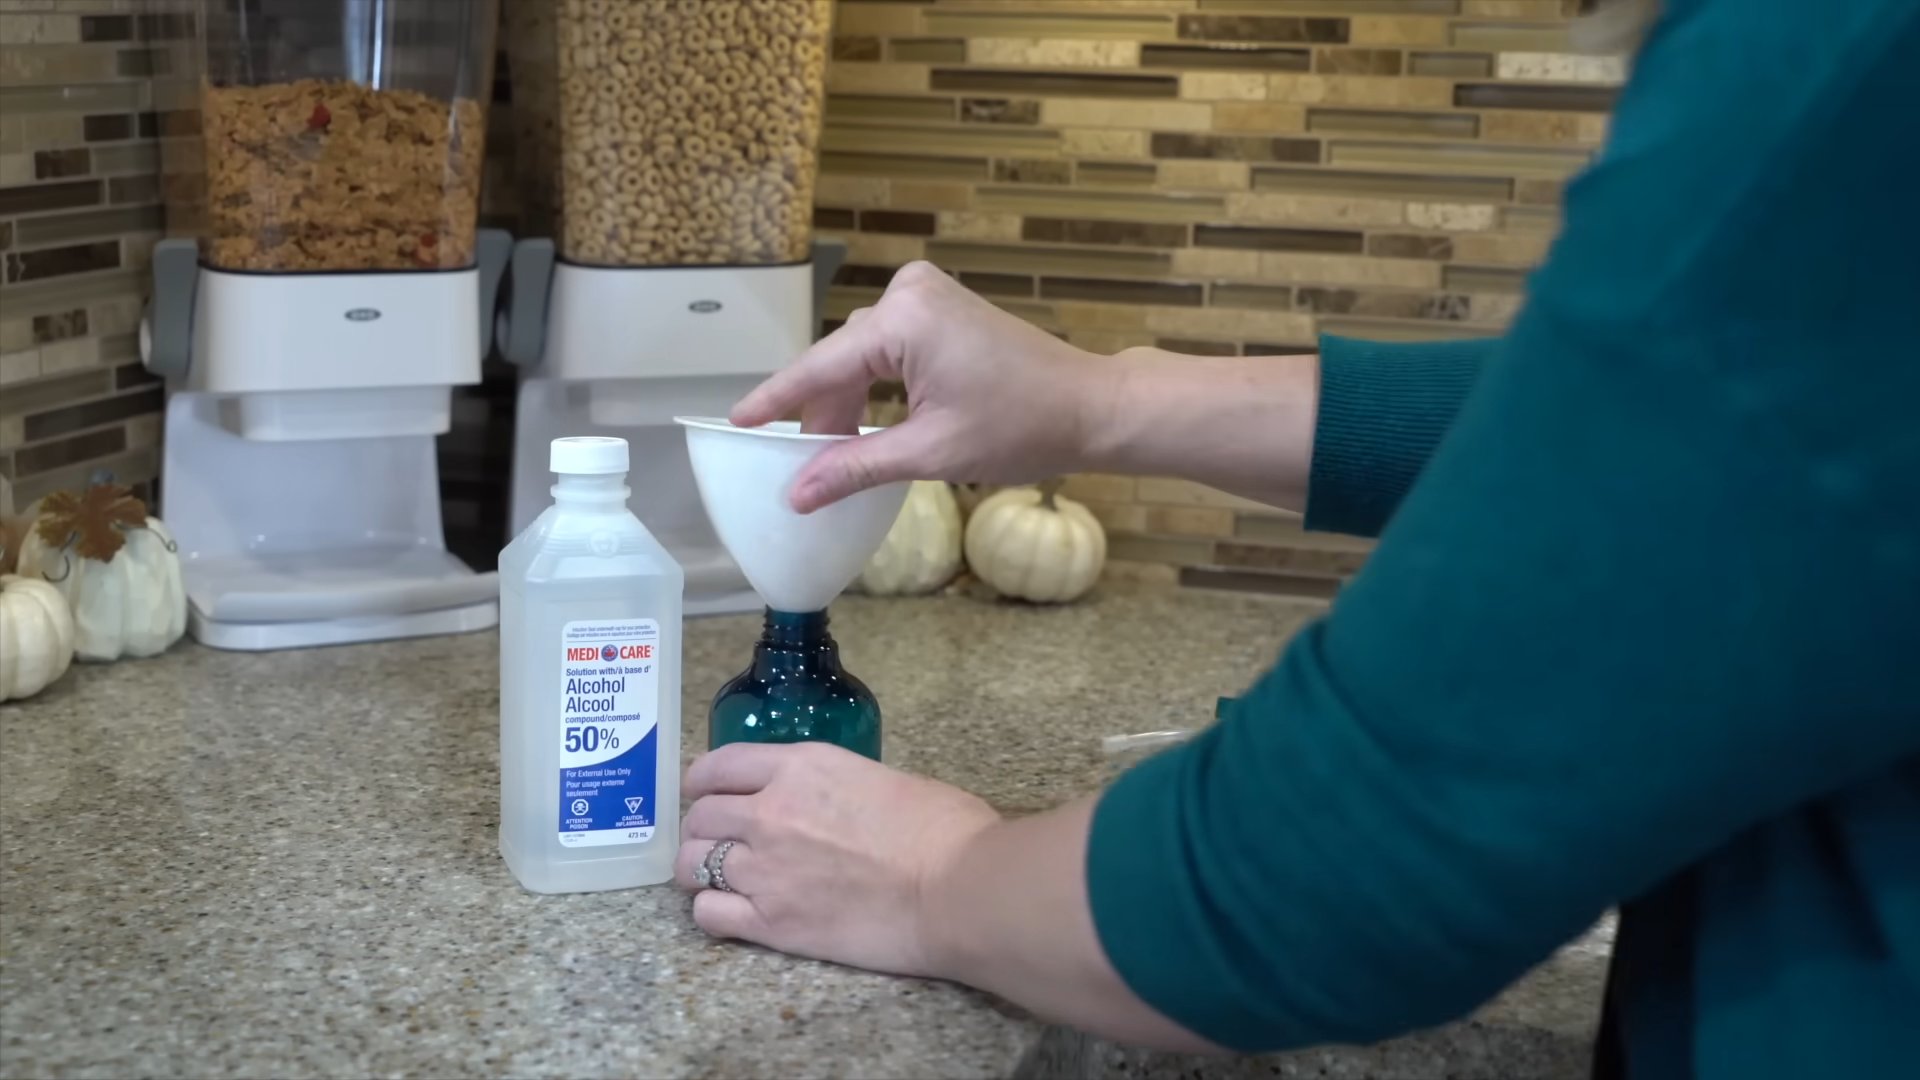
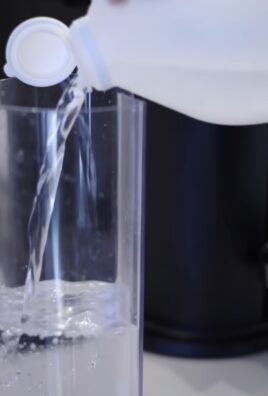
Making Your Own All-Purpose Cleaner
Why spend a fortune on expensive cleaning products when you can make your own all-purpose cleaner with just a few simple ingredients? This cleaner is effective, eco-friendly, and smells amazing!
What You’ll Need:
* Spray bottle
* 1/4 cup white vinegar
* 1 tablespoon baking soda
* Water
* 10-20 drops essential oil (optional, but I love using lemon, lavender, or tea tree oil)
Step-by-Step Instructions:
1. Combine Ingredients: In the spray bottle, combine the white vinegar and baking soda. Be careful, as the mixture will fizz.
2. Add Water: Slowly add water to the spray bottle, leaving some room at the top.
3. Add Essential Oils (Optional): If you’re using essential oils, add them now. Essential oils not only add a pleasant scent but also have antibacterial properties.
4. Shake Well: Secure the spray bottle lid and shake well to combine all the ingredients.
5. Use and Enjoy: Your all-purpose cleaner is ready to use! Spray it on surfaces and wipe clean with a cloth or sponge. It’s great for cleaning countertops, sinks, appliances, and more.
Cleaning Your Cutting Boards Effectively
Cutting boards, especially wooden ones, can harbor bacteria if not cleaned properly. Here’s how to keep them clean and sanitized.
What You’ll Need:
* Lemon
* Coarse salt (sea salt or kosher salt)
* Clean sponge or cloth
Step-by-Step Instructions:
1. Sprinkle with Salt: Sprinkle a generous amount of coarse salt over the surface of the cutting board.
2. Rub with Lemon: Cut a lemon in half and use one half to rub the salt into the cutting board. Squeeze the lemon as you rub to release the juice. The salt acts as an abrasive, while the lemon juice is a natural disinfectant.
3. Let It Sit: Let the mixture sit on the cutting board for about 5-10 minutes.
4. Rinse and Dry: Rinse the cutting board thoroughly with water and dry it with a clean cloth. For wooden cutting boards, it’s important to dry them completely to prevent warping.
Freshening Up Your Mattress
Mattresses can accumulate dust mites, dead skin cells, and odors over time. This simple cleaning hack will freshen up your mattress and help you sleep better.
What You’ll Need:
* Baking soda
* Sieve or strainer
* Vacuum cleaner with upholstery attachment
* Essential oils (optional, like lavender for relaxation)
Step-by-Step Instructions:
1. Sprinkle with Baking Soda: Fill a sieve or strainer with baking soda and sprinkle it evenly over the entire surface of your mattress. If you’re using essential oils, add a few drops to the baking soda before sprinkling.
2. Let It Sit: Let the baking soda sit on the mattress for at least 30 minutes, or even better, for a few hours. The baking soda will absorb odors and moisture.
3. Vacuum Thoroughly: Use the upholstery attachment on your vacuum cleaner to thoroughly vacuum the entire surface of the mattress. Make sure to get into all the nooks and crannies.
4. Flip and Repeat: Flip the mattress over and repeat the process on the other side.
Cleaning Burnt Food from Pots and Pans
Burnt food stuck to the bottom of pots and pans is a nightmare to clean. But don’t worry, this hack will make it much easier.
What You’ll Need:
* Water
* Baking soda
* Dish soap
* Scrubbing sponge or pad
Step-by-Step Instructions:
1. Fill with Water and Baking Soda: Fill the pot or pan with water and add a generous amount of baking soda (about 2-3 tablespoons).
2. Boil the Mixture: Bring the water and baking soda mixture to a boil on the stovetop.
3. Simmer for 15-20 Minutes: Let the mixture simmer for 15-20 minutes, stirring occasionally. The baking soda will help loosen the burnt food.
4. Let It Cool: Remove the pot or pan from the heat and let it cool slightly.
5. Scrub and Wash: Pour out the water and baking soda mixture. Use a scrubbing sponge or pad to

Conclusion
So, there you have it! Mastering these easy cleaning tricks isn’t just about tidying up; it’s about reclaiming your time, saving money, and creating a healthier, happier living space. We’ve explored some truly game-changing methods, from the surprisingly effective power of baking soda and vinegar to the simple brilliance of repurposing everyday items.
But why is this a must-try? Because these aren’t just band-aid solutions. They’re fundamental shifts in how you approach cleaning, moving away from harsh chemicals and expensive products towards sustainable, effective, and often surprisingly fun alternatives. Imagine the satisfaction of knowing you’re not only making your home sparkle but also reducing your environmental footprint.
Think about the possibilities! You could infuse your homemade cleaning solutions with essential oils for a personalized scent. Lavender for relaxation in the bedroom, citrus for an energizing boost in the kitchen – the choice is yours. Or, experiment with different ratios of ingredients to find the perfect formula for your specific needs. Perhaps you have stubborn hard water stains in your bathroom? Try adding a bit of lemon juice to your vinegar solution for extra cleaning power.
Don’t be afraid to get creative and adapt these easy cleaning tricks to your own unique circumstances. The beauty of DIY is that it’s all about customization. And remember, even small changes can make a big difference. Start with one or two tricks, see how they work for you, and gradually incorporate more into your cleaning routine.
We wholeheartedly encourage you to give these methods a try. You might be surprised at how effective and enjoyable they can be. And most importantly, we want to hear about your experiences! Share your successes, your challenges, and any variations you discover in the comments below. Let’s build a community of clean-living enthusiasts, sharing tips and tricks to make our homes healthier and happier places to be. Your insights could be invaluable to someone else just starting their DIY cleaning journey. So, roll up your sleeves, gather your supplies, and get ready to experience the transformative power of these easy cleaning tricks. You won’t regret it!
Frequently Asked Questions (FAQ)
Q: Are these DIY cleaning solutions safe for all surfaces?
A: While most of these easy cleaning tricks are generally safe, it’s always a good idea to test them on an inconspicuous area first, especially on delicate surfaces like marble, granite, or wood. Vinegar, for example, can be too acidic for some natural stone surfaces and may etch or dull the finish. Similarly, abrasive cleaners like baking soda should be used with caution on easily scratched surfaces. Always read the manufacturer’s instructions for your surfaces and appliances before using any cleaning product, DIY or otherwise. When in doubt, err on the side of caution and use a gentler cleaning method.
Q: How long do homemade cleaning solutions last?
A: The shelf life of homemade cleaning solutions can vary depending on the ingredients. Solutions containing water are more prone to bacterial growth and should be used within a week or two. Solutions made with vinegar, alcohol, or essential oils tend to last longer, up to a month or two. It’s always best to store your homemade cleaners in airtight containers in a cool, dark place to prolong their shelf life. If you notice any changes in color, odor, or consistency, it’s best to discard the solution and make a fresh batch. Labeling your containers with the date you made the solution is also a helpful way to keep track of their freshness.
Q: Can I use essential oils in all of these cleaning recipes?
A: Essential oils can be a wonderful addition to homemade cleaning solutions, adding a pleasant scent and potentially boosting their cleaning power. However, it’s important to use them safely and responsibly. Not all essential oils are created equal, so choose high-quality, pure essential oils from a reputable source. Some essential oils, like tea tree and lavender, have antibacterial and antifungal properties, while others, like lemon and orange, have degreasing and deodorizing effects. Be mindful of the concentration of essential oils you use, as too much can be irritating to the skin or respiratory system. Always dilute essential oils properly before using them in cleaning solutions, and avoid using them on surfaces that may be damaged by oils. Also, be aware that some essential oils are toxic to pets, so research thoroughly before using them in your home if you have furry friends.
Q: What are some alternatives to vinegar for cleaning?
A: While vinegar is a popular and effective cleaning agent, some people may not like its strong smell or find it unsuitable for certain surfaces. Fortunately, there are several alternatives you can use. Lemon juice is a great option for removing hard water stains and brightening surfaces. Baking soda is a mild abrasive that can be used to scrub away grime and deodorize. Hydrogen peroxide is a powerful disinfectant that can be used to clean and sanitize surfaces. Castile soap is a gentle, all-purpose cleaner that can be used on a variety of surfaces. And for those who prefer a more natural approach, enzyme cleaners are a great option for breaking down stains and odors. Experiment with different alternatives to find what works best for you and your cleaning needs.
Q: How can I make my own reusable cleaning wipes?
A: Making your own reusable cleaning wipes is a great way to reduce waste and save money. All you need are some reusable cloths (old t-shirts or towels work well), a container with a lid, and a cleaning solution. Simply cut the cloths into squares or rectangles, fold them, and place them in the container. Then, pour your cleaning solution over the cloths until they are damp but not soaking wet. You can use any of the homemade cleaning solutions mentioned in this article, or create your own custom blend. When you’re ready to clean, simply grab a wipe from the container and use it to wipe down surfaces. Once you’re done, toss the wipe in the laundry and wash it with your regular load of clothes. You can reuse the wipes over and over again, making them a sustainable and eco-friendly cleaning option.
Q: What are some tips for cleaning with kids and pets around?
A: Cleaning with kids and pets around can be challenging, but it’s definitely possible with a few precautions. First and foremost, always keep cleaning products out of reach of children and pets. Store them in a locked cabinet or on a high shelf where they can’t be accessed. When cleaning, keep kids and pets away from the area you’re cleaning until it’s dry. Use non-toxic cleaning products whenever possible, and avoid using harsh chemicals that could be harmful if ingested or inhaled. Ventilate the area well while cleaning to minimize exposure to fumes. And finally, involve your kids in the cleaning process! Make it a fun and educational activity by assigning them age-appropriate tasks, like dusting or wiping down surfaces.
Q: How do I get rid of stubborn stains with DIY cleaning solutions?
A: Stubborn stains can be a challenge, but often DIY solutions can tackle them effectively. For grease stains, try a paste of baking soda and water. Apply it to the stain, let it sit for a while, and then scrub gently. For coffee or tea stains, try a mixture of vinegar and water. For mildew stains, try a solution of hydrogen peroxide. Always test the solution on an inconspicuous area first to make sure it doesn’t damage the surface. For really tough stains, you may need to repeat the process several times or try a combination of different cleaning methods. Patience and persistence are key!

Leave a Comment