
DIY Chili Soil Bag Hack: Are you ready to unlock the secret to the most vibrant, flavorful chili peppers you’ve ever grown? Forget those expensive, pre-mixed soils that promise the world but often fall short. I’m about to share a game-changing DIY trick that will have your chili plants thriving, all while saving you money and reducing waste!
For centuries, gardeners have experimented with soil compositions, seeking the perfect blend to nurture their precious plants. From ancient civilizations enriching their fields with compost to modern-day enthusiasts meticulously crafting custom soil mixes, the quest for the ideal growing medium is a timeless pursuit. And when it comes to chili peppers, getting the soil right is absolutely crucial.
Why is this DIY Chili Soil Bag Hack so essential? Well, chili peppers are notoriously picky eaters. They crave well-draining soil that’s rich in nutrients, but they also need the right balance to avoid common problems like root rot and nutrient deficiencies. This simple hack allows you to create the perfect environment for your chili plants, ensuring they get exactly what they need to flourish. Plus, let’s be honest, who doesn’t love a good DIY project that saves money and yields delicious results? I know I do!
DIY Chili Soil Bag Hack: Grow Peppers Like a Pro!
Hey fellow chiliheads! Are you ready to take your pepper growing game to the next level? I’m going to share a super simple, budget-friendly hack that will have your chili plants thriving: growing them directly in a soil bag! Forget messy pots and complicated transplanting – this method is easy, efficient, and perfect for small spaces. Let’s get started!
What You’ll Need
Before we dive in, let’s gather our supplies. This is a pretty minimal list, which is part of why I love this hack so much!
* A bag of good quality potting mix (specifically designed for containers). I recommend a mix that drains well and contains slow-release fertilizer. Look for something that says “potting mix” not “garden soil”. Garden soil is too dense for containers.
* Chili pepper seedlings (your favorite varieties, of course!). Make sure they are healthy and have a good root system.
* A sharp knife or scissors.
* A watering can or hose.
* Optional: A small trowel or spoon.
* Optional: Some slow-release fertilizer (if your potting mix doesn’t already contain it).
* Optional: A tray or saucer to place under the bag (to catch excess water).
* Optional: Stakes or tomato cages for support (depending on the variety of chili peppers you’re growing).
Choosing the Right Soil Bag
The size of the soil bag matters! You’ll want to choose a bag that’s large enough to accommodate the root systems of your chili plants as they grow. I generally recommend a bag that’s at least 20-30 gallons for multiple plants, or a smaller 10-15 gallon bag for a single plant.
Also, pay attention to the material of the bag. Most potting mix comes in sturdy plastic bags, which are perfect for this project. Just make sure the bag is in good condition, without any major tears or holes.
Step-by-Step Instructions: Planting Your Chili Peppers
Okay, let’s get our hands dirty! Here’s how to plant your chili peppers directly into the soil bag:
1. Prepare the Soil Bag: Lay the bag of potting mix flat on the ground in the location where you want to grow your chili peppers. This is important because once it’s full of plants and watered, it will be heavy to move.
2. Create Drainage Holes: This is crucial! Chili peppers don’t like soggy roots. Using your knife or scissors, carefully cut several drainage holes in the bottom of the bag. I usually make about 6-8 holes, spaced evenly apart. Make sure the holes are large enough to allow water to drain freely, but not so large that the soil will fall out.
3. Cut Planting Holes: Now, we need to create openings for our chili pepper seedlings. On the top side of the bag, cut circular or square holes, spaced according to the mature size of your chosen chili pepper varieties. Check the plant tag or do a quick online search to find out how much space each plant will need. I usually leave about 12-18 inches between plants.
4. Prepare the Planting Holes: Gently scoop out some of the potting mix from each hole, creating a small well for your seedlings. If your potting mix doesn’t contain slow-release fertilizer, now is a good time to add some to each hole, following the instructions on the fertilizer package.
5. Carefully Remove Seedlings: Gently remove your chili pepper seedlings from their containers. If the roots are tightly bound, carefully loosen them with your fingers. Be gentle – you don’t want to damage the roots.
6. Plant the Seedlings: Place each seedling into a prepared hole, making sure the top of the root ball is level with the surface of the potting mix. Fill in around the root ball with more potting mix, gently firming the soil around the plant.
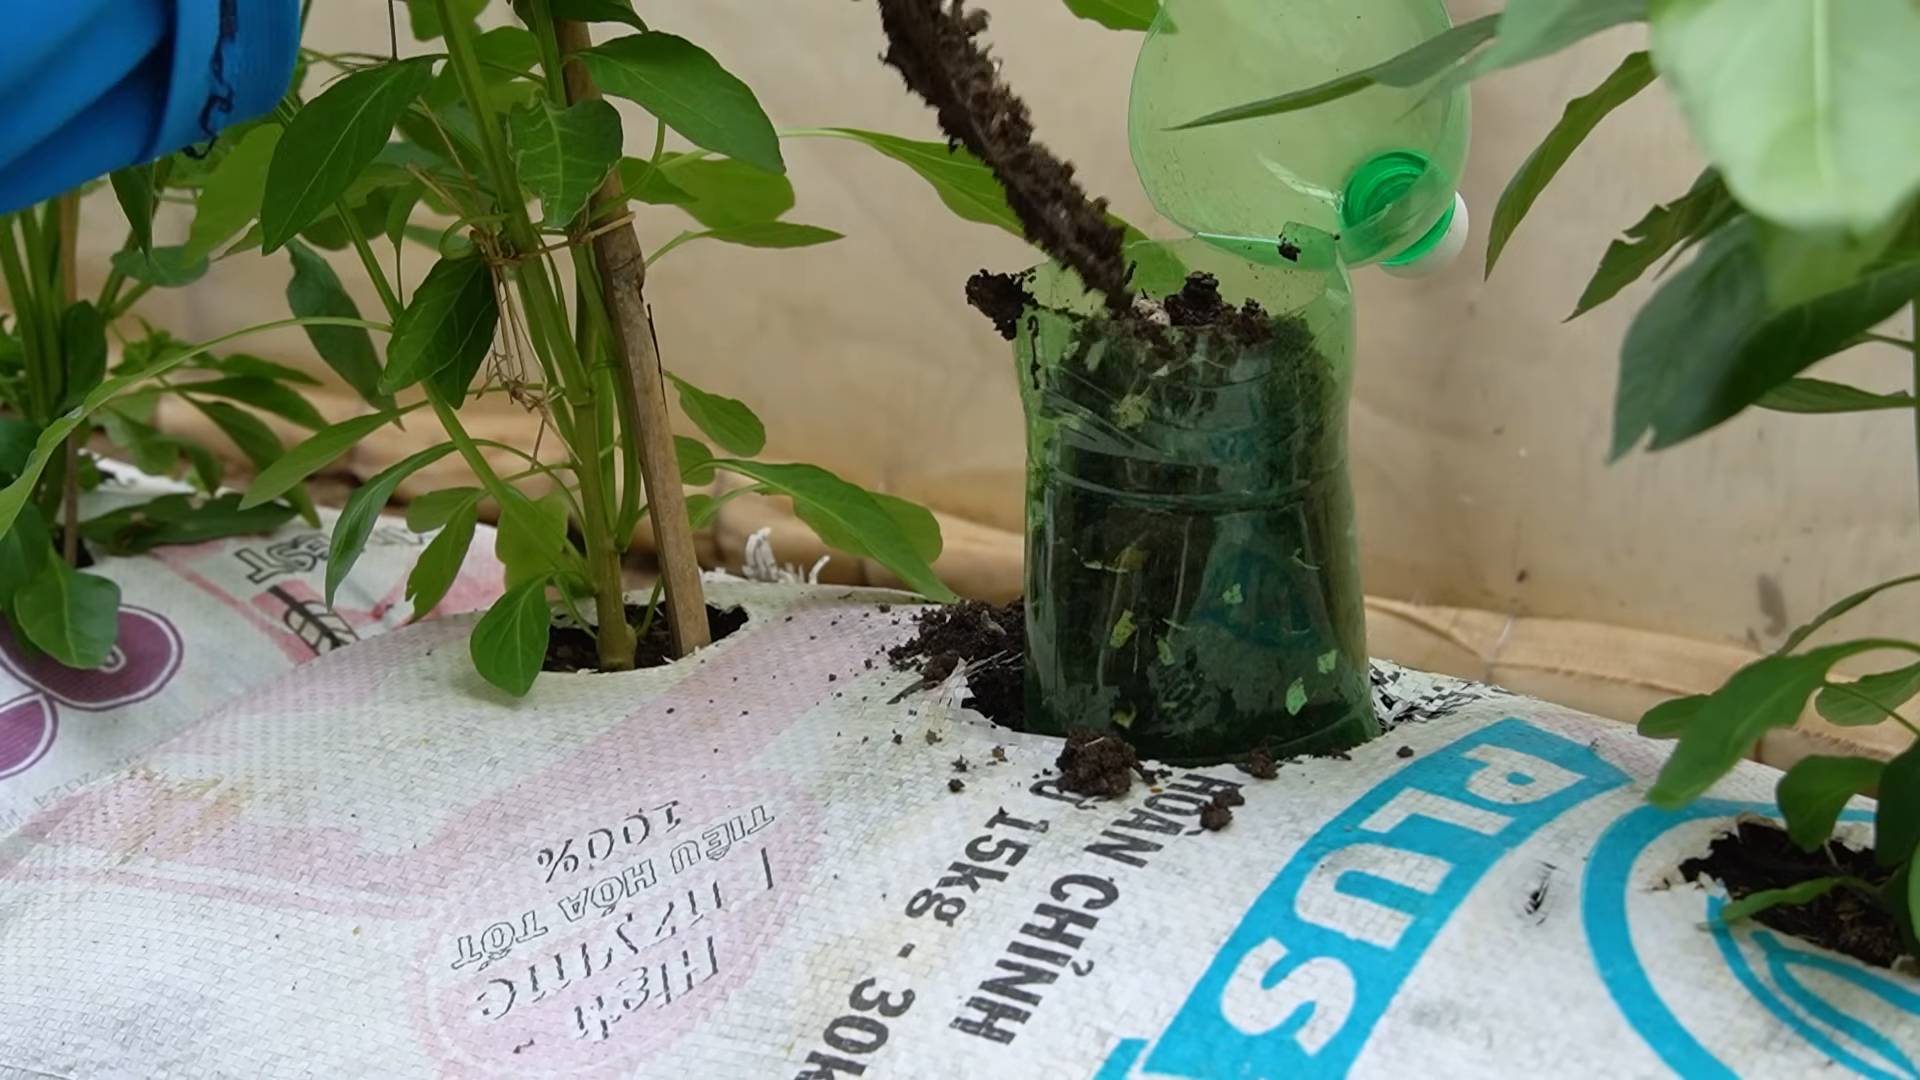
7. Water Thoroughly: Once all the seedlings are planted, water the soil bag thoroughly until water drains out of the drainage holes. This will help settle the soil and ensure the roots are well-hydrated.
8. Add Support (Optional): If you’re growing tall or heavy chili pepper varieties, now is a good time to add stakes or tomato cages for support. This will help prevent the plants from falling over as they grow and produce fruit.
Caring for Your Chili Plants in a Soil Bag
Now that your chili peppers are planted, it’s time to provide them with the care they need to thrive. Here are some tips for success:
* Watering: Water your chili plants regularly, especially during hot, dry weather. Check the soil moisture by sticking your finger into the soil. If the top inch or two feels dry, it’s time to water. Avoid overwatering, as this can lead to root rot.
* Fertilizing: If your potting mix doesn’t contain slow-release fertilizer, you’ll need to fertilize your chili plants regularly throughout the growing season. Use a fertilizer that’s specifically formulated for vegetables or tomatoes, following the instructions on the package. I like to use a liquid fertilizer diluted to half strength every couple of weeks.
* Sunlight: Chili peppers need plenty of sunlight to thrive. Choose a location that receives at least 6-8 hours of direct sunlight per day.
* Pest Control: Keep an eye out for pests, such as aphids, spider mites, and whiteflies. If you spot any pests, take action immediately to prevent them from spreading. You can use insecticidal soap, neem oil, or other organic pest control methods.
* Pruning: Pruning can help improve air circulation and encourage bushier growth. Remove any dead or yellowing leaves, and pinch back the tips of the branches to promote branching.
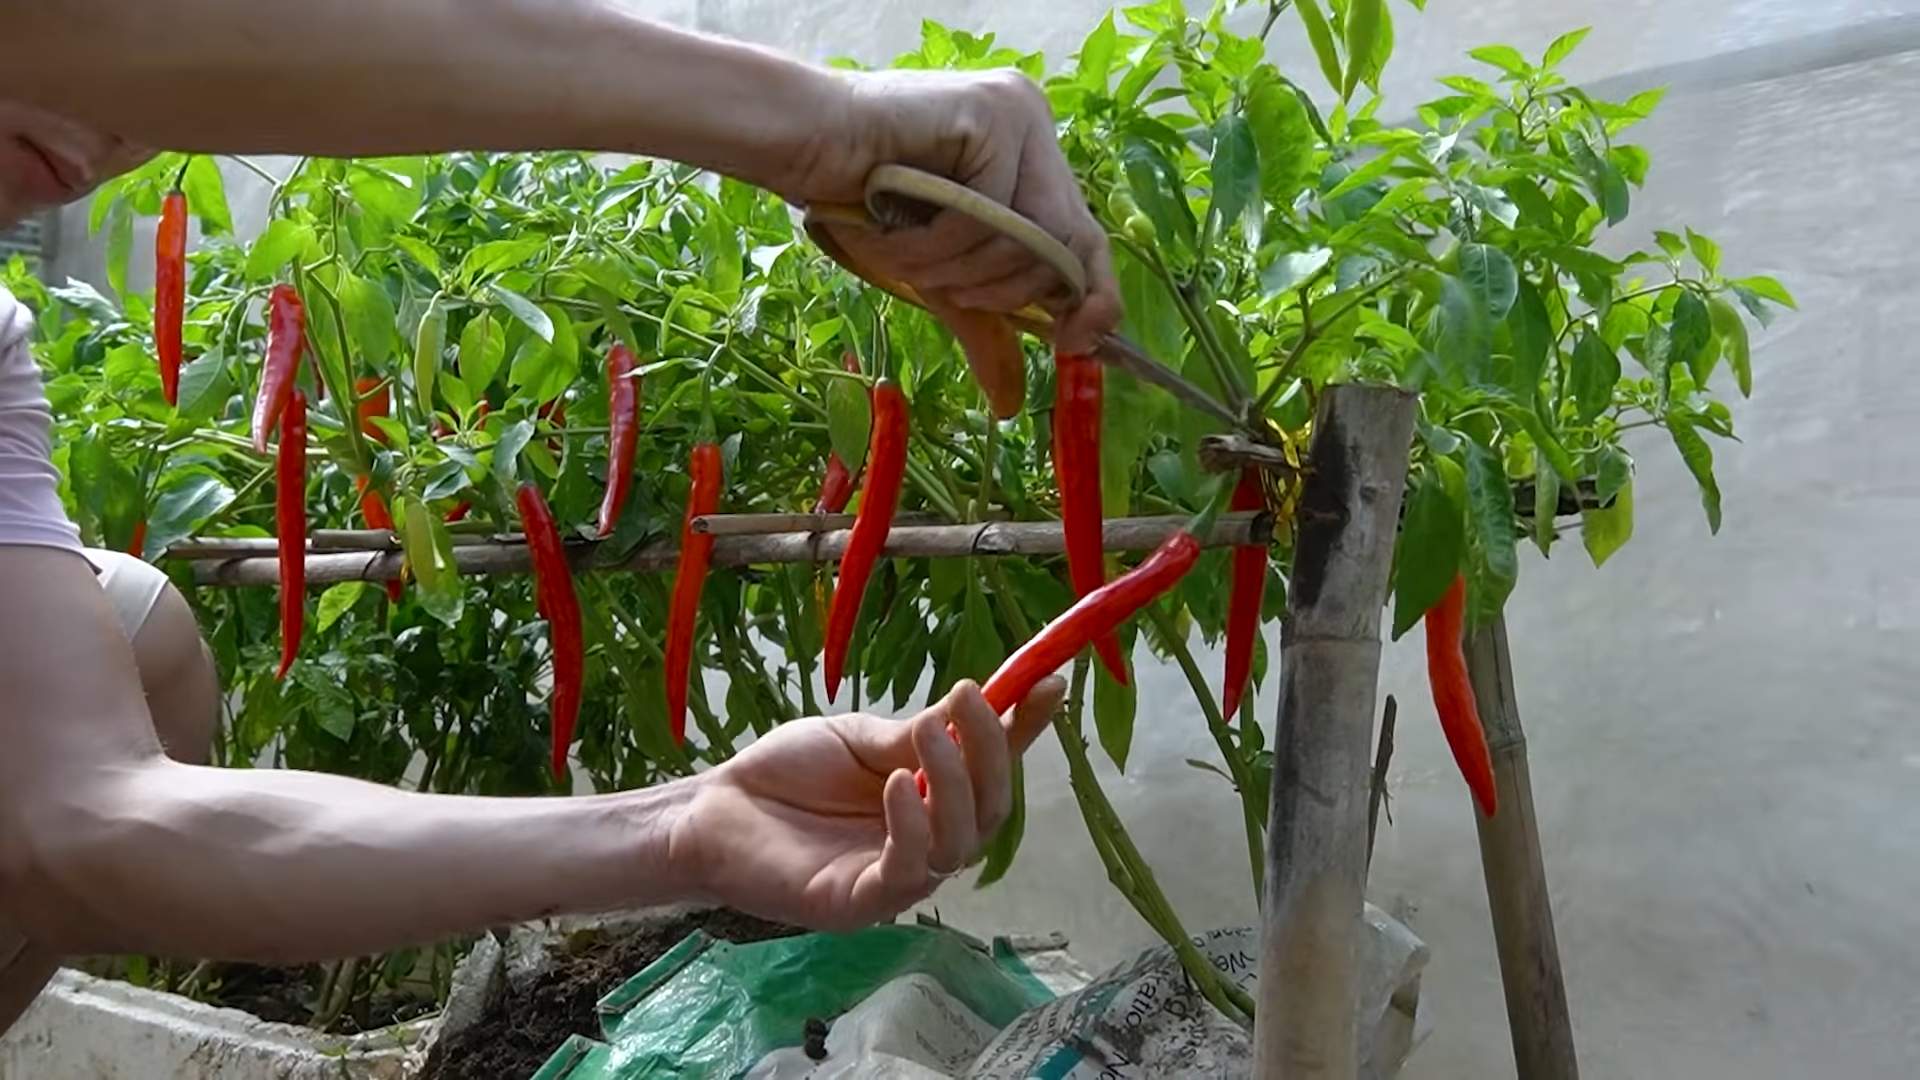
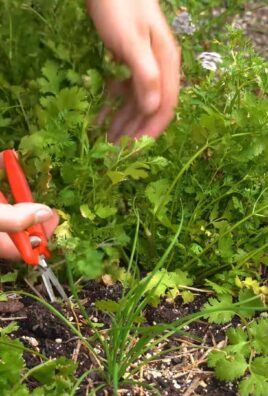
* Harvesting: Harvest your chili peppers when they reach their mature color and size. Use scissors or pruning shears to cut the peppers from the plant, leaving a small stem attached.
Troubleshooting Common Issues
Even with the best care, you might encounter some problems along the way. Here are some common issues and how to address them:
* Yellowing Leaves: Yellowing leaves can be a sign of overwatering, underwatering, nutrient deficiency, or pest infestation. Check the soil moisture, fertilize if necessary, and inspect the plants for pests.
* Blossom End Rot: Blossom end rot is a condition that causes the bottom of the chili peppers to turn black and rot. It’s usually caused by a calcium deficiency. To prevent blossom end rot, make sure your soil is well-drained and that you’re providing your plants with adequate calcium. You can add calcium to the soil by mixing in some crushed eggshells or bone meal.
* Lack of Fruit: If your chili plants are not producing fruit, it could be due to a lack of pollination, insufficient sunlight, or extreme temperatures. Make sure your plants are getting enough sunlight, and try hand-pollinating the flowers by gently shaking the plants or using a small brush to transfer pollen from one flower to another.
Advantages of Growing in a Soil Bag
I’ve found so many benefits to using this method! Here are just a few:
* Easy and Convenient: This method is incredibly easy and convenient, especially for beginners. There’s no need to worry about transplanting or finding the right size pots.
* Budget-Friendly: Growing in a soil bag is a budget-friendly option, as you only need to purchase a bag of potting mix and some seedlings.
* Space-Saving: This method is perfect for small spaces, such as balconies, patios, and decks.
* Good Drainage: The drainage holes in the bottom of the bag ensure good drainage, which is essential for healthy chili pepper plants.
* Easy to Move: While a full bag is heavy, it’s still easier to move than multiple individual pots. This can be helpful if you need to move your plants to protect them from frost or extreme weather.
* Less Weeding: The thick layer of potting mix in the bag helps suppress weeds.
Choosing Your Chili Pepper Varieties
One of the best parts about growing chili peppers is the sheer variety available! From mild and sweet to scorching hot, there’s a chili pepper for every taste. Here are a few of my favorites:
* Jalapeño: A classic chili pepper with a mild to moderate heat. Perfect for adding a little kick to your favorite dishes.
* Serrano: A hotter chili pepper than the jalapeño, with a bright, fresh flavor.
* Cayenne: A long, thin chili pepper with a moderate to hot heat. Great for making chili powder or hot sauce.
* Habanero: A very hot chili pepper with a fruity, citrusy flavor. Use with caution!
* Ghost Pepper (Bhut Jolokia): One of the hottest chili peppers in the world. Only for the truly adventurous!
* Bell Pepper: While technically not a chili pepper, bell peppers are a great option for those who prefer
Conclusion
So, there you have it! This simple, yet incredibly effective, DIY chili soil bag hack is more than just a clever trick; it’s a game-changer for anyone serious about growing vibrant, productive chili plants. We’ve walked you through the process, highlighting how easy it is to transform a regular bag of potting mix into a self-contained, thriving chili garden.
Why is this a must-try? Because it addresses several key challenges faced by chili growers, especially those with limited space or time. It provides excellent drainage, prevents root rot, and offers a convenient, portable growing environment. The bag itself acts as a mini-greenhouse, warming the soil and encouraging faster germination and growth, particularly beneficial in cooler climates or during early spring. Plus, the reduced need for transplanting minimizes stress on your delicate chili seedlings, leading to healthier, more robust plants.
But the beauty of this DIY chili soil bag hack lies in its adaptability. Feel free to experiment with different potting mixes to find the perfect blend for your specific chili varieties. Consider adding slow-release fertilizer granules directly into the soil before planting for a sustained nutrient boost. You could even incorporate water-retaining crystals to further reduce the frequency of watering, especially during hot summer months.
For those looking to get even more creative, try using different types of bags. Heavy-duty landscape fabric bags can provide extra durability and longevity. Or, if you’re feeling particularly ambitious, you could even create a tiered system by stacking multiple bags on top of each other, creating a stunning vertical chili garden.
Don’t be afraid to personalize your setup! Add companion plants like basil or marigolds around the base of your chili plants to deter pests and attract beneficial insects. A simple trellis or support structure can also be easily added to the bag to help support taller or heavier chili varieties as they mature.
Ultimately, this DIY chili soil bag hack is about empowering you to take control of your chili growing experience. It’s about simplifying the process, maximizing your yields, and enjoying the satisfaction of harvesting your own homegrown chilies.
We are confident that once you try this method, you’ll be amazed by the results. The ease of setup, the improved drainage, and the overall health and vigor of your chili plants will speak for themselves.
So, what are you waiting for? Grab a bag of potting mix, a few chili seedlings, and get ready to experience the joy of growing your own delicious chilies with this simple, yet revolutionary, DIY chili soil bag hack.
We’re eager to hear about your experiences! Share your photos, tips, and variations in the comments below. Let’s build a community of chili enthusiasts and learn from each other’s successes (and even the occasional mishap!). Happy growing!
Frequently Asked Questions (FAQ)
What type of potting mix is best for this DIY chili soil bag hack?
The ideal potting mix for this method is a well-draining, nutrient-rich blend specifically formulated for vegetables. Look for mixes that contain ingredients like peat moss, perlite, vermiculite, and compost. Avoid using garden soil, as it can become compacted and doesn’t provide adequate drainage in a container setting. A mix designed for tomatoes or peppers will also work well. You can also amend a general-purpose potting mix with additional perlite or vermiculite to improve drainage.
How many chili plants can I plant in one bag?
The number of chili plants you can plant in one bag depends on the size of the bag and the variety of chili you’re growing. As a general rule, for a standard 20-30 gallon bag, you can plant 2-3 smaller chili varieties like Thai chilies or Jalapenos. For larger varieties like Bell peppers or Anaheim chilies, it’s best to stick to one plant per bag to ensure adequate space for root development and airflow. Overcrowding can lead to stunted growth and increased susceptibility to diseases.
How often should I water my chili plants in the soil bag?
Watering frequency will depend on several factors, including the weather, the size of the bag, the type of potting mix, and the size of your chili plants. Check the soil moisture regularly by sticking your finger about an inch or two into the soil. If the soil feels dry to the touch, it’s time to water. Water deeply until water drains out of the drainage holes you created in the bag. Avoid overwatering, as this can lead to root rot. During hot, dry weather, you may need to water daily, while during cooler, wetter periods, you may only need to water every few days.
Do I need to fertilize my chili plants in the soil bag?
Yes, fertilizing is essential for healthy chili plant growth and abundant fruit production. Chili plants are heavy feeders and require a steady supply of nutrients. Start fertilizing a few weeks after planting, once the plants have established themselves. Use a balanced fertilizer specifically formulated for vegetables, following the instructions on the label. You can also use organic fertilizers like compost tea or fish emulsion. Fertilize every 2-3 weeks throughout the growing season. Consider using a fertilizer higher in phosphorus and potassium to encourage flowering and fruit development.
What if I don’t have a sunny spot for my chili soil bag?
Chili plants thrive in full sun, requiring at least 6-8 hours of direct sunlight per day. If you don’t have a sunny spot, you can supplement with artificial lighting. Grow lights, such as LED grow lights, can provide the necessary light for your chili plants to thrive indoors or in partially shaded areas. Position the grow lights a few inches above the plants and adjust the height as the plants grow.
How do I prevent pests and diseases in my chili soil bag?
Prevention is key when it comes to pests and diseases. Start by using a high-quality potting mix and ensuring good drainage. Regularly inspect your plants for signs of pests or diseases. Common chili plant pests include aphids, spider mites, and whiteflies. Treat infestations promptly with insecticidal soap or neem oil. To prevent fungal diseases, ensure good airflow around your plants and avoid overwatering. You can also use a copper fungicide as a preventative measure. Companion planting with herbs like basil or marigolds can also help deter pests.
Can I reuse the soil bag for next year’s chili crop?
While you can technically reuse the soil bag, it’s generally recommended to start with fresh potting mix each year. Over time, the potting mix can become depleted of nutrients and may harbor pests or diseases. If you choose to reuse the soil bag, amend the soil with fresh compost and fertilizer to replenish nutrients. You can also sterilize the soil by baking it in the oven or solarizing it in the sun to kill any potential pathogens. However, for best results, it’s always best to start with fresh potting mix.
What are some good chili varieties to grow in a soil bag?
Many chili varieties thrive in soil bags. Some popular choices include Jalapenos, Serrano peppers, Thai chilies, Habaneros, and Cayenne peppers. When selecting a variety, consider your taste preferences and the size of the plant. Smaller varieties like Thai chilies are well-suited for smaller bags, while larger varieties like Bell peppers may require a larger bag and more space.
How do I know when my chilies are ready to harvest?
The time it takes for chilies to mature depends on the variety. Generally, chilies are ready to harvest when they reach their mature color and size. The color will vary depending on the variety, ranging from green to red, yellow, or orange. The chilies should also feel firm to the touch. Use pruning shears or scissors to cut the chilies from the plant, leaving a small stem attached.
Can I grow other vegetables in the soil bag along with my chilies?
Yes, you can grow companion plants alongside your chilies in the soil bag. Good companion plants for chilies include basil, marigolds, onions, and garlic. These plants can help deter pests, attract beneficial insects, and improve the overall health of your chili plants. Avoid planting plants that compete for nutrients or space, such as tomatoes or potatoes.
Leave a Comment